
EN / $ USD
Terizla MLBB Guide: Best Build, Emblem, Combos, and Counters

by Hannah Price
Published Jun 16 2026 · Updated Oct 13 2026
Share:
Table of Contents
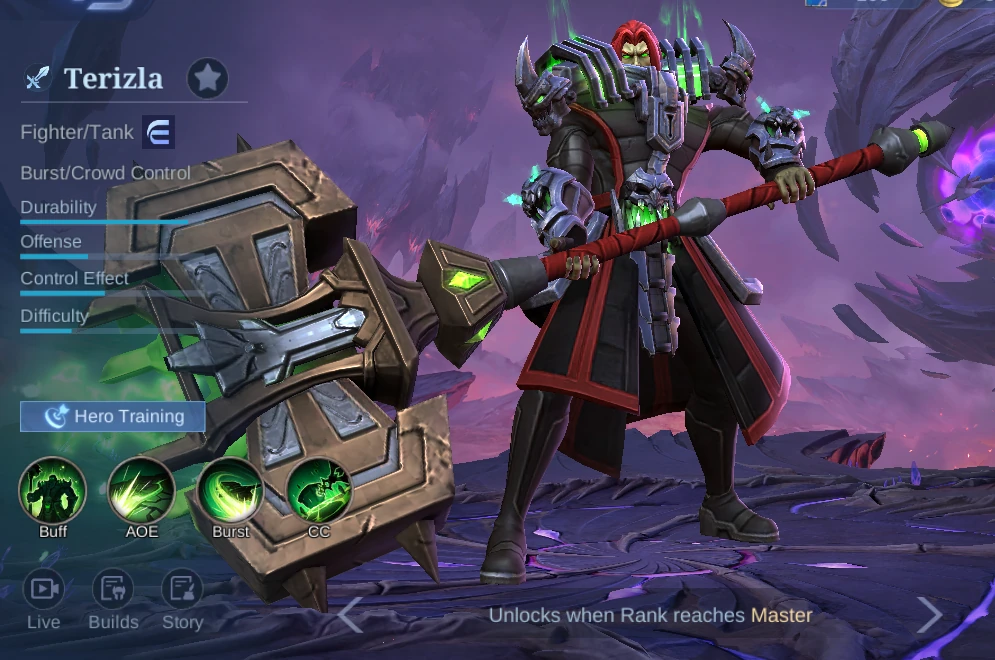
Terizla is an EXP-lane Fighter/Tank who wins by forcing enemies to fight inside slow, repeated hammer swings. Pick him when your team needs a durable first body and reliable area control; avoid blind entries into long range, frequent dashes, or damage that removes him before Body of Smith can matter. Terizla turns lane durability into strong objective fights when he rotates on the right wave; the EXP Lane guide covers that timing.
In-game context: MLBB game version 2.1.88.12027, observed on August 14, 2026. Builds and Shop availability are dated in-game snapshots; positioning and combo logic are longer-lasting fundamentals.
Quick Answer: Terizla's Winning Plan
Core pattern
Tag a target with Revenge Strike, keep them inside all three Execution Strike swings, and use the delayed explosion after their HP has already fallen.Recommended emblem
Custom Fighter Emblem with Firmness, Festival of Blood, and Brave Smite for defense, spell-vamp scaling, and repeat healing.Battle spells
Flicker is the default engage tool. Vengeance is better when the enemy must hit you during a prolonged frontline fight.Role, Specialty, and Level-One Stats
Terizla is listed in-game as a Fighter/Tank with Burst/Crowd Control. His attack animations are deliberate, but every ability either helps him stay in range or makes leaving harder. The base-stat panel also shows no Mana resource, so current decisions should not copy old Mana-management advice.
| HP | 2619 |
|---|---|
| HP Regen | 10.8 |
| Physical Attack | 129 |
| Physical Defense | 19 |
| Attack Speed | 1 |
| Attack Speed Ratio | 100% |
| Mana | 0 |
| Mana Regen | 0 |
| Magic Power | 0 |
| Magic Defense | 15 |
| Movement Speed | 255 |
Terizla Skills and Practical Use

Body of Smith
Passive / Buff
Terizla gains 1% extra Damage Reduction for every 2.5% HP lost, up to 20% plus 1% per hero level. Extra Attack Speed is converted into Physical Attack instead of making his hammer swings faster.
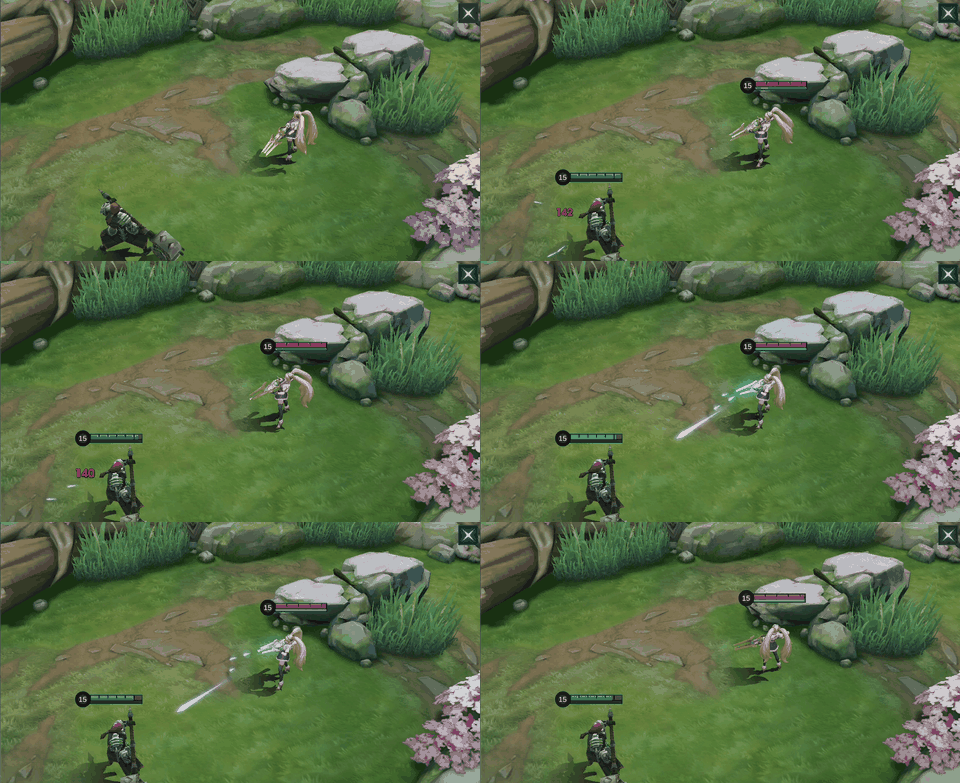
Use it well: Take controlled damage only when an exit and another skill cycle are available. His durability rises at low HP, but the passive does not make a hopeless re-entry safe.
Avoid: Do not buy Attack Speed for its normal purpose. Terizla converts it, so prioritize Physical Attack, cooldown reduction, HP, defenses, and spell-vamp value.

Revenge Strike
Skill 1 / AOE / Speed Up
Terizla cracks the ground for 300 plus 80% Extra Physical Attack Physical Damage. The fissure slows the first target by 15%, gives Terizla a 15% Movement Speed boost for 3.5 seconds, then explodes for another 300 plus 80% Extra Physical Attack and 20% of the target's lost HP.
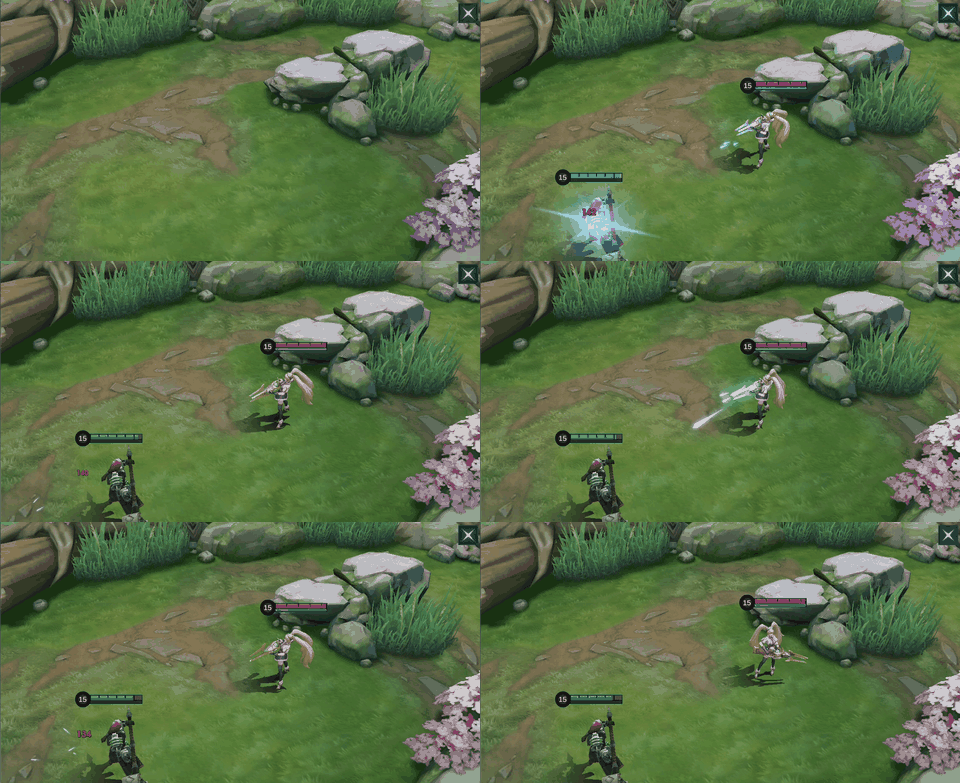
Use it well: Tag a hero before the heavy hammer sequence. The delayed explosion becomes more valuable after Execution Strike lowers the target's HP, while the speed boost helps Terizla stay close.
Avoid: Do not fire it blindly at maximum range. Wait for the target to spend a dash or walk into a narrow route so the first hit and delayed explosion both connect.

Execution Strike
Skill 2 / Burst / Slow
Terizla swings three times in a fan. The first two hits deal 90 plus 135% Total Physical Attack each; the third deals 225 plus 220% Total Physical Attack. Each hit slows by 20% for 1.25 seconds, and the slow stacks. The skill deals 80% damage to minions before its final level.
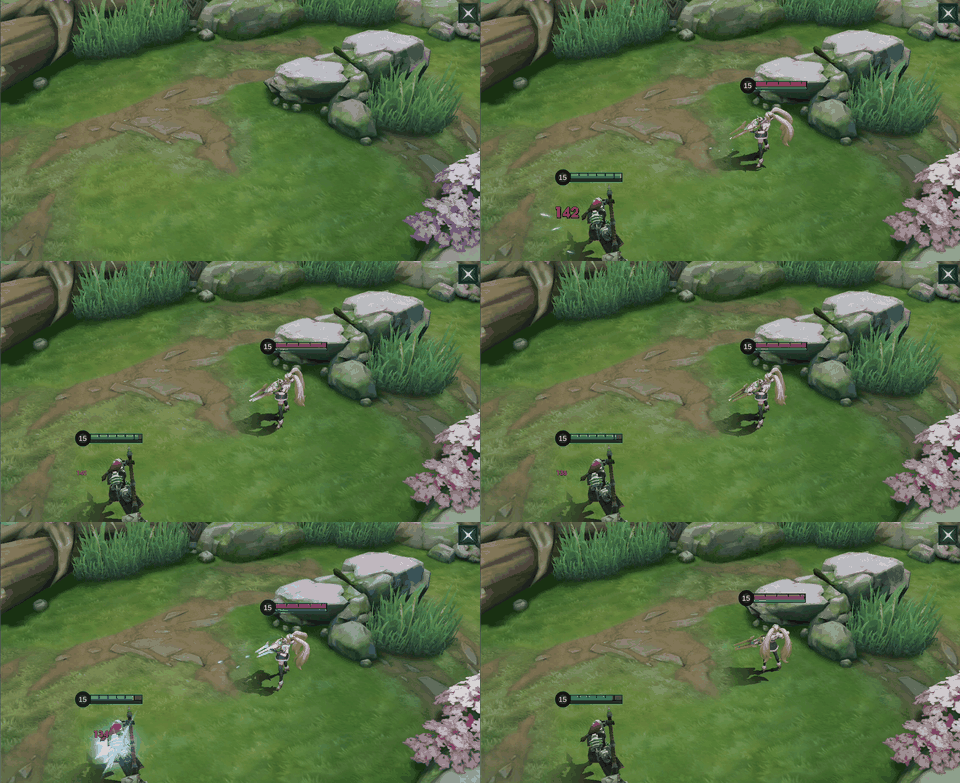
Use it well: Commit to all three swings when the target is controlled or has already spent mobility. The third swing is the payoff, so angle the first two to keep the target inside the final arc.
Avoid: Do not start the animation into open ground against a mobile hero. Terizla can reposition slightly between swings, but a missed third hit wastes most of the threat.

Penalty Zone
Ultimate / CC / AOE
Terizla jumps to a chosen area for 300 plus 100% Total Physical Attack Physical Damage and knocks enemies airborne for 0.6 seconds. The Scaffold then slows by 25%, repeatedly hooks nearby enemy heroes inward, and deals 150 plus 30% Total Physical Attack each time.
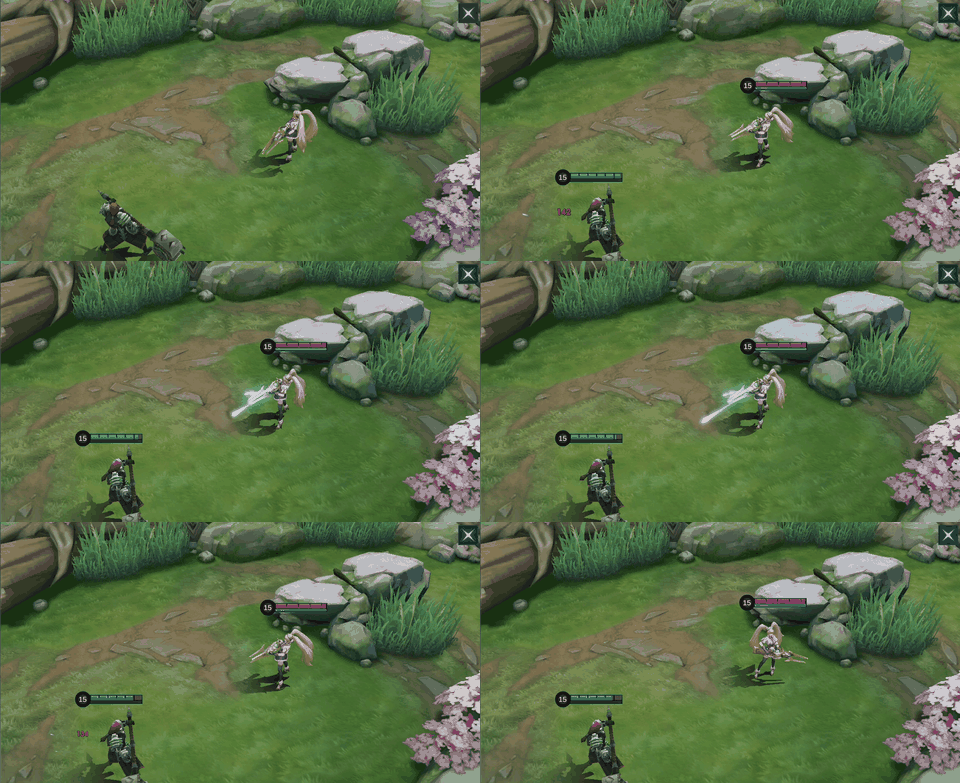
Use it well: Cast from fog, around a wall, or after an ally starts the fight. Tight jungle entrances make the repeated pulls much harder to escape than an open lane does.
Avoid: Do not announce the jump from full vision unless the target has no movement spell. Flicker can change the angle, but only if the follow-up damage is ready.
Skill Upgrade Priority
Learn Execution Strike at level 1 and prioritize it. Keep Revenge Strike as the secondary upgrade, and level Penalty Zone whenever available. This order matches Terizla's lane job: clear the wave, threaten the third swing, then use Revenge Strike to keep a damaged target from escaping.
Best Emblem and Battle Spell
Use the Custom Fighter Emblem for the balanced EXP setup. Firmness adds both defenses, Festival of Blood rewards repeated skill hits with more spell vamp, and Brave Smite restores HP when skill damage lands. Choose Thrill instead of Firmness when your draft already has a front line and you need more Adaptive Attack; choose Agility when reaching the target is the larger problem.
Flicker is the default because it changes the origin and reach of Penalty Zone. Use it to enter from an unexpected side, catch a carry beyond the normal jump, or escape after the Scaffold ends. Vengeance is the frontline alternative when the enemy's damage must pass through you. Do not spend Flicker for a low-value lane hit if the first Turtle or Lord approach is about to begin.
Current In-Game Builds
These five current in-game builds were observed on August 14, 2026. Compare the six-item order and adjust utility or defensive slots for the match.
Build 1
| Item 1 | Item 2 | Item 3 | Item 4 | Item 5 | Item 6 |
|---|---|---|---|---|---|
 Tough Boots Tough Boots |  War Axe War Axe |  Queen's Wings Queen's Wings |  Oracle Oracle |  Chastise Pauldron Chastise Pauldron |  Guardian Helmet Guardian Helmet |
Build 2
| Item 1 | Item 2 | Item 3 | Item 4 | Item 5 | Item 6 |
|---|---|---|---|---|---|
| Tough Boots | War Axe | Queen's Wings | Oracle | Chastise Pauldron | Guardian Helmet |
Build 3
| Item 1 | Item 2 | Item 3 | Item 4 | Item 5 | Item 6 |
|---|---|---|---|---|---|
 Rapid Boots Rapid Boots | War Axe | Queen's Wings |  Athena's Shield Athena's Shield |  Blade Armor Blade Armor | Oracle |
Build 4
| Item 1 | Item 2 | Item 3 | Item 4 | Item 5 | Item 6 |
|---|---|---|---|---|---|
| Rapid Boots | War Axe | Oracle | Queen's Wings |  Dominance Ice Dominance Ice |  Immortality Immortality |
Build 5
| Item 1 | Item 2 | Item 3 | Item 4 | Item 5 | Item 6 |
|---|---|---|---|---|---|
| Rapid Boots | War Axe | Queen's Wings | Athena's Shield | Blade Armor | Oracle |
Equipment Guide
Use the item notes below to decide what each slot contributes. The table describes each item independently of the numbered builds.
| Item | What it adds | When to consider it |
|---|---|---|
| Tough Boots | Movement Speed and Magic Defense, with shorter crowd-control and slow duration. | Choose against magic lane pressure or long control chains. Move to Rapid Boots only when slow resistance and rotation speed matter more than Magic Defense. |
| War Axe | Physical Attack, HP, cooldown reduction, and hybrid lifesteal; extended combat builds Fighting Spirit stacks and adds true damage at full stacks. | Buy early when Terizla can stay in contact through several swings. Delay it only when immediate anti-heal or a specific defense is required to survive the lane. |
| Queen's Wings | HP, Adaptive Attack, cooldown reduction, and spell vamp, plus a low-HP damage-reduction window and cooldown refund. | Add when the game rewards low-HP brawling and another Execution Strike cycle. Avoid relying on it as the only defense against instant burst. |
| Oracle | HP, both defenses, cooldown reduction, and stronger received healing or shielding. | Move it earlier when healing amplification and mixed defenses extend each hammer cycle. Prefer a specialized resistance item when one damage type dominates. |
| Chastise Pauldron | HP and Physical Defense, with lower enemy Attack Speed after taking damage and a low-HP recovery trigger. | Use against sustained physical Basic Attack pressure. Pick Dominance Ice instead when anti-heal and shield reduction are the larger need. |
| Guardian Helmet | A very large HP pool, HP regeneration, out-of-combat recovery, and extra healing after one heavy damage instance. | Buy late when a large HP pool and fast recovery between fights let Terizla hold the map. Replace it when percentage-HP damage makes raw health inefficient. |
| Rapid Boots | High Movement Speed, strong slow reduction, and HP regeneration for better access and rotation tempo. | Choose when a slow-heavy draft or repeated rotations prevent Terizla from reaching the fight. Replace them with Tough Boots against reliable hard control and magic burst. |
| Athena's Shield | HP, Magic Defense, and HP regeneration, with a short magic-damage reduction window after taking magic damage. | Choose against front-loaded magic burst that can remove Terizla before Body of Smith stabilizes him. Use repeated-hit magic defense for longer poke patterns. |
| Blade Armor | Heavy Physical Defense, critical-damage reduction, and reflected Basic Attack damage with a brief slow. | Choose when a critical Basic Attack carry must hit Terizla during the engage. It is weaker against spell-heavy physical damage. |
| Dominance Ice | Both defenses and Movement Speed, with more defense near enemy heroes and an aura that reduces nearby shields and HP regeneration. | Buy against healing, shields, and fast Basic Attacks when Terizla can stay close enough to keep the aura active. |
| Immortality | HP and Physical Defense, plus one delayed resurrection with a temporary shield on a long cooldown. | Use as a late safety net before a decisive Lord or base fight. Sell or replace it while the resurrection passive is unavailable if another defense will decide the next fight. |
Terizla Combos
Teamfight engage



Penalty Zone → Revenge Strike → Execution Strike. The ultimate controls the first step, Revenge Strike marks and slows the priority target, and all three hammer swings lower HP before the delayed fissure explodes. If Flicker is available, change the jump angle before the enemy sees the full animation.
Laning trade


Revenge Strike → Execution Strike. Aim the fissure after the enemy uses movement, then walk with the speed boost while casting the three swings. Stop after the second swing only when the opponent has already escaped or an incoming gank makes the third unsafe.
How to Play Terizla by Game Phase
Early game
Use the full Execution Strike sequence to contest the first wave, then protect the river side. Revenge Strike is strongest after the enemy commits movement, not as a hopeful opener from maximum range.Mid game
Clear the side lane and move first. Fight at bushes, jungle mouths, Turtle entrances, and wall corners where Penalty Zone leaves fewer clean escape paths.Late game
Track Flicker, Purify, and the enemy carry's dash before starting. Your first job is to hold a dangerous area; a carry catch is excellent, but zoning three heroes away can be equally decisive.Team fights
Do not chase one mobile target across open ground. Anchor the fight near your team's damage, let enemies walk toward an objective, then punish the point where they must group.Five Terizla Mistakes to Avoid
- Throwing Revenge Strike before the target moves. Patient enemies sidestep it and return after your only reliable leash is gone.
- Missing the third Execution Strike. Angle each swing toward the next escape route instead of repeating the same aim.
- Jumping from full vision. Penalty Zone is much stronger from fog, a wall, or an ally's first control.
- Copying one defense into every match. Athena's Shield, Blade Armor, Dominance Ice, Chastise Pauldron, and Oracle answer different threats.
- Trusting low-HP damage reduction too much. Body of Smith buys time; it does not replace a safe route out or a teammate ready to follow.
Counters and Team Synergy
Favorable matchups



Hard matchups


Arlott and Lesley exploit Terizla's slow entry with mobility or long range. Save Revenge Strike until their movement is committed and avoid open-field chases.
Best partners



Angela extends a low-HP brawl, while Gatotkaca and Atlas group enemies so Penalty Zone and Execution Strike hit several targets.
Less natural pairing

Lapu-Lapu overlaps with Terizla as a durable EXP initiator. Prefer a partner who adds reach, grouping, or immediate back-line damage.
Terizla Skins and Availability
Availability below reflects the English in-game Shop on August 14, 2026. Event and seasonal skins can return under different schedules, so the listed status is not a promise of permanent sale.

Flames of Judgment
899 Diamonds shown in-game
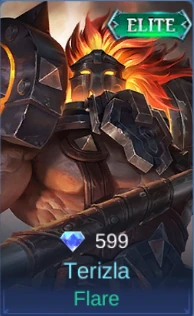
Flare
599 Diamonds shown in-game
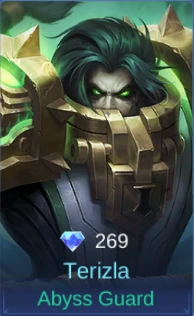
Abyss Guard
269 Diamonds shown in-game
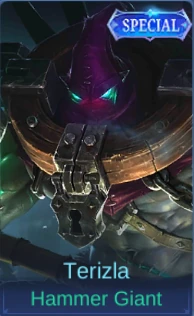
Hammer Giant
Limited-time Event
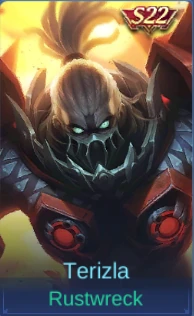
Rustwreck
S22 seasonal skin
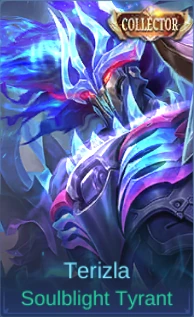
Soulblight Tyrant
Limited-time Event
Terizla Story
Terizla was once a celebrated master smith whose guild prospered across the Moniyan Empire. Rivals framed his work as forbidden magic, and the Church imprisoned him beneath the Monastery of Light. After years of torment, Alice released him and fed his anger toward the empire. He left Lumina City as the Executioner of the Abyss, carrying both his hammer and the memory of the family he had lost.
Related MLBB Guides
Terizla FAQ
What is the best Terizla build?
A durable default is Tough Boots, War Axe, Queen's Wings, Oracle, Chastise Pauldron, and Guardian Helmet. Change the last three slots for the enemy: Athena's Shield for magic burst, Blade Armor for Basic Attack pressure, Dominance Ice for healing and shields, or Immortality before a decisive late fight.
What is Terizla's best emblem?
Use the Custom Fighter Emblem with Firmness, Festival of Blood, and Brave Smite. Thrill adds more damage, while Agility helps when the draft makes target access difficult.
Should Terizla use Flicker or Vengeance?
Flicker is the general default because it improves engage reach and escape options. Vengeance is stronger when the enemy must keep hitting Terizla during a long frontline exchange.
Who counters Terizla?
Mobile heroes and long-range damage are difficult because they can avoid the third Execution Strike and leave Penalty Zone. Arlott and Lesley are clear examples; X.Borg, Karrie, and Valir also demand careful positioning and defensive item choices.
Is Terizla good for beginners?
His plan is clear, but timing matters. New players should focus on aiming Revenge Strike after enemy movement, completing the third hammer only when safe, and starting fights from fog instead of open ground.
Final Verdict
Pick Terizla when the enemy must enter a narrow space and your team can follow his first control. He is strongest when he turns one good Penalty Zone into three connected hammer swings, then survives long enough for another cycle. Build the defense the match actually asks for, keep Flicker for meaningful angles, and never confuse slow animations with passive play.
Hannah Price
Events Editor
Hannah Price is an events writer who turns schedules into priorities. She publishes weekly roundups, reward notes, and code updates for major live-service titles, linking key dates to official announcements and refreshing posts quickly when requirements or timelines change.


Table of Contents

Mobile Legends: Bang Bang
Up to 54% OFF
About ManaBuy


Copyright © FUTURE OUTLOOK TECHNOLOGY LIMITED.Company Registration No.: 77374965 All rights reserved.UNIT 135,1/F.,143 WAI YIP STREET,KWUN TONG HK