
Hanabi Guide: Best Build, Skills, Emblem, Combos, Counters and Skins

Hanabi is a Gold Lane Marksman built around safe bounce damage, Attack Effects, and shield-timed control immunity. She is strongest when a front line gives Petal Barrage several targets to bounce through. Her tradeoff is mobility: without a shield, Aegis, or careful positioning, a fast diver can reach her before she builds enough attack speed to take over the fight.
Quick Answer: What Is the Best Hanabi Build?
Take Soul Scroll at level 1 and prioritize it, then build Corrosion Scythe, Demon Hunter Sword, and Golden Staff. Add Malefic Gun when armor or range blocks your damage, and Rose Gold Meteor when burst threatens to remove you before Equinox can protect the next attack cycle.
- Pick Hanabi when: your team has reliable initiation and fights will be front to back.
- Avoid or adapt when: Lancelot, Zilong, or another hard diver can bypass the front line repeatedly.
- Default fight rule: slow with Soul Scroll, root with Higanbana, then keep Petal Barrage bouncing while Equinox or Aegis maintains the shield window.
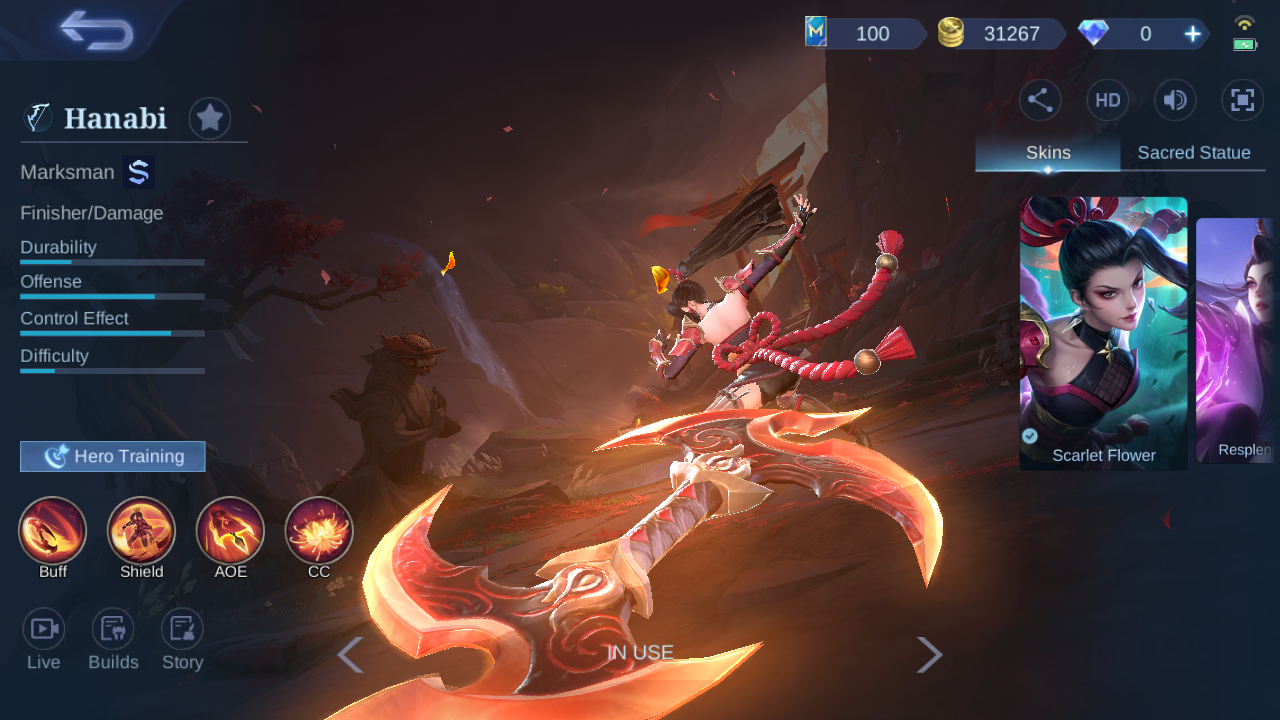
Hanabi at a Glance
| Role | Specialty | Best job | Main risk |
|---|---|---|---|
| Marksman | Finisher / Damage | Front-to-back Attack-Effect damage | Divers breaking her shield and reaching her directly |
| Durability | Offense | Control | Difficulty |
| Approx. 27% | Approx. 73% | Approx. 82% | Approx. 19% |
Attribute bars are approximate visual measurements.
Hanabi Skills: Mechanics and Decisions
 Ninjutsu: Petal Barrage
Basic Attacks and skills launch Petal Blades that bounce up to four times. Basic-Attack bounces inherit Attack Effects, so Hanabi gains unusual value from the Corrosion Scythe, Demon Hunter Sword, and Golden Staff core.
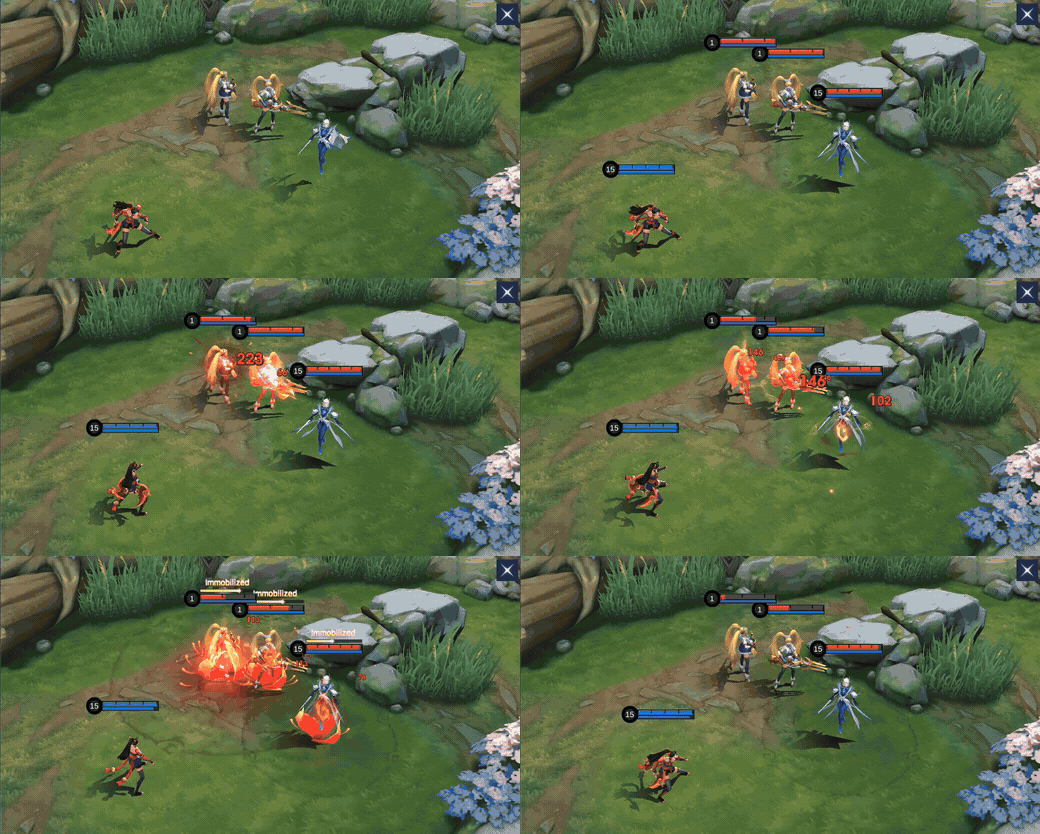
a minion or frontliner can carry bounces into a safer target.
one safe attack can pressure several enemies without Hanabi stepping forward.
Do not hit an isolated tank when no bounce path reaches the back line.
 Ninjutsu: Equinox
The passive grants control immunity while Hanabi has any shield. The active creates a five-second shield, grants movement and attack speed, and converts part of her dealt damage into more shield value.
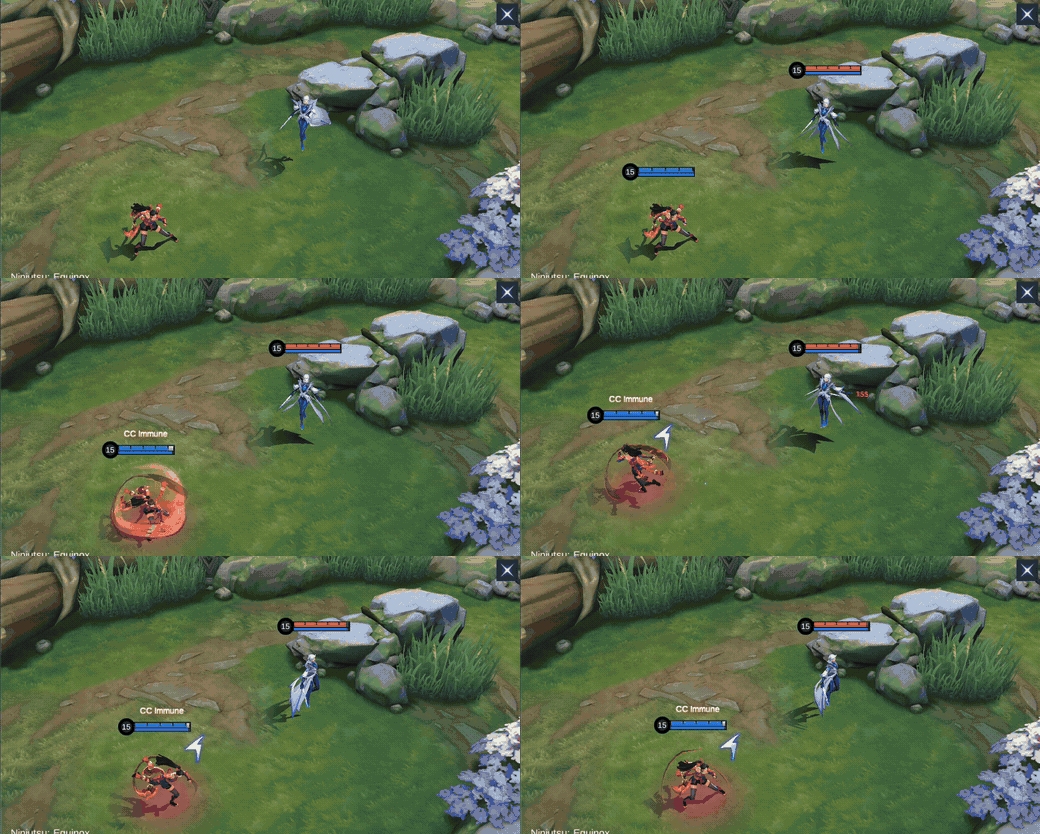
engage or crowd control is about to reach you.
pre-shielding prevents most control other than Suppression and keeps the attack chain moving.
Do not press it after control already lands; it prevents incoming control but does not cleanse an active debuff.
 Ninjutsu: Soul Scroll
A piercing kunai deals Physical Damage, slows by 60% for one second, and marks targets so the next Basic-Attack bounce deals an extra hit without damage decay.
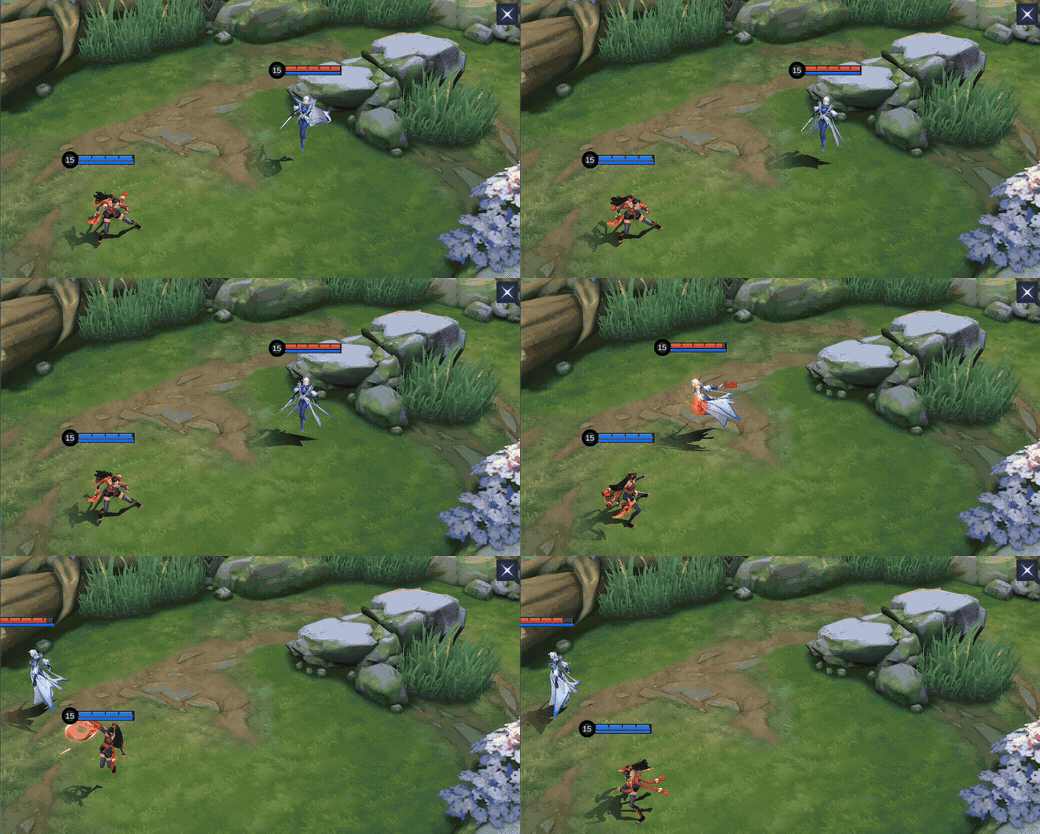
the enemy walks behind its minion wave or your team needs a clean slow to start.
the mark turns the next bounce into reliable poke and prepares Higanbana.
Do not throw it only for damage if the lane is about to be ganked and you need the slow.
 Forbidden Jutsu: Higanbana
The first hero hit takes Physical Damage and is immobilized for 0.8 seconds. One second later the flower blooms for AOE damage; repeated hits on the same target decay.
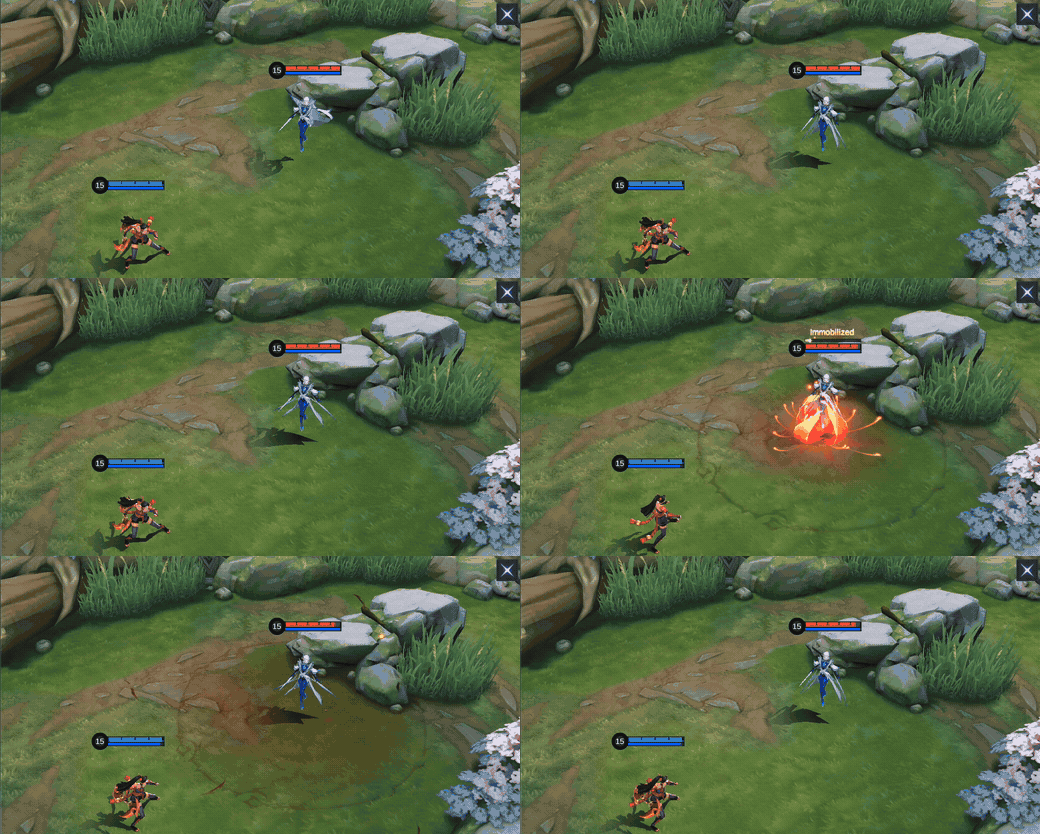
enemies are grouped, crossing a choke, or already slowed by Soul Scroll.
the first root holds the formation long enough for the bloom and bouncing attacks.
Do not fire through a frontliner with no follow-up angle; the first hero hit fixes the bloom location.
Hanabi Skill Priority and Combos
Skill upgrade priority
Take Soul Scroll at level 1 and prioritize it, with Equinox as the backup upgrade. Upgrade Higanbana whenever available. Why: Soul Scroll supplies the safest lane poke, slow, and enhanced next bounce. Do not: spend Equinox carelessly just because Soul Scroll receives more points; the shield timing decides whether Hanabi keeps attacking.
Teamfight combo
 Soul Scroll→
 Higanbana→
 Basic Attack→
 Equinox→
 Basic Attack
Order: Soul Scroll → Higanbana → Basic Attack → Equinox → Basic Attack. When: a formation groups behind its front line. Why: the slow helps Higanbana land, the first attack cashes the mark, and Equinox protects the continuing bounce chain. Do not: cast Higanbana before checking which hero will take the first hit.
Laning combo
 Soul Scroll→
 Basic Attack→
 Equinox→
 Basic Attack
Order: Soul Scroll → Basic Attack → Equinox → Basic Attack. When: the enemy stands behind minions or walks up for a last hit. Why: Soul Scroll marks the target and the following bounce lands without decay. Do not: activate Equinox so early that the shield expires before retaliation.
How to Play Hanabi by Game Phase
Early game
Last-hit safely, aim Soul Scroll through the wave, and use one Basic Attack to carry the marked bounce onto the enemy. Why: this trades without leaving the minion line. Save Equinox for a real trade or gank. Do not push without river vision just because Petal Barrage clears quickly.
Mid game
Move with the roamer and attack the nearest safe target so bounces reach deeper enemies. Why: grouped fights create more reliable bounce paths than isolated chases. Hold Higanbana for a choke or confirmed slow. Do not chase around terrain where the bounce chain has no nearby targets.
Late game
Stand one screen behind initiation, pre-shield before control arrives, and keep attacking the closest target. Why: Aegis can extend Equinox immunity at the decisive moment while Petal Barrage reaches the back line indirectly. Do not walk forward to reach a carry when the carry can be reached by bounces.
Five Hanabi Mistakes That Lose Winnable Fights
- Attacking the wrong front target. Choose the unit that creates a bounce path toward the enemy damage dealers.
- Using Equinox as a late cleanse. It prevents incoming control while shielded; it does not remove control that already landed.
- Opening Higanbana into the wrong hero. The first hero hit fixes the bloom location, so check the line before casting.
- Copying Swift Boots into heavy Physical pressure. Warrior Boots can be the correct lane survival choice.
- Walking into range instead of using bounces. Hanabi wins by damaging from safety, not by chasing a low target past her front line.
Best Hanabi Emblem and Battle Spell
Default: Marksman Emblem + Aegis
Talents: Agility, Weapons Master, Weakness Finder. When: standard Gold Lane scaling and front-to-back fights. Why: movement helps spacing, Weapons Master scales the item core, Weakness Finder improves kiting, and Aegis supplies another shield that activates Equinox control immunity. Do not: wait until after control lands before shielding.
Damage or escape alternatives
Inspire raises the ceiling when allies can protect a long attack window. Flicker is safer when one diver or engage angle must be dodged. Do not: drop Aegis when shield-timed immunity is the only reliable answer to the enemy control chain.
Current route cross-checks: Hanabi build and Emblem guide, 2026 Gold Lane guide, and Flicker/Inspire comparison; accessed July 31, 2026.
Current In-Game Builds
These five current in-game builds were observed on August 11, 2026. Compare the six-item order and adjust defensive or utility slots for the match.
Build 1
| Item 1 | Item 2 | Item 3 | Item 4 | Item 5 | Item 6 |
|---|---|---|---|---|---|
 Corrosion Scythe Corrosion Scythe |  Swift Boots Swift Boots |  Golden Staff Golden Staff |  Demon Hunter Sword Demon Hunter Sword |  Malefic Gun Malefic Gun |  Rose Gold Meteor Rose Gold Meteor |
Build 2
| Item 1 | Item 2 | Item 3 | Item 4 | Item 5 | Item 6 |
|---|---|---|---|---|---|
| Corrosion Scythe | Swift Boots | Golden Staff | Demon Hunter Sword | Malefic Gun | Rose Gold Meteor |
Build 3
| Item 1 | Item 2 | Item 3 | Item 4 | Item 5 | Item 6 |
|---|---|---|---|---|---|
| Corrosion Scythe | Swift Boots | Demon Hunter Sword | Golden Staff | Malefic Gun |  Sea Halberd Sea Halberd |
Build 4
| Item 1 | Item 2 | Item 3 | Item 4 | Item 5 | Item 6 |
|---|---|---|---|---|---|
| Corrosion Scythe |  Warrior Boots Warrior Boots | Demon Hunter Sword | Golden Staff | Malefic Gun | Rose Gold Meteor |
Build 5
| Item 1 | Item 2 | Item 3 | Item 4 | Item 5 | Item 6 |
|---|---|---|---|---|---|
| Corrosion Scythe |  Rapid Boots Rapid Boots | Golden Staff | Demon Hunter Sword | Malefic Gun | Rose Gold Meteor |
Equipment Guide
Use the item notes below to decide what each slot contributes. The table describes the equipment itself, independent of any numbered build.
| Item | What it adds | When to consider it |
|---|---|---|
| Corrosion Scythe | Attack speed and slow | Core for sticking to targets and accelerating basic-attack pressure. |
| Swift Boots | Attack speed | Use when lane pressure is manageable and faster attack scaling is valuable. |
| Golden Staff | Attack-effect conversion | Central to Hanabi's on-hit attack-speed build. |
| Demon Hunter Sword | Current-HP damage | Strong into durable targets and extended basic-attack fights. |
| Malefic Gun | Range and physical penetration | Helps deal damage from safer spacing into armored targets. |
| Rose Gold Meteor | Magic defense and emergency shield | Use when magic burst threatens Hanabi before she can sustain. |
| Sea Halberd | Anti-heal and physical damage | Use when enemy healing or shield recovery must be reduced. |
| Warrior Boots | Physical defense | Choose when physical lane pressure is the immediate problem. |
| Rapid Boots | Rotation speed | Helps reach lanes, bushes, and engage angles earlier. |
Hanabi Counters and Team Synergy
Hanabi needs time and nearby targets. Crowd-control initiators create both, while direct divers break her shield before she can refresh it.
| Draft read | Heroes | Mechanism and action |
|---|---|---|
| Hanabi pressures |   | Equinox can ignore their control while shielded. Pre-shield before the engage, keep distance, and attack through the nearest safe target. |
| Hanabi struggles into |   | They can cross the front line and burst the shield. Hold Aegis or Flicker, show late, and never farm an isolated side lane after objectives spawn. |
| Best initiation partners |   | Grouped control gives Petal Barrage and Higanbana maximum value. Wait for the initiation, then attack the closest target instead of walking past your tank. |
| Direct interaction |  | Lolita can disrupt projectile pressure and protect a formation. Change angle, wait out her protection, and do not dump the entire bounce window into a prepared shield. |
| Team-shape caution |  | Both marksmen need protected space and Gold income. Avoid a draft that lacks initiation or forces one of them into an unsupported role. |
| Additional Gold Lane read |  | Use minions and Kupa as bounce anchors, but respect burst and trap vision before extending the lane. |
Hanabi Base Stats
| HP | 2,260 | Mana | 500 |
|---|---|---|---|
| HP Regen | 6 | Mana Regen | 4 |
| Physical ATK | 111 | Magic Power | 0 |
| Physical DEF | 17 | Magic DEF | 15 |
| Attack Speed | 1.06 | Movement SPD | 245 |
| Attack Speed Ratio | 100% | Primary lane | Gold Lane |
Level-one stats as of July 31, 2026.
Hanabi Skins and Availability
The in-game Shop displayed 12 Hanabi cards. Purchase prices, StarLight dates, series tags, and limited-event labels are dated observations; check the current Shop before spending because rotations can change.
| Preview | Skin | Series | Observed availability |
|---|---|---|---|
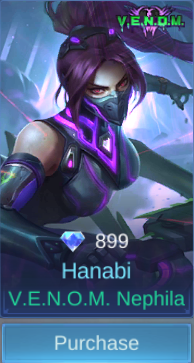 | V.E.N.O.M. Nephila | V.E.N.O.M. | 899 Diamonds / Purchase |
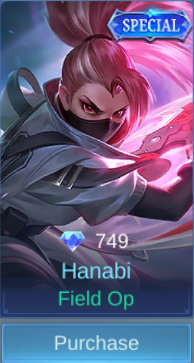 | Field Op | SPECIAL | 749 Diamonds / Purchase |
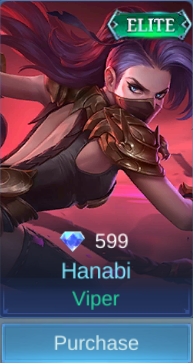 | Viper | ELITE | 599 Diamonds / Purchase |
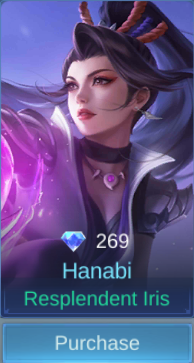 | Resplendent Iris | Standard | 269 Diamonds / Purchase |
 | Fiery Moth | STAR | 04/2019 StarLight Member |
 | Rakshesha | LUCKYBOX | Limited-time Event |
 | Riverland Phoenix | COLLECTOR | Limited-time Event |
 | Moonlit Ninja | ALLSTAR | Limited-time Event |
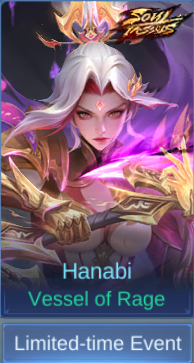 | Vessel of Rage | Soul Vessels | Limited-time Event |
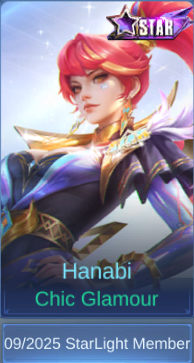 | Chic Glamour | STAR | 09/2025 StarLight Member |
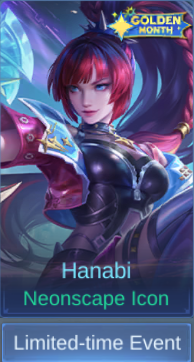 | Neonscape Icon | GOLDEN MONTH | Limited-time Event |
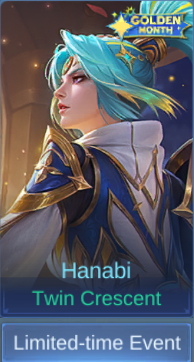 | Twin Crescent | GOLDEN MONTH | Limited-time Event |
Hanabi Story
Hanabi leads the Scarlet Sect and enters the Scarlet Shadow's trials believing victory is the only proof of worth. After confronting the Seven Armaments and her own obsessions, she finally understands Hayabusa's warning that some things are more precious than winning. The ending leaves her unsure of the exact route ahead, but certain that she can choose it herself.
Hanabi FAQ
What is Hanabi's best teamfight combo?
Use Soul Scroll, Higanbana, a Basic Attack, Equinox, then continue Basic Attacks. The slow helps the root land, the first attack cashes the mark, and Equinox protects the longer attack window.
Which Hanabi skill should I level first?
Take Soul Scroll at level 1 and prioritize it, keep Equinox as the backup upgrade, and level Higanbana whenever available.
What is the best Emblem for Hanabi?
Marksman Emblem with Agility, Weapons Master, and Weakness Finder supports her movement, item scaling, and Attack-Effect kiting.
Is Aegis or Inspire better for Hanabi?
Aegis is the safer default because another shield activates Equinox control immunity. Inspire is stronger only when allies can protect a full damage window.
Why does Hanabi build Golden Staff?
Golden Staff converts critical chance into Attack Speed and makes every third Basic Attack trigger Attack Effects twice, multiplying the Corrosion Scythe and Demon Hunter Sword core.
Are Hanabi skin prices permanent?
No. The table records the in-game on July 31, 2026; direct-sale prices, StarLight labels, and limited-event rotations can change.
Verdict: Is Hanabi Worth Learning?
Yes if you enjoy patient Gold Lane scaling and front-to-back teamfights. Hanabi is easier mechanically than many marksmen, but good play still demands shield timing, bounce-path selection, and discipline against divers. Learn to attack the nearest safe target while damaging the enemy back line through Petal Barrage; that is the habit that turns her simple controls into real late-game pressure.
Related MLBB Guides
Compare ranged positioning in the Layla Guide, study point-and-click engage in the Franco Guide, or review sustained front-line play in the Alpha Guide.





Copyright © FUTURE OUTLOOK TECHNOLOGY LIMITED.Company Registration No.: 77374965 All rights reserved.UNIT 135,1/F.,143 WAI YIP STREET,KWUN TONG HK