
Alpha Guide: Best Build, Skills, Emblem, Combos, Counters and Skins

Alpha is a Fighter who starts pressure with a slow, sustains through Force Swing, and turns one clean Ultimate into a concentrated Beta barrage. He is easiest to understand as a two-stage hero: first establish Beta's lock-on, then keep landing skills so the passive adds True Damage while Alpha survives the return fire.
Quick Answer: What Is the Best Alpha Build?
Max Force Swing first and build for sustained contact. A reliable current core is Tough Boots or Ice Hunter's Tough Boots, War Axe, Queen's Wings, then Oracle or Brute Force Breastplate. Add Sky Piercer or Blade of Despair only when ahead; use Winter Crown, Rose Gold Meteor, or Immortality when surviving the second rotation matters more.
- Pick Alpha when: your team can follow Spear of Alpha and fights last long enough for repeated Beta lasers.
- Avoid or adapt when: displacement, suppression, or burst prevents the Force Swing heal.
- Core discipline: land Force Swing on multiple units when possible, but never delay it until after lethal burst.
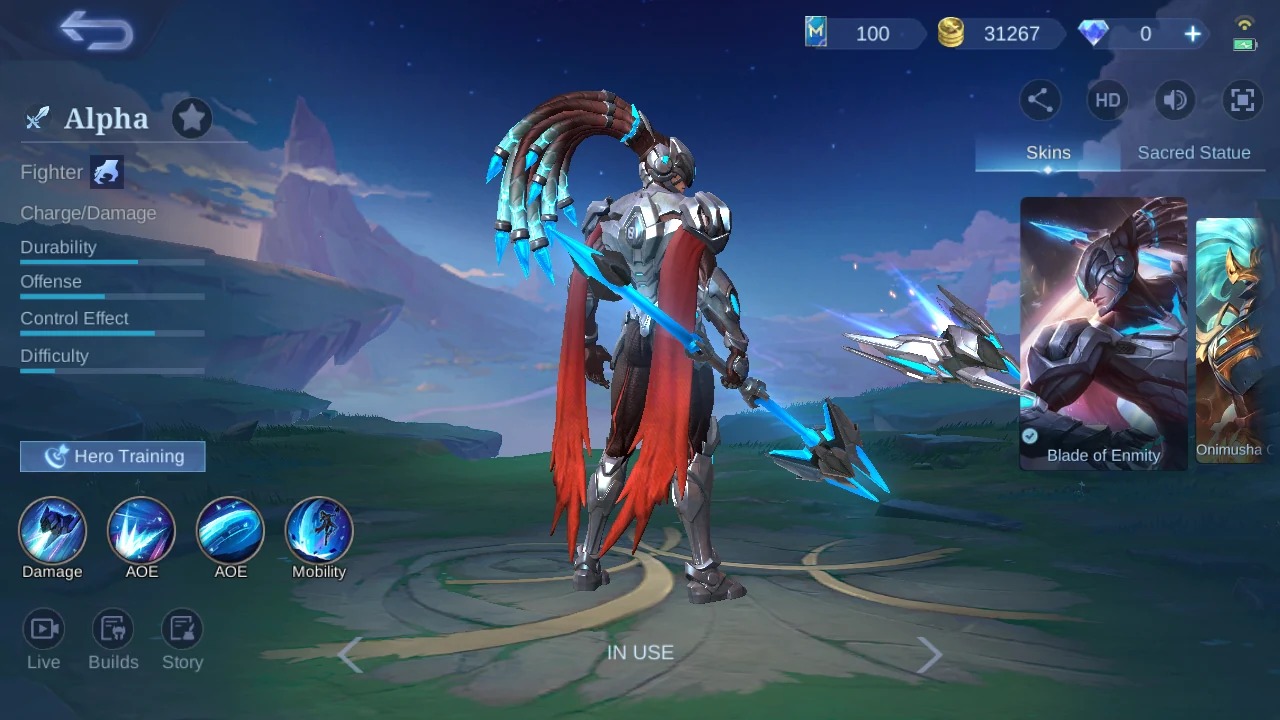
Alpha at a Glance
| Role | Specialty | Best job | Main risk |
|---|---|---|---|
| Fighter | Charge / Damage | Front-to-back brawl and carried engage | Missing Force Swing or entering without follow-up |
| Durability | Offense | Control | Difficulty |
| Approx. 64% | Approx. 46% | Approx. 73% | Approx. 19% |
Attribute bars are approximate visual measurements.
Alpha Skills: Mechanics and Decisions
 Beta, Advance!
Every damaging skill summons Beta. After Beta hits the same target twice, it becomes Locked On; later skill hits trigger a laser that deals level-scaling True Damage and slows. Beta deals reduced damage to creeps.
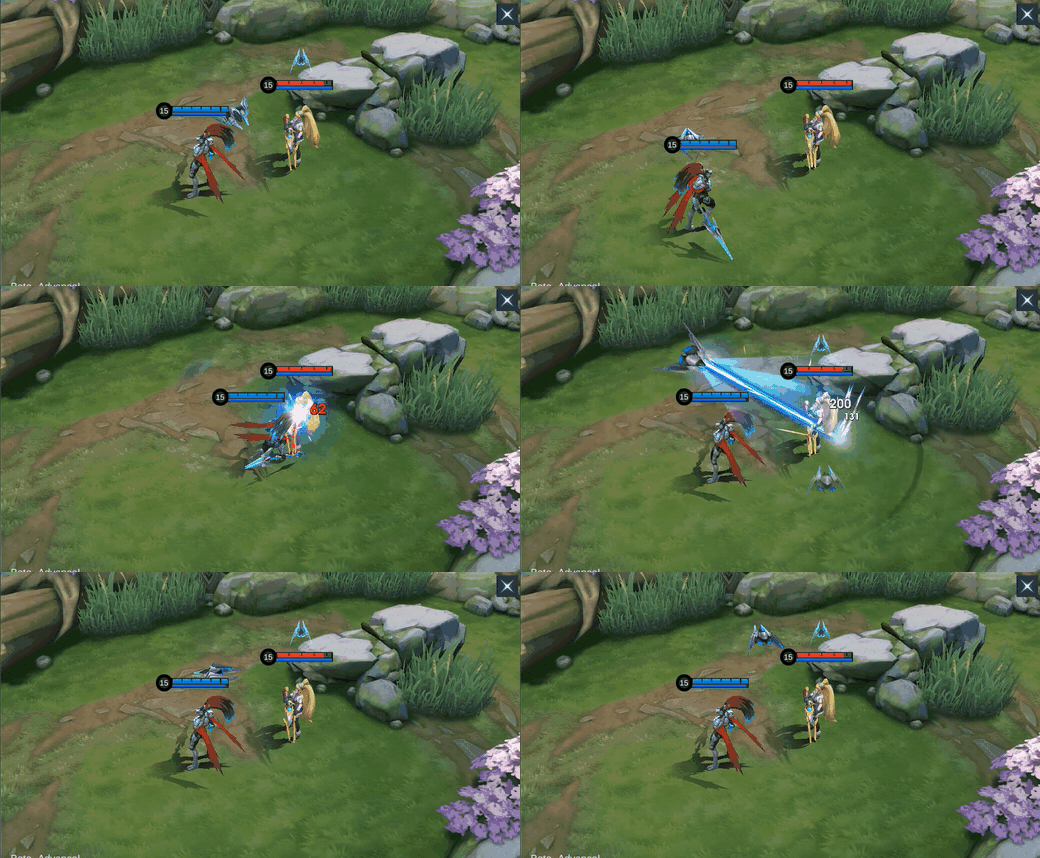
you are planning a sustained trade and can land more than one skill.
The second hit turns every later skill connection into extra True Damage, so Alpha becomes stronger after contact starts.
Do not judge the passive from a single isolated poke; the lock-on sequence is the payoff.
 Rotary Impact
A four-second line strike that deals Physical Damage and slows by 40% for one second. Beta follows the path with True Damage.
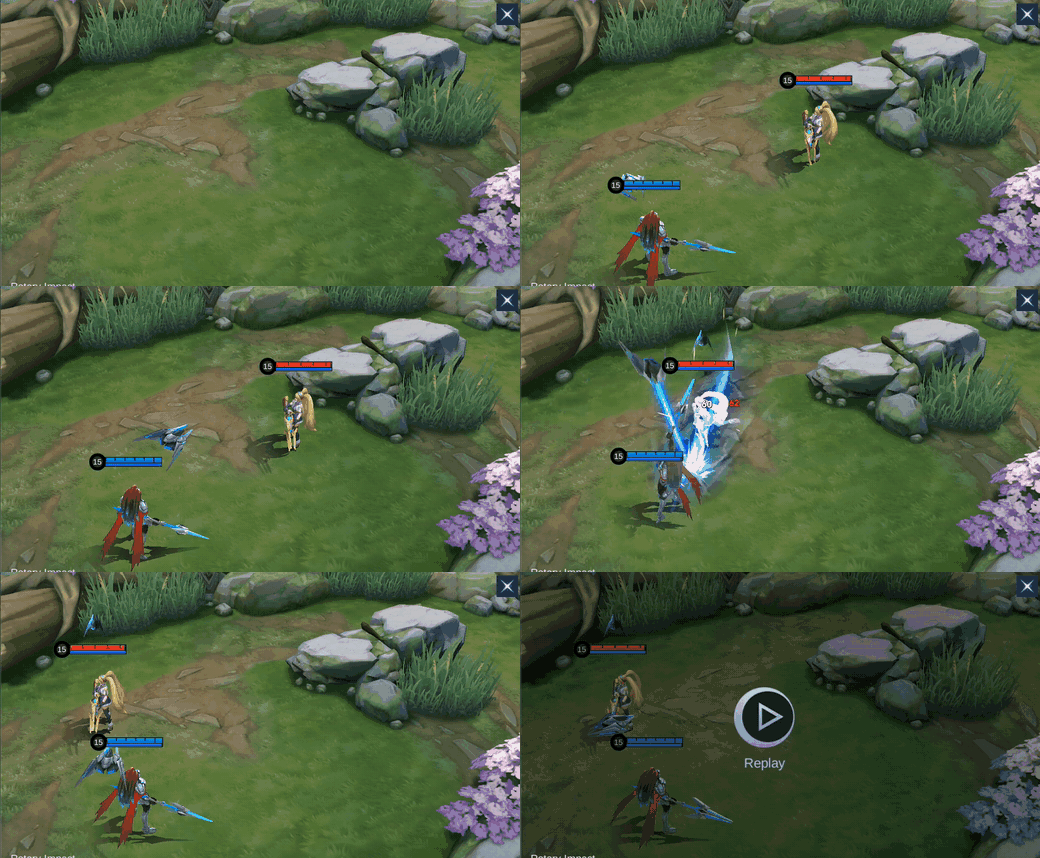
you need to tag, slow, or check a target before committing.
The low cooldown begins Beta pressure and makes Force Swing easier to connect.
Do not spend it blindly into a hidden bush if the slow is needed to secure your entry.
 Force Swing
A broad swing that deals Physical Damage and restores HP for every enemy hit. Beta follows with True Damage. The skill triggers Spell Vamp.
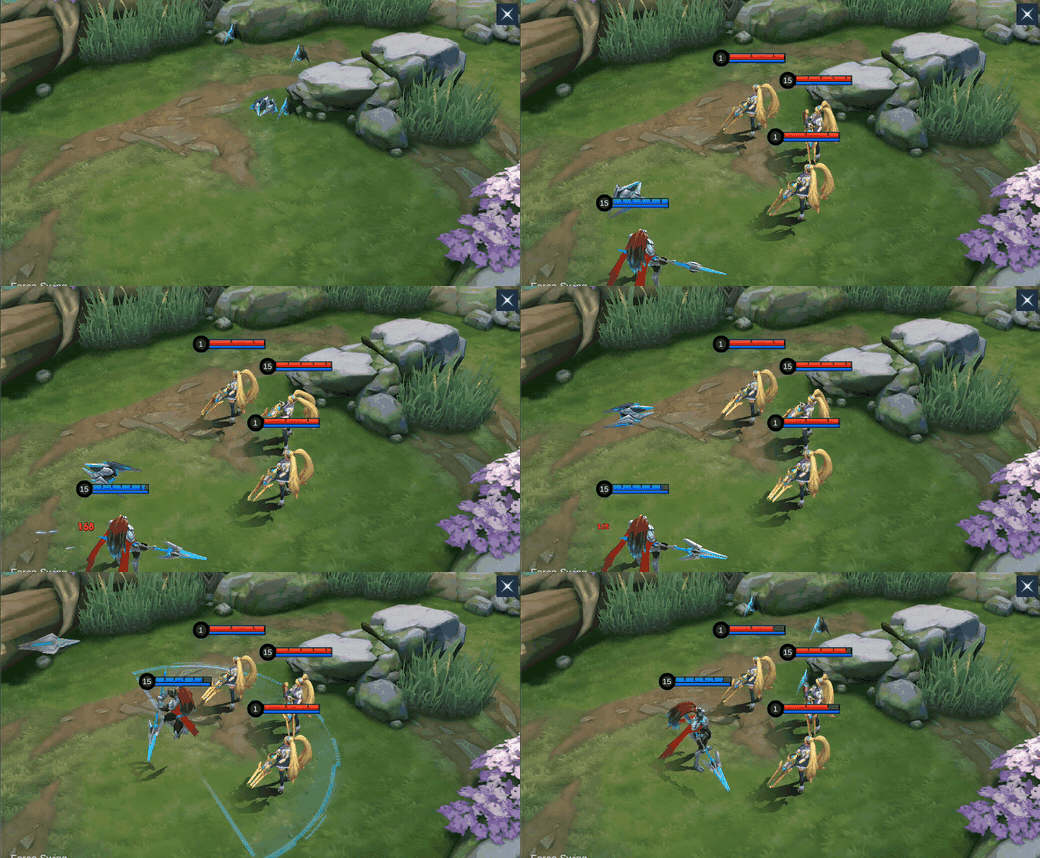
several minions or heroes are inside the arc, or you need the sustain before continuing a brawl.
One cast combines wave control, healing, and Beta damage, which is why it is Alpha's upgrade priority.
Do not cast before targets enter the swing; a missed Force Swing removes both damage and healing.
 Spear of Alpha
Beta marks and stuns the destination, Alpha charges through and carries targets, then Beta strafes the landing zone five times with True Damage. The charge can pass obstacles.
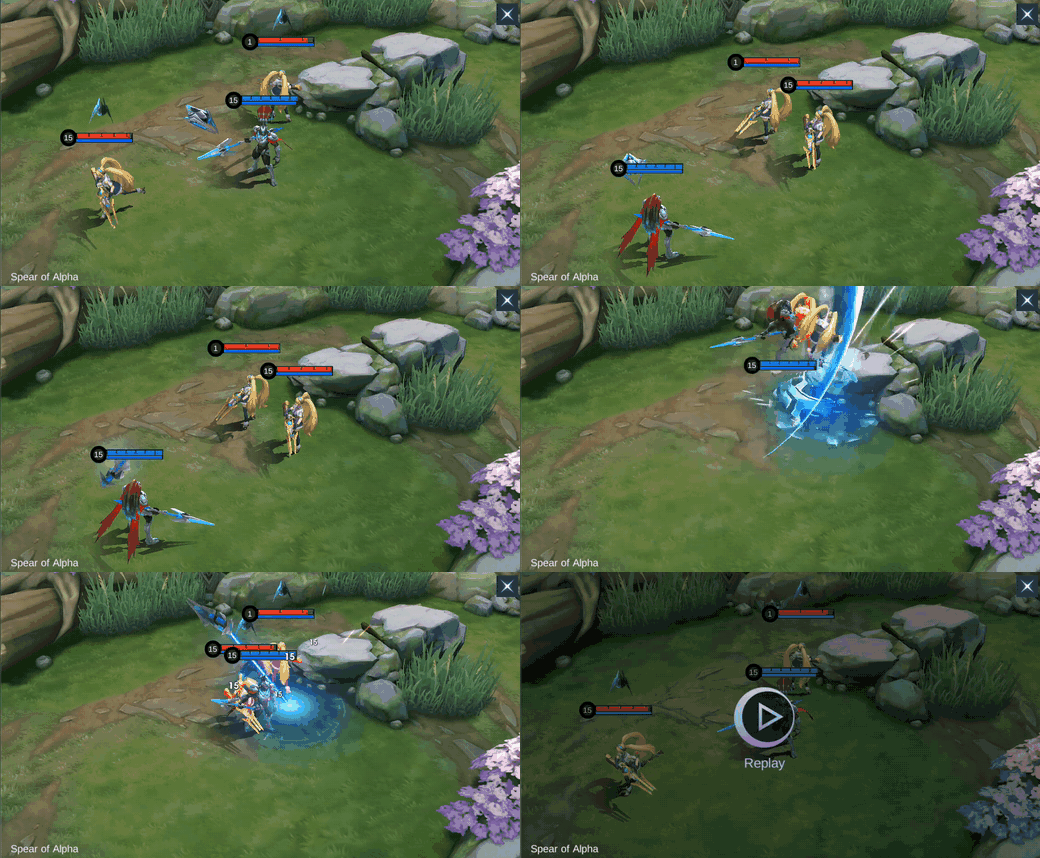
a priority target is reachable and allied damage can follow the carried landing.
Stun, displacement, slow, and repeated True Damage compress Alpha's whole threat into one controlled zone.
Do not use it only for distance into an unknown back line; keep an exit or follow-up plan.
Alpha Skill Priority and Combos
Skill upgrade priority
Take Force Swing (Skill 2) at level 1 and prioritize it, with Rotary Impact as the backup upgrade. Upgrade Spear of Alpha whenever available. Why: Force Swing supplies wave control, hero damage, healing, and a Beta follow-up in one cast. Do not: split early points evenly when the sustain skill can reach its next breakpoint sooner.
Teamfight combo
 Spear of Alpha→
 Force Swing→
 Rotary Impact→
 Basic Attack
Order: Spear of Alpha → Force Swing → Rotary Impact → Basic Attack. When: an allied control or enemy positioning makes the landing zone reliable. Why: the carry sets up Force Swing's wide hit and keeps the target inside Beta damage. Do not: throw Spear of Alpha through the whole enemy team if nobody can reach your landing.
Laning combo
 Rotary Impact→
 Force Swing→Basic Attack
Order: Rotary Impact → Force Swing → Basic Attack. When: the slow can make the center of Force Swing connect. Why: Rotary starts Beta pressure and Force Swing restores health during the trade. Do not: walk past the wave merely to force the last Basic Attack.
How to Play Alpha by Game Phase
Early game
Use Force Swing across the wave and opponent when the arc is safe. Why: one cast pushes, heals, and pressures. Keep Rotary Impact for the slow that secures a follow-up; do not empty both skills before the enemy jungler appears.
Mid game
Fight around Turtle and narrow entrances where Spear of Alpha has a predictable landing. Enter after a key escape is used. Do not chase so far that Beta's lock-on has no allied damage behind it.
Late game
Choose between carrying a damage dealer into your team and peeling a diver away from yours. Why: the Ultimate's displacement can decide positioning even without a solo kill. Do not build only damage if one control chain prevents every Force Swing.
Five Alpha Mistakes That Lose Winnable Fights
- Using Force Swing too early. Wait until the target is inside the arc, then collect both damage and healing.
- Treating the passive as instant burst. Beta needs repeated contact; plan the second and third skill hit.
- Ulting without a landing plan. Carrying a target away from allies can rescue it instead of killing it.
- Copying Hunter boots into EXP lane. Ice Hunter's Tough Boots require a Retribution jungle route.
- Buying execute damage while behind. Sky Piercer loses stacks on death; stabilize with Queen's Wings, Oracle, Brute Force, or Immortality first.
Best Alpha Emblem and Battle Spell
Default EXP: Fighter Emblem + Vengeance
Talents: Firmness, Festival of Blood, Brave Smite. When: use this into sustained trades or return burst. Why: defense, Spell Vamp scaling, skill-hit healing, and Vengeance protect the window needed for another Force Swing. Do not: enter before important control is spent simply because Vengeance is ready.
Jungle: Fighter Emblem + Retribution
Talents: Firmness or Agility, Seasoned Hunter, then Brave Smite or Impure Rage. When: Alpha is assigned jungle. Why: Seasoned Hunter and Retribution support clearing and objective control. Do not: use Retribution or Hunter boots in EXP lane.
Aggressive alternative
Talents: Agility, Seasoned Hunter, Impure Rage appears in an older role-specific guide. When: the draft rewards faster access and mana/damage pressure. Why: it trades some sustain for tempo. Do not: present one dated setup as universally best; choose by role and enemy damage.
Alpha hero overview.
Five Pro Setups and the Item Decisions Behind Them
The five observed Build snapshots converge on War Axe and Queen's Wings. Four use the Ice Hunter boot blessing, which signals jungle context, not a universal lane prescription. Why: War Axe supports long fights while Queen's Wings protects the low-HP healing window. Do not copy Sky Piercer when behind or Hunter boots without Retribution.
Build 1
| Item 1 | Item 2 | Item 3 | Item 4 | Item 5 | Item 6 |
|---|---|---|---|---|---|
 Tough Boots Tough Boots |  War Axe War Axe |  Queen's Wings Queen's Wings |  Oracle Oracle |  Winter Crown Winter Crown |  Brute Force Breastplate Brute Force Breastplate |
Build 2
| Item 1 | Item 2 | Item 3 | Item 4 | Item 5 | Item 6 |
|---|---|---|---|---|---|
| Ice Hunter's Tough Boots | War Axe |  Sky Piercer Sky Piercer | Queen's Wings |  Blade of Despair Blade of Despair | Oracle |
Build 3
| Item 1 | Item 2 | Item 3 | Item 4 | Item 5 | Item 6 |
|---|---|---|---|---|---|
| Ice Hunter's Tough Boots | War Axe | Sky Piercer | Brute Force Breastplate | Queen's Wings |  Rose Gold Meteor Rose Gold Meteor |
Build 4
| Item 1 | Item 2 | Item 3 | Item 4 | Item 5 | Item 6 |
|---|---|---|---|---|---|
| Ice Hunter's Tough Boots | Sky Piercer | War Axe | Queen's Wings | Brute Force Breastplate |  Immortality Immortality |
Build 5
| Item 1 | Item 2 | Item 3 | Item 4 | Item 5 | Item 6 |
|---|---|---|---|---|---|
| Ice Hunter's Tough Boots | War Axe | Sky Piercer | Queen's Wings | Blade of Despair | Oracle |
Top-five ranked builds as of July 30, 2026.
Alpha Equipment Matrix
| Item | Decision role | Buy when | Do not buy when |
|---|---|---|---|
| Tough Boots / Ice Hunter's Tough Boots | Standard Tough Boots add control reduction and Magic Defense; the Ice Hunter's variant adds the Hunter jungle blessing. | enemy control or Magic Damage stops your entry; use the Ice Hunter's variant only when assigned jungle with Retribution | Do not buy the Ice Hunter's variant in EXP lane; choose Warrior Boots if Physical Basic Attacks are the only threat. |
| War Axe | HP, cooldown reduction, Hybrid Lifesteal, and stacking combat damage fit long fights. | you can stay active long enough to build Fighting Spirit | Do not buy when the fight ends before stacks build. |
| Queen's Wings | Low-HP damage reduction, Spell Vamp, and cooldown relief help Alpha survive and swing again. | burst leaves you low but not instantly dead | Do not buy when the enemy can disengage until Demonize expires. |
| Oracle | Raises received shields and HP regeneration while adding mixed defense. | healing and shields are central and enemy damage is mixed | Do not buy when you need armor penetration or anti-burst first. |
| Winter Crown | Frozen buys two untargetable seconds while already-cast effects continue. | you need to survive a telegraphed burst after committing | Do not buy when using the active would strand your team or cancel your needed movement. |
| Brute Force Breastplate | Repeated damage grants Adaptive Attack, Movement Speed, and eventually control reduction. | the fight is extended and Physical Damage matters | Do not buy when Magic burst is the sole threat. |
| Sky Piercer | Movement Speed and an execute reward early kills but stacks fall on death. | you are ahead and consistently finishing targets | Do not buy when you are behind or dying on each engage. |
| Blade of Despair | Huge Physical Attack and a low-HP target bonus accelerate cleanup. | your core is complete and you can safely reach wounded targets | Do not buy when survival or penetration is the real limit. |
| Rose Gold Meteor | Attack Speed, Lifesteal, Hybrid Defense, and a low-HP shield answer burst. | Magic burst ends your Force Swing cycle | Do not buy when the enemy cannot burst and a direct defense item is better. |
| Immortality | A late resurrection can protect objective fights and high-value shutdowns. | one death would decide Lord or the game | Do not buy when its passive is unavailable or you lack damage to matter after reviving. |
Alpha Counters and Team Synergy
Alpha needs a reliable landing and enough time to cast Force Swing. Draft around those two conditions instead of measuring only raw damage.
| Draft read | Heroes | Decision |
|---|---|---|
| Alpha pressures |   | Carry immobile marksmen after their peel is used; do not cross the entire front line alone. |
| Alpha struggles into |   | Chou can displace the engage and Gusion can burst between heals. Build survival and wait for key cooldowns. |
| Best teammate signal |  | Terizla holds enemies in Alpha's landing zone; follow his control rather than racing ahead. |
| Compatible setup |   | Use their control or pick pressure to make Spear of Alpha reliable. |
| Counter opportunity |  | Repeated True Damage helps into a durable target, but do not ignore Barats' displacement. |
| Special caution |  | Diggie can erase the control window. Track Time Journey before committing the Ultimate. |
Alpha Base Stats
| HP | 2,468 | Physical ATK | 121 |
|---|---|---|---|
| HP Regen | 7.8 | Movement SPD | 260 |
| Physical DEF | 25 | Magic DEF | 15 |
| Attack Speed | 1.14 | Attack Speed Ratio | 100% |
| Mana | 500 | Mana Regen | 6 |
| Magic Power | 0 | Primary sustain | Force Swing |
Level-one stats as of July 30, 2026.
Alpha Skins and Availability
The in-game Shop displayed nine Alpha cards. Prices, event labels, and rotations are dated observations; check the current Shop before spending.
| Preview | Skin | Series | Observed availability |
|---|---|---|---|
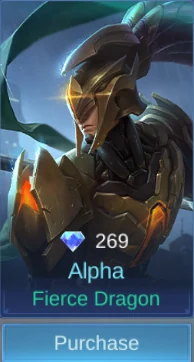 | Fierce Dragon | Standard | 269 Diamonds / Purchase |
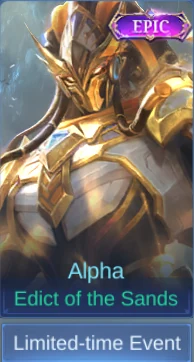 | Edict of the Sands | EPIC | Limited-time Event |
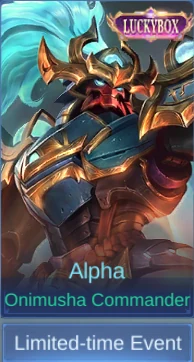 | Onimusha Commander | Luckybox | Limited-time Event |
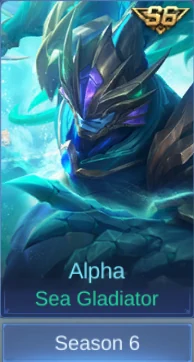 | Sea Gladiator | S6 | Season 6 |
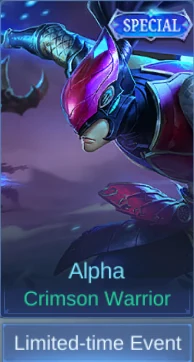 | Crimson Warrior | SPECIAL | Limited-time Event |
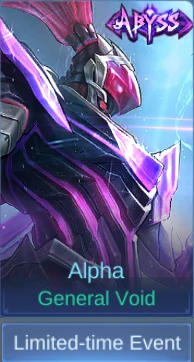 | General Void | ABYSS | Limited-time Event |
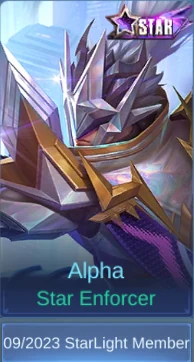 | Star Enforcer | STAR | 09/2023 StarLight Member |
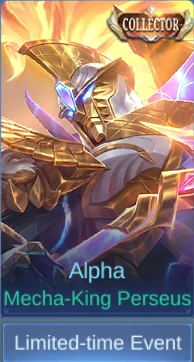 | Mecha-King Perseus | COLLECTOR | Limited-time Event |
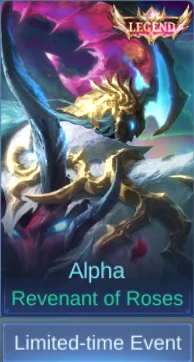 | Revenant of Roses | LEGEND | Limited-time Event |
Alpha Story
Alpha is an artificial life created by Laboratory 1718. Dr. Octavius designed him as a loyal armored knight and paired him with the combat machine Beta. Their linked consciousness produced something the laboratory did not expect: fear, loyalty, and the beginnings of a soul. Sent after Saber, Alpha eventually carried the damaged Beta away from battle and resolved to find the soul whose power Saber had described.
Alpha FAQ
What is Alpha's best combo?
Use Spear of Alpha → Force Swing → Rotary Impact → Basic Attack in a committed fight. In lane, use Rotary Impact → Force Swing → Basic Attack after the slow makes the swing reliable.
Which Alpha skill should I level first?
Take and prioritize Force Swing, with Rotary Impact second. Upgrade Spear of Alpha whenever available.
What is the best Emblem for Alpha?
For EXP lane, Fighter Emblem with Firmness, Festival of Blood, and Brave Smite is the sustain default. In jungle, use Seasoned Hunter and Retribution.
Is Vengeance or Retribution better for Alpha?
Vengeance is the EXP-lane default when surviving return damage matters. Retribution is only for jungle and enables the Hunter boot route.
Why does Alpha build War Axe?
It combines HP, cooldown reduction, Hybrid Lifesteal, and stacking combat damage, matching Alpha's repeated skill-and-Beta pattern.
Are Alpha skin prices permanent?
No. The table records the in-game on July 30, 2026; Shop price and event labels can change.
Verdict: Is Alpha Worth Learning?
Yes, especially if you want a forgiving Fighter whose decisions still matter. Alpha's inputs are simple, but good play depends on making Force Swing connect, choosing a useful Ultimate landing, and building enough survival to reach the second skill cycle. Use Beta's lock-on as the signal to keep pressure, not as permission to chase without allies.
Related MLBB Guides
Compare engage choices in the Franco Roam Guide, study side-lane pressure in the Zilong Guide, or review back-line positioning in the Layla Guide.




Copyright © FUTURE OUTLOOK TECHNOLOGY LIMITED.Company Registration No.: 77374965 All rights reserved.UNIT 135,1/F.,143 WAI YIP STREET,KWUN TONG HK