
Diggie MLBB Guide: Best Build, Emblem, Skills, Combos, and Counters

Diggie is a Support roamer who turns enemy initiation into a bad trade. Reverse Time drags divers back, stacked Auto Alarm Bombs punish narrow approaches, and Time Journey clears debuffs while protecting nearby allies. Pick him into teams that depend on close-range crowd control; protect his Ultimate from light slows or harmless stuns so it is ready for the decisive engage.

Diggie at a Glance
| Role | Win condition | Main risk | Best job |
|---|---|---|---|
| Support / Roam | Deny the first engage, keep a carry free to attack, and control chokepoints before objectives | Spending Time Journey too early, being burst before the engage, or placing bombs after the enemy has already crossed the zone | Stand near the protected damage dealer, tether divers, and turn enemy crowd control into a wasted cooldown |
Diggie Skills and Decision Rules

Young Again - Buff / Passive
Upon death, Diggie reverses time and turns back to egg form, in which he can continue to move around and gains a new set of skills. He cannot be targeted in egg form and will revive after a period of time.
When: Use egg form to scout safe information and keep contributing while the revive timer runs. Why: The passive removes Diggie as a normal target after death and lets him reposition for the next life. Avoid: Do not feed repeated deaths for vision; the next living rotation still matters.
Rule: Egg form is untargetable, but it does not erase effects or damage over time already on Diggie.
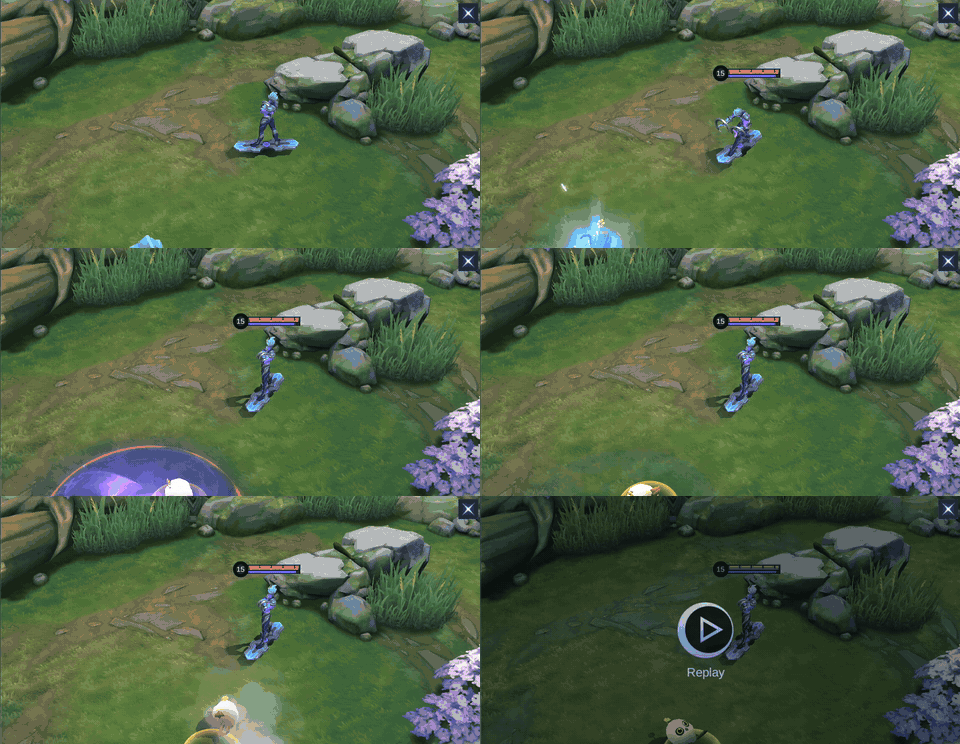

Auto Alarm Bomb - AOE / Slow
Diggie flings an owl alarm to the target location that remains stationary for 25s or until it reacts to the first enemy in range, chasing them and exploding upon collision. The explosion deals 350 (+100% Total Magic Power) Magic Damage to enemies hit and slows them by 30%. Diggie gains 2 stacks of Dangerous Sparks each time an enemy hero is hit by the explosion (up to 60 stacks), each stack increasing the skill's damage by 1%. He loses half the stacks upon death, but can gain 1 stack of Dangerous Sparks each time his skill hits an enemy hero when in egg form. Up to 5 owl alarms can exist at the same time.
When: Place bombs before Turtle, Lord, or a turret fight; spread them enough that one trigger does not waste the whole zone. Why: Preparation converts time into area denial, while Dangerous Sparks reward repeated enemy-hero hits. Avoid: Do not stack all five bombs where one tank can trigger them safely.
Rule: Up to five alarms may exist at once; each enemy-hero hit adds two Dangerous Sparks, up to 60 stacks.
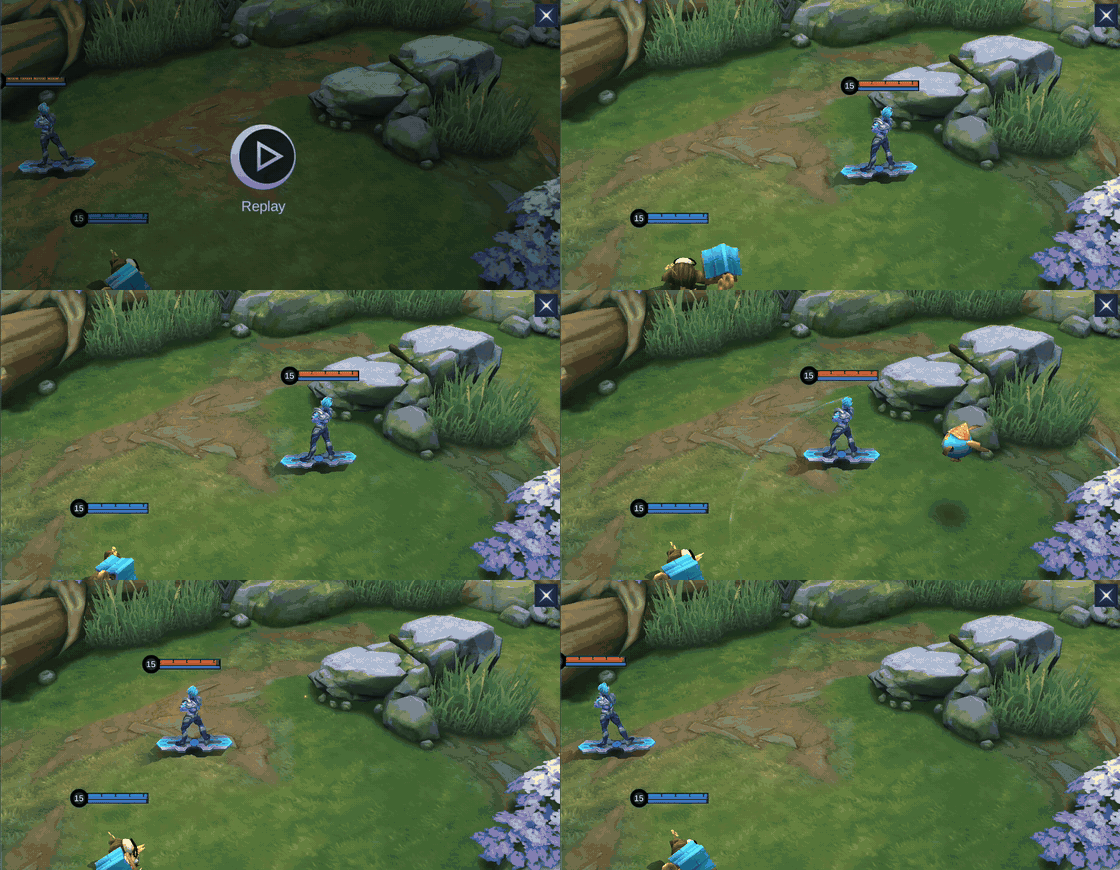

Reverse Time - CC / Damage
Diggie marks the target enemy hero for 4s and pulls them back to their previous location after the duration ends, dealing 150 (+100% Total Magic Power) Magic Damage and briefly slowing them by 80%. If the enemy moves out of the circle, the pull will be triggered early.
When: Cast on a diver after they commit movement, or on a mobile target just before it leaves your carry's attack range. Why: The forced return interrupts pursuit and makes the target predictable for allied damage. Avoid: Do not tether a target before it commits if it can simply wait out or reposition around the circle.
Rule: Moving outside the circle triggers the pull early, so cast it before a diver spends the escape tool.
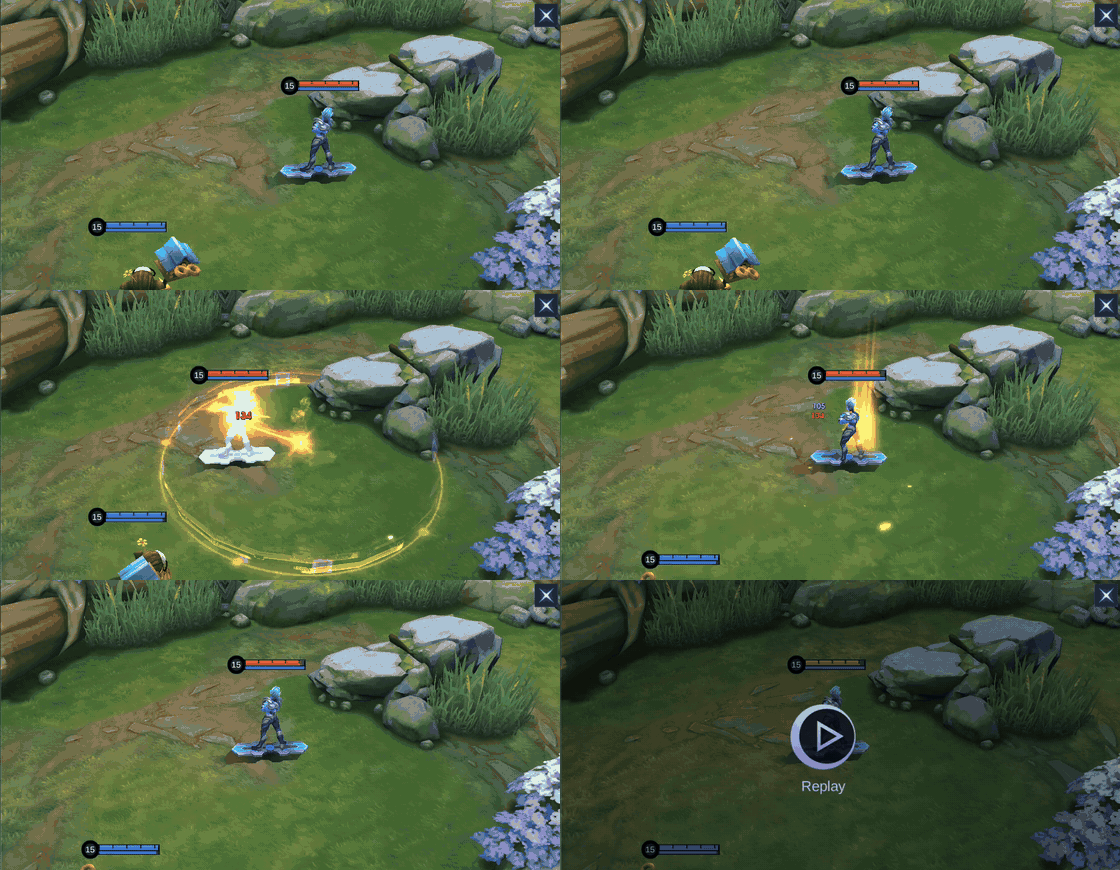

Time Journey - CC Immune / Speed Up
Diggie removes all debuffs on nearby allied heroes (including himself) and grants them a 650 (+300% Total Magic Power) shield and Control Immunity for 2s. He also gains 50% Movement Speed for 0.5s.
When: Wait for the disabling skill or lethal burst window, then cleanse and shield nearby allies together. Why: A two-second Control Immunity window can invalidate an entire engage, and the shield buys time for the counterattack. Avoid: Do not spend it on a minor effect when Atlas, Lolita, or another major engage is still available.
Rule: Control Immunity covers Control and Slow effects except Suppression; the shield is consumed before normal HP.
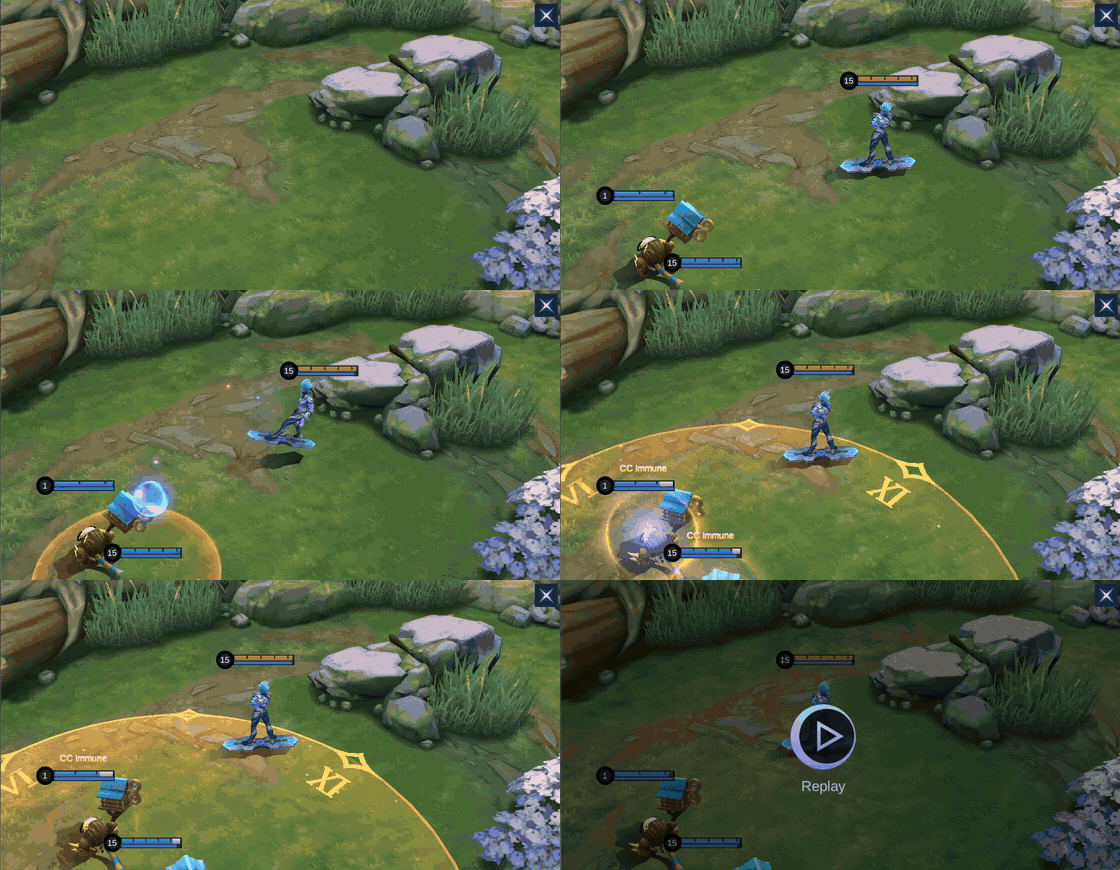
Skill Priority and Combos
Teamfight response



Prepare the approach with Auto Alarm Bomb, tether the first committed diver with Reverse Time, then use Time Journey after crowd control lands or just before the protected ally would be locked down. Revitalize follows when sustained damage continues after the cleanse.
Lane pressure


Mark the enemy with Reverse Time after a dash or step forward, then place Auto Alarm Bomb on the return path. This order makes the bomb harder to sidestep and gives your marksman a predictable target.
How to Play Diggie by Phase
Early game
Help the lane secure space without taking unsafe deaths. Use bushes and wall edges to hide bomb placement, tether enemies only after they commit, and rotate early enough to prepare objective entrances.
Mid game
Play one screen behind the first contact and keep Time Journey in range of the carry. Set alarms before the contest starts, then punish the diver who crosses the zone rather than chasing the enemy back line.
Late game
Your Ultimate is often more valuable than your life. Stay outside the first burst angle, track suppression separately because Control Immunity does not cover it, and layer Revitalize after the cleanse when the fight becomes a sustained damage race.
Five Common Diggie Mistakes
- Using Time Journey on light control: the enemy keeps the real engage and wins the next few seconds.
- Placing bombs after contact: Auto Alarm Bomb is strongest when it controls the route before opponents arrive.
- Clumping every alarm: one durable target clears the entire setup with little cost.
- Tethering too early: the enemy waits, changes direction, or saves the dash until Reverse Time has little value.
- Standing beside the carry in the same threat line: one burst can force the shield before the enemy engage has fully developed.
Best Emblem and Battle Spell
Support Emblem
Agility adds 4% Movement Speed for faster positioning. Pull Yourself Together shortens Battle Spell and active-equipment cooldowns, scaling further with kills or assists. Focusing Mark lets allies deal 6% more damage to the enemy Diggie has damaged and grants them 10% Movement Speed for three seconds.
Revitalize
The Healing Spring lasts four seconds, restores 2.5% Max HP every 0.4 seconds, and increases healing and shield received by 20%. Place it where your carry can keep attacking rather than forcing the team to retreat through the edge of the zone.
The same Support Emblem route and Revitalize choice are also reflected in the current MLBBHub Diggie reference. Flicker is a positioning alternative when one instant escape matters more than team sustain.
Current In-Game Builds
These five current in-game builds were observed on August 11, 2026. Compare the six-item order and adjust utility or defensive slots for the match.
Build 1
| Item 1 | Item 2 | Item 3 | Item 4 | Item 5 | Item 6 |
|---|---|---|---|---|---|
 Flask of the Oasis Flask of the Oasis |  Demon Shoes Demon Shoes |  Fleeting Time Fleeting Time |  Immortality Immortality |  Guardian Helmet Guardian Helmet |  Chastise Pauldron Chastise Pauldron |
Build 2
| Item 1 | Item 2 | Item 3 | Item 4 | Item 5 | Item 6 |
|---|---|---|---|---|---|
| Demon Shoes | Flask of the Oasis | Fleeting Time | Guardian Helmet |  Athena's Shield Athena's Shield | Immortality |
Build 3
| Item 1 | Item 2 | Item 3 | Item 4 | Item 5 | Item 6 |
|---|---|---|---|---|---|
| Demon Shoes | Flask of the Oasis | Fleeting Time | Guardian Helmet | Athena's Shield | Immortality |
Build 4
| Item 1 | Item 2 | Item 3 | Item 4 | Item 5 | Item 6 |
|---|---|---|---|---|---|
| Demon Shoes | Flask of the Oasis | Fleeting Time | Guardian Helmet | Chastise Pauldron | Immortality |
Build 5
| Item 1 | Item 2 | Item 3 | Item 4 | Item 5 | Item 6 |
|---|---|---|---|---|---|
| Demon Shoes | Flask of the Oasis | Fleeting Time | Guardian Helmet | Athena's Shield | Immortality |
Equipment Guide
Use the item notes below to decide what each slot contributes. The table describes each item independently of the numbered builds.
| Item | What it adds | When to consider it |
|---|---|---|
| Demon Shoes | +40 Movement Speed and +10 Mana Regen. Mysticism restores 4% Mana after a qualifying minion kill or assist. | Choose it when repeated bomb and tether casts are draining Mana; consider another movement item only if control resistance or a different utility need is more urgent. |
| Flask of the Oasis | +60 Magic Power, +300 HP, +10% Cooldown Reduction, and +12% Healing Effect. Blessing can shield a low-HP target for 3 seconds and shorten the caster's skill cooldowns by 2 seconds. | Buy it when Time Journey's shield must protect a low-HP ally and cooldown reduction improves the next defensive rotation. |
| Fleeting Time | +30 Adaptive Attack, +600 HP, and +15% Cooldown Reduction. Timestream reduces the Ultimate's current cooldown by 30% after a hero kill or assist. | Use it when takedowns are frequent enough to bring Time Journey back for the next engage; delay it in slow games where defensive durability is the immediate problem. |
| Immortality | +850 HP and +15 Physical Defense. Immortal revives the holder after 2.5 seconds with 16% HP and a temporary shield; cooldown 210 seconds. | Take it late when surviving a dive or forcing the enemy to spend a second rotation keeps your next cleanse available. |
| Guardian Helmet | +1800 HP and +20 HP Regen. Recovery restores HP after 5 seconds out of combat, while Defender refunds HP after a large single hit. | Choose it for a large HP pool and fast recovery between objective skirmishes; it is less urgent when focused magic burst is the only threat. |
| Chastise Pauldron | +900 HP and +40 Physical Defense. Chastise limits an attacker's Attack Speed for 2 seconds; Redemption restores 20% Max HP after dropping below 30% HP, with a 60-second cooldown. | Buy it into fast Basic Attack damage or when the low-HP recovery can absorb a physical dive. |
| Athena's Shield | +900 HP, +48 Magic Defense, and +2 HP Regen. Shield reduces Magic Damage taken by 25% for 3 seconds after a hero's magic hit and resets after leaving combat. | Choose it against concentrated magic burst; swap toward physical protection when magic damage is minor or mostly sustained. |
Best Teammates, Threats, and Favorable Matchups
| Group | Heroes | Why it matters | What to do |
|---|---|---|---|
| Best partners |   Layla, Miya Layla, Miya | Immobile marksmen gain the most from a cleanse, shield, tethered diver, and prepared bomb zone. | Hold a position that keeps both the carry and the first diver inside your spell range. |
| Hard threats |   Ling, Aamon Ling, Aamon | Agile burst assassins can reach Diggie before he has a safe response window. | Track their entry, keep vision around walls, and avoid standing in the same line as the carry. |
| Favorable matchups |   Atlas, Lolita Atlas, Lolita | Their close-range crowd-control plans are vulnerable to Reverse Time and a well-timed Time Journey. | Do not cleanse the first harmless slow; wait for the engage that would actually lock your team. |
Level-One Base Stats
| Stat | Value |
|---|---|
| HP | 2320 |
| HP Regen | 7.2 |
| Physical Attack | 115 |
| Physical Defense | 15 |
| Attack Speed | 1.0 |
| Attack Speed Ratio | 100% |
| Mana | 500 |
| Mana Regen | 4.0 |
| Magic Power | 0 |
| Magic Defense | 15 |
| Movement Speed | 250 |
Diggie Skins and Availability
| Preview | Skin | Tag | Availability |
|---|---|---|---|
 | Constellation | Special | 749 Diamonds |
 | Circus Clown | Elite | 599 Diamonds |
 | Pigeoneer | Basic | 269 Diamonds |
 | Fairytaler | Epic | Limited-time Event |
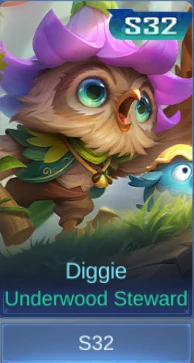 | Underwood Steward | S32 | S32 reward |
Shop availability was checked in-game on August 11, 2026. Event and season labels describe the current listing and are not permanent direct-sale promises.
Diggie Story in Brief
Scholars and thinkers gather in Antoinerei, where Diggie studies chronoscience and the secrets hidden inside clocks. His Time Nest lets him control time and free allies from its physical shackles, while his owl alarms punish anyone who underestimates him.
Related MLBB Guides
View Mobile Legends: Bang Bang on ManaBuyDiggie FAQ
What is the best Diggie skill priority?
Learn and prioritize Auto Alarm Bomb, keep Reverse Time as the backup upgrade, and level Time Journey whenever available.
What is the best Diggie Emblem?
Support Emblem with Agility, Pull Yourself Together, and Focusing Mark is the clearest team-protection route.
Which Battle Spell should Diggie use?
Revitalize is the default for sustained team protection. Flicker is an alternative when instant repositioning is essential.
When should Diggie use Time Journey?
Use it after meaningful crowd control lands or immediately before a protected ally would be locked down. Save it through minor effects if the enemy's main engage is still ready.
Who counters Diggie?
Ling and Aamon can reach and burst him quickly. Keep safer spacing, track their entry routes, and avoid sharing the carry's threat line.
Who does Diggie counter?
Atlas and Lolita rely on close-range crowd control that Reverse Time and Time Journey can disrupt.
Final Verdict
Diggie wins by preparing the map and refusing the enemy their clean engage. Put bombs where the fight will happen, tether movement after it is committed, and preserve Time Journey for the control that decides the fight. If the enemy draft can burst Diggie from an unseen angle or suppress the protected target, position farther back; otherwise, his cleanse and zone control can make a close-range initiation composition collapse on contact.




Copyright © FUTURE OUTLOOK TECHNOLOGY LIMITED.Company Registration No.: 77374965 All rights reserved.UNIT 135,1/F.,143 WAI YIP STREET,KWUN TONG HK