
Grock MLBB Roam Guide: Build, Emblem, Skills, Combos, and Counters

Grock is a terrain-based Tank/Fighter who creates walls, forces displacement, and turns nearby obstacles into extra defense and crowd control. Pick him when your team can follow a fast engage or needs a durable roamer to close lanes and jungle entrances; avoid charging first when enemy mobility can kite around the wall or your damage dealers are too far away to follow.
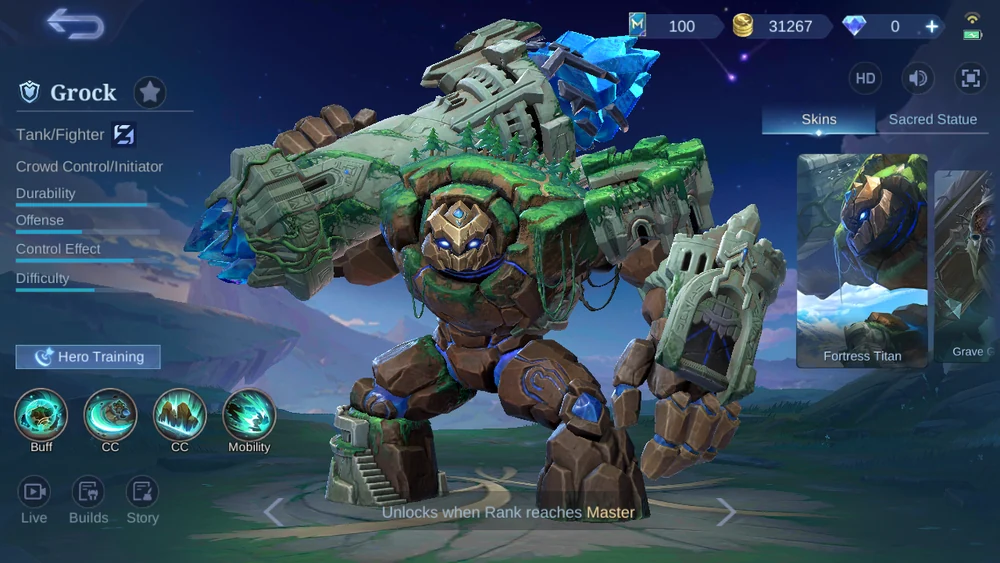
Grock at a Glance
| Role | Strength | Risk | Best job |
|---|---|---|---|
| Tank / Fighter / Roam | High durability, terrain control, displacement, fast initiation | Engages lose value without a nearby wall or allied follow-up | Control narrow routes, isolate targets, and create a clean entry for area damage |
Grock Skills and Decision Rules

Bastion of Stone
Buff · Passive
Bastion of Stone grants a Max-HP shield and empowers the next Basic Attack. Near terrain, its cooldown falls faster; while the shield is active, Grock gains extra Physical Defense and his skills cannot be interrupted.
When: Path beside terrain before the fight so the shield refreshes faster and the empowered hit is ready.
Why: The shield links positioning near terrain to both survival and pressure.
Do not: Do not drift into open space and give up the passive's fastest cooldown condition.
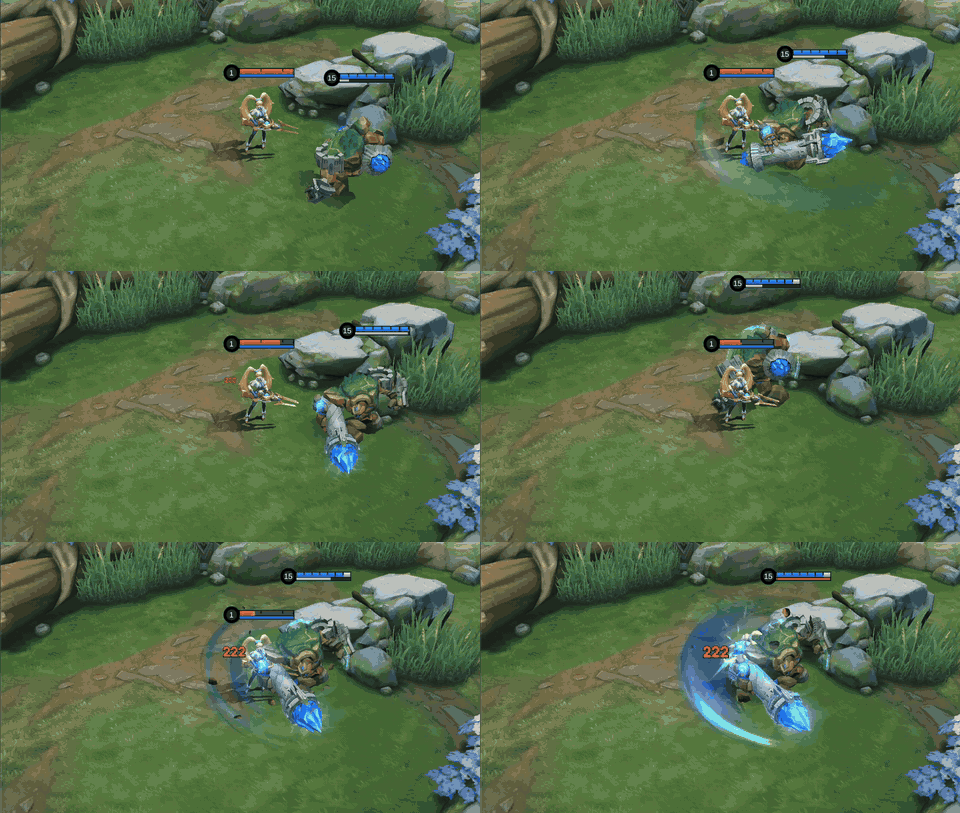
Mighty Swing
CC / AOE · 8.0
Mighty Swing strikes forward. If an obstacle is behind the target, Grock knocks the enemy into it, launches them airborne, and adds Max-HP-based Physical Damage.
When: Use after a wall or natural obstacle is behind the target, not just for a small knockback in open ground.
Why: Terrain converts Grock's raw durability and movement into reliable control.
Do not: Do not spend the main displacement before the wall is placed or the enemy reaches terrain.
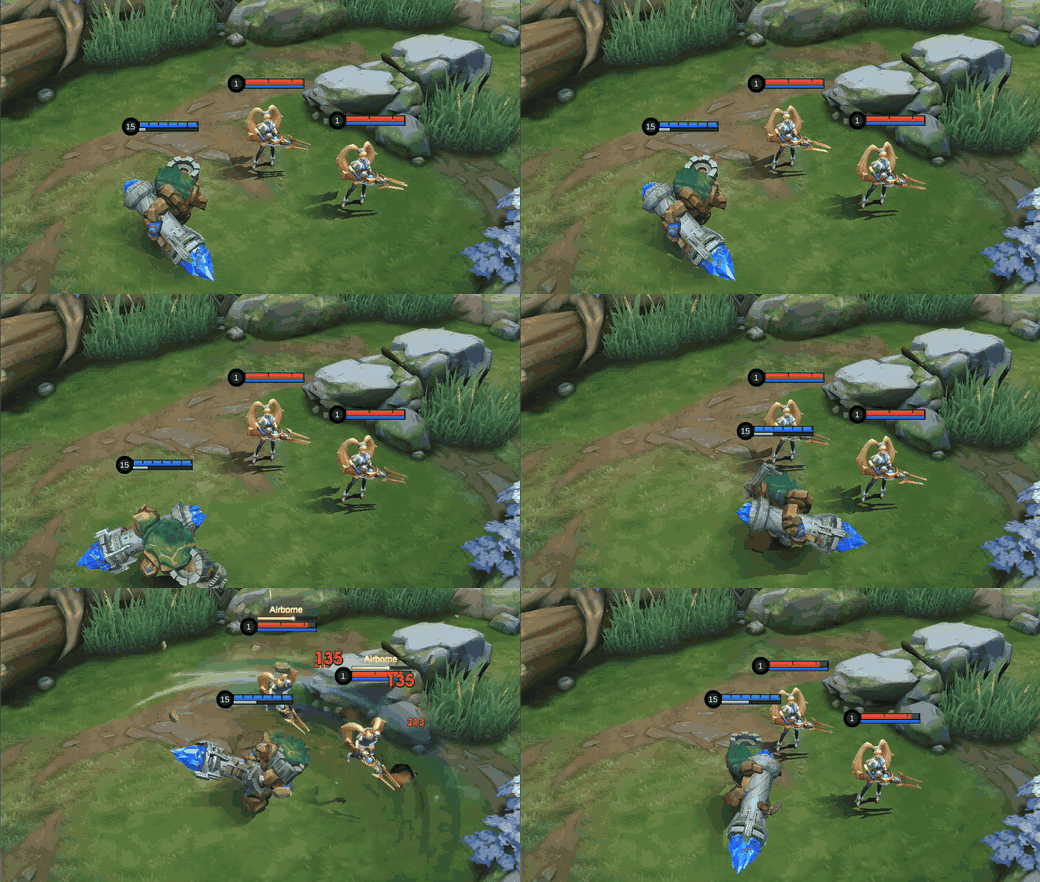
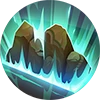
Earthen Rampart
CC / AOE · 14.0
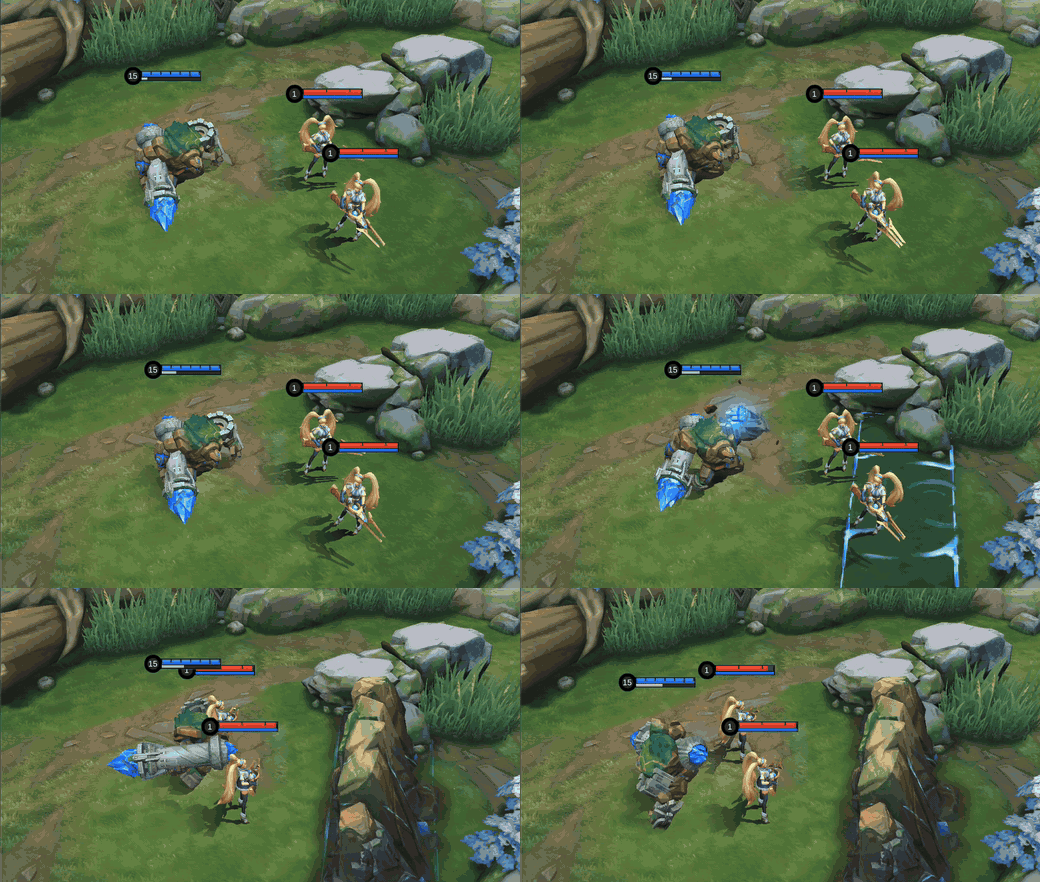
Earthen Rampart creates a stone wall after a brief delay, damages enemies, and knocks them toward Grock. Cast it again to remove the wall early.
When: Close an escape route, split a formation, or create the surface needed by Mighty Swing and Tectonic Charge.
Why: Terrain converts Grock's raw durability and movement into reliable control.
Do not: Do not trap allies away from the fight or block their safest retreat path.

Tectonic Charge
Mobility / AOE · 55.0
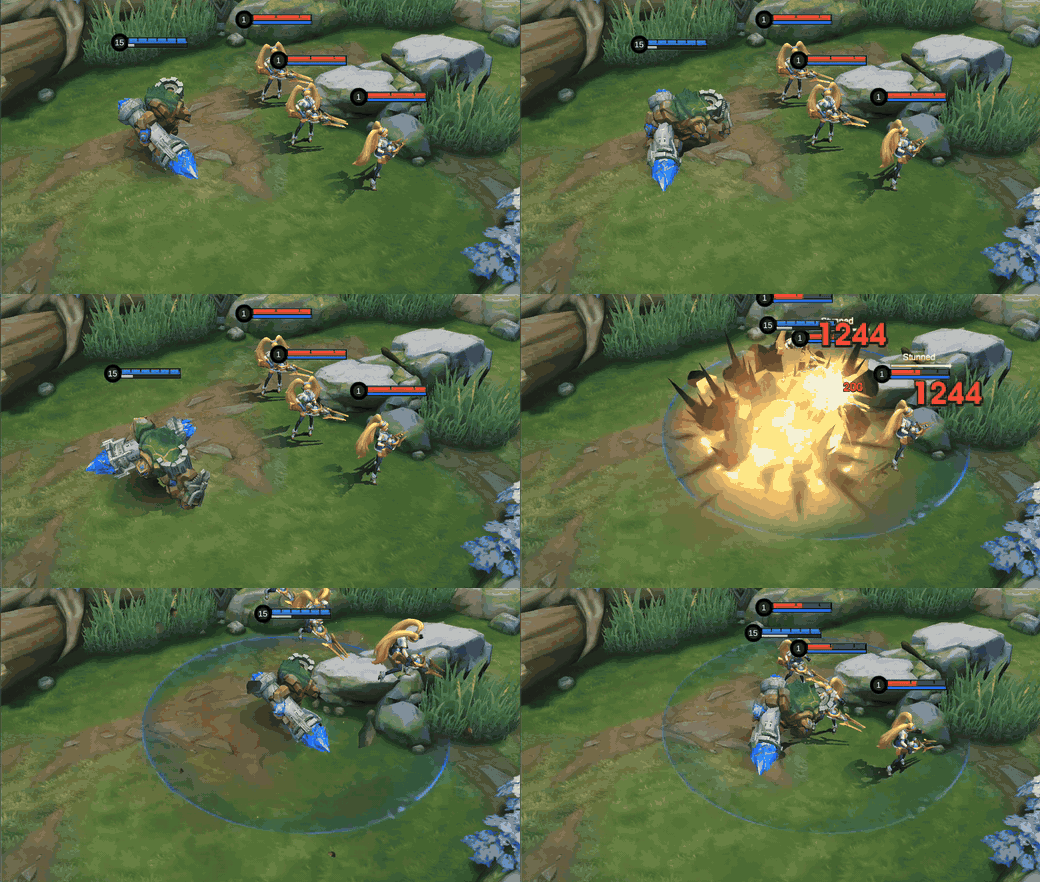
Tectonic Charge gives Control Immunity while Grock rushes forward. Hitting terrain stops the charge, triggers a large explosion, and knocks nearby enemies airborne; missing terrain refunds half the cooldown.
When: Aim at terrain when allied damage can follow the airborne window; use the charge path to ignore ordinary control.
Why: Terrain converts Grock's raw durability and movement into reliable control.
Do not: Do not charge through open ground without a purpose; the partial refund does not replace the missed engage.
Skill Priority and Grock Combos
Priority: learn Mighty Swing at level 1 and max it first, use Earthen Rampart as the backup upgrade, and level Tectonic Charge whenever available. Bastion of Stone is the passive and does not take an active skill point.
Teamfight wall-lock combo
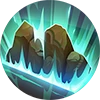

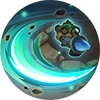


Earthen Rampart → Tectonic Charge → Mighty Swing → Basic Attack → Basic Attack
Place the wall first, collide the Ultimate with terrain for the area knock-up, then use Mighty Swing from an angle that sends targets back into the obstacle. Do not start until allied damage is close enough to use the control window.
Small-skirmish control chain
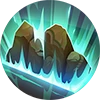
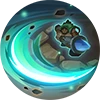



Earthen Rampart → Mighty Swing → Tectonic Charge → Basic Attack → Basic Attack
Pull the target toward Grock with the wall, immediately slam them into it, then collide Tectonic Charge with terrain for the second airborne window. Do not start until allied damage is close enough to use the control window.
How to Play Grock by Phase
Early game
Move between mid lane and the nearest jungle entrance while staying near walls. Use the passive shield to absorb pressure, but preserve Earthen Rampart if an ally needs the route to retreat.
Mid game
Fight around river bends, jungle corners, and objective pits. These surfaces make every part of Grock's kit more threatening and reduce the angle enemies can use to kite.
Late game
Do not measure success by how deep the charge travels. A short wall collision that catches a priority target and keeps your backline safe is often the best engage.
Five Grock Mistakes That Lose Teamfights
- Fighting in open space: route beside terrain before committing.
- Placing a wall without checking allies: an enemy trap can also become an allied pathing problem.
- Charging before damage arrives: wait until teammates can use the airborne window.
- Using Mighty Swing at the wrong angle: stand so the knockback ends at a wall.
- Copying one tank build blindly: choose physical, magic, anti-heal, or revival defense for the actual threats.
Best Emblem and Battle Spell
Fast roaming default
Tank Emblem: Agility, Wilderness Blessing, and Concussive Blast. Use Flicker to correct the angle for Mighty Swing, surprise enemies from outside their vision, or escape after the control chain. Do not spend Flicker only to begin a charge that has no allied follow-up.
Direct frontline alternative
Tank Emblem: Vitality, Tenacity, and Concussive Blast with Flicker. Choose it when Grock must absorb the first damage wave instead of racing between lanes; do not give up the movement setup when map tempo is the team's main advantage.
The observed in-game setup rows showed Tank Emblem, Agility, Wilderness Blessing, and Concussive Blast. The account did not expose every role-emblem control, so Flicker and the frontline alternative were cross-checked against MLBBHub on August 10, 2026.
Top Five Pro Setups Observed In-Game
These rows are a dated in-game build sample. Copy the defensive decision, not the leaderboard position.
Build 1
| Item 1 | Item 2 | Item 3 | Item 4 | Item 5 | Item 6 |
|---|---|---|---|---|---|
 Rapid Boots Rapid Boots |  Thunder Belt Thunder Belt |  Dominance Ice Dominance Ice |  Blade Armor Blade Armor |  Guardian Helmet Guardian Helmet |  Antique Cuirass Antique Cuirass |
Build 2
| Item 1 | Item 2 | Item 3 | Item 4 | Item 5 | Item 6 |
|---|---|---|---|---|---|
| Rapid Boots | Thunder Belt | Dominance Ice | Blade Armor | Guardian Helmet | Antique Cuirass |
Build 3
| Item 1 | Item 2 | Item 3 | Item 4 | Item 5 | Item 6 |
|---|---|---|---|---|---|
| Rapid Boots | Thunder Belt |  Chastise Pauldron Chastise Pauldron | Guardian Helmet | Dominance Ice |  Immortality Immortality |
Build 4
| Item 1 | Item 2 | Item 3 | Item 4 | Item 5 | Item 6 |
|---|---|---|---|---|---|
| Rapid Boots | Thunder Belt | Dominance Ice | Blade Armor | Guardian Helmet | Antique Cuirass |
Build 5
| Item 1 | Item 2 | Item 3 | Item 4 | Item 5 | Item 6 |
|---|---|---|---|---|---|
| Rapid Boots | Thunder Belt | Dominance Ice | Chastise Pauldron |  Athena's Shield Athena's Shield | Guardian Helmet |
Current in-game build sample observed on August 9, 2026 in MLBB 2.1.88.12027. Rankings and statistics can change.
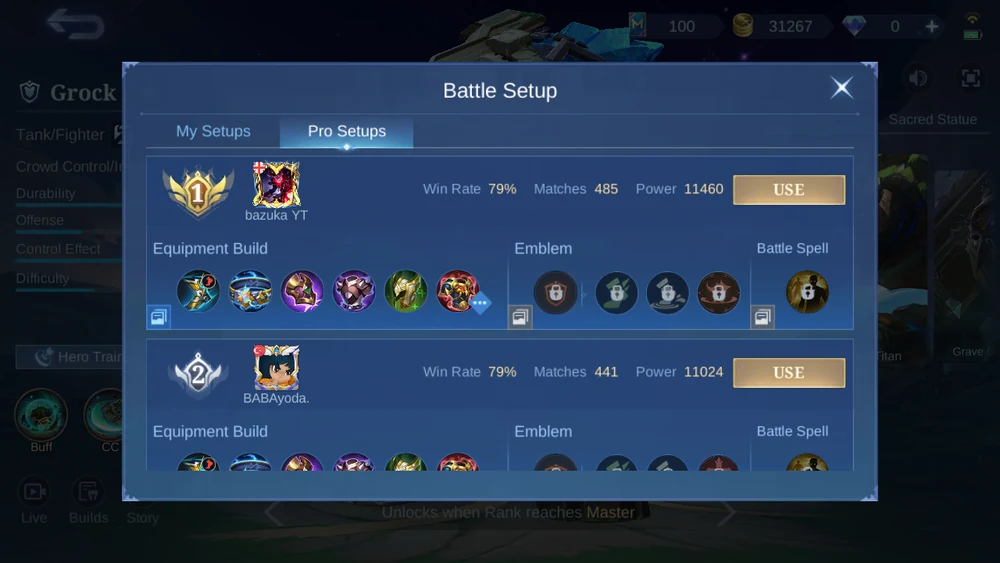
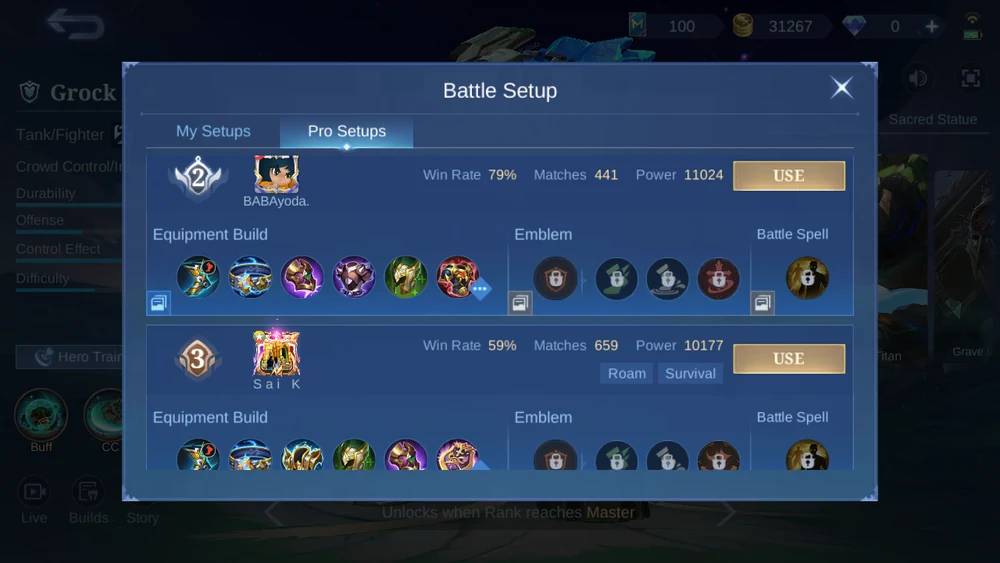
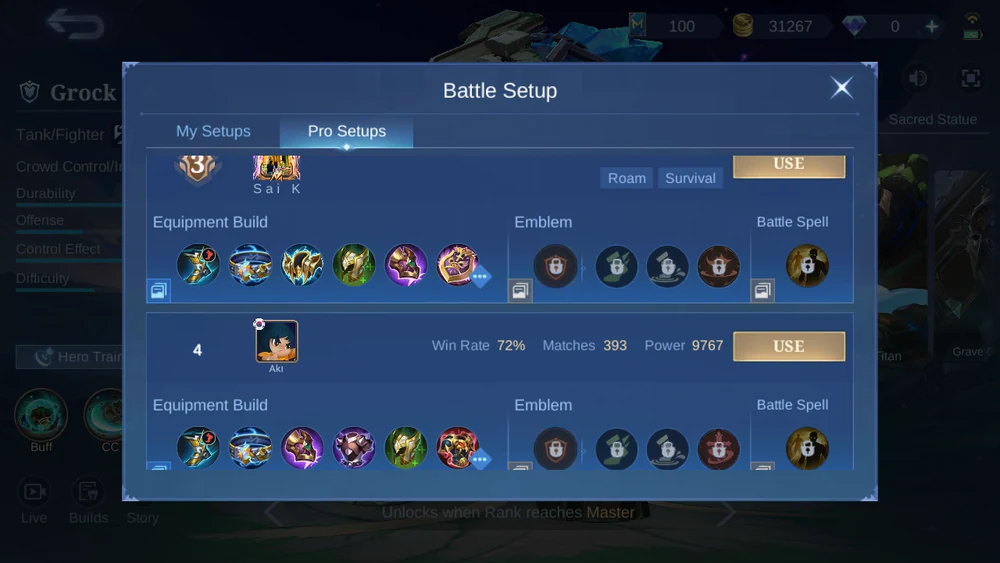
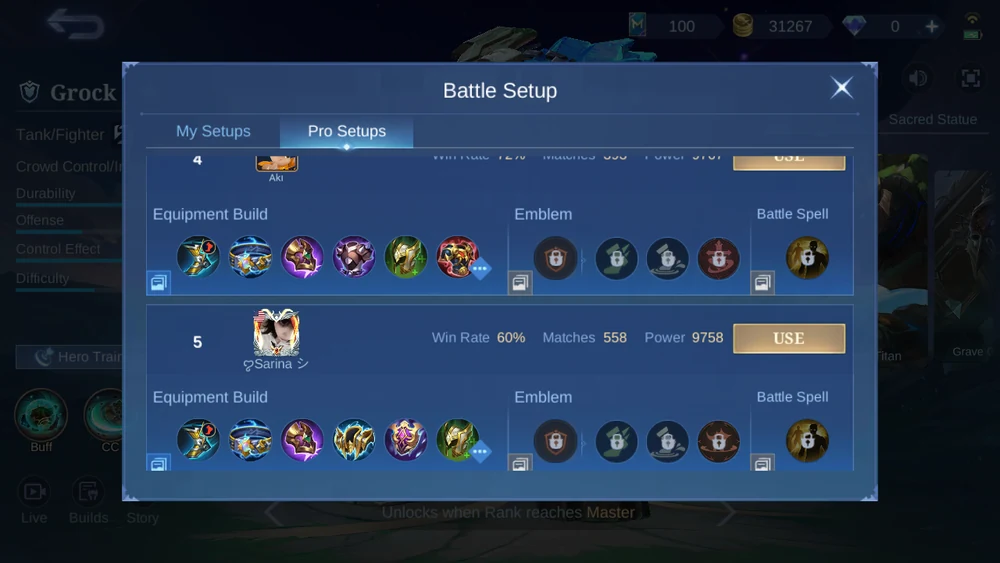
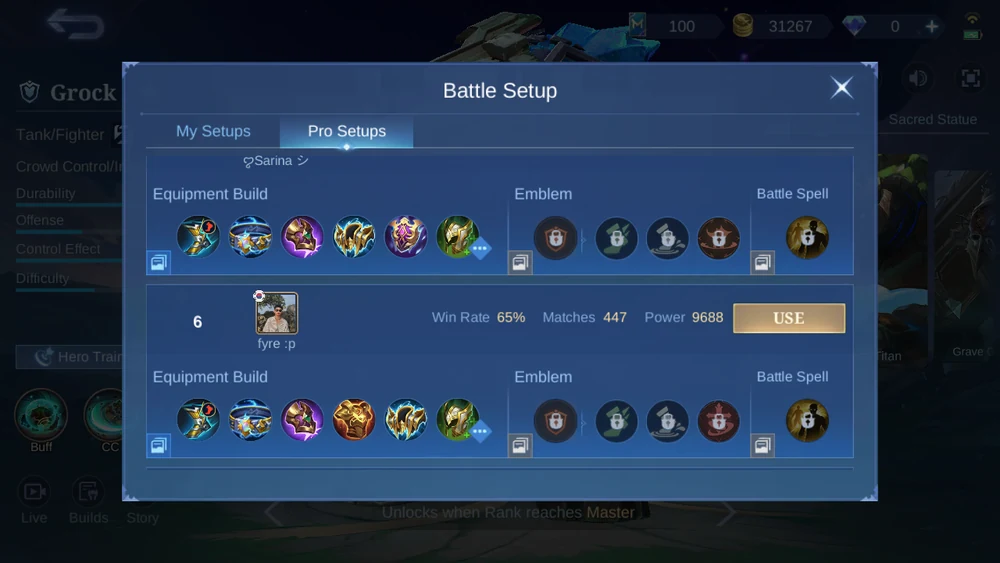
Grock Equipment Matrix
| Item | Observed purpose | When to buy | When not to buy |
|---|---|---|---|
| Rapid Boots | Roaming boots shown in all five setup rows; choose the roaming blessing for the team's support plan rather than copying it blindly. | Use when roaming speed and a support blessing matter more than early lane damage. | Change boots if control duration or a specific damage type is the real problem. |
| Thunder Belt | +600 HP, +15 Physical Defense, +15 Magic Defense, and +20 Movement Speed. Thunderbolt empowers a Basic Attack every four seconds and can permanently add Hybrid Defense when it hits an enemy hero. | Use as a broad durability and movement core that rewards empowered Basic Attacks. | Delay it when a hard counter item is immediately required. |
| Dominance Ice | +40 Physical Defense, +40 Magic Defense, and +5% Movement Speed. Fortress Shield scales with nearby enemy heroes, while Lifebane cuts nearby Shield and HP Regen effects. | Use against healing, shielding, and short-range sustain teams. | Do not rush when enemies fight outside Lifebane range. |
| Blade Armor | +80 Physical Defense and +20% Crit Damage Reduction. Bladed Armor reflects part of incoming Basic Attack damage and briefly slows the attacker. | Use against critical Basic Attacks and fast physical marksmen. | Skip against skill-heavy or magic-heavy damage. |
| Guardian Helmet | +1800 HP and +20 HP Regen. Recovery restores HP outside combat, while Defender restores HP after a large single hit. | Use for a large HP pool and faster recovery between rotations. | Delay if percent-HP damage or anti-heal makes raw HP inefficient. |
| Antique Cuirass | +920 HP, +40 Physical Defense, and +4 HP Regen. Deter reduces the Physical Damage of enemies whose skills hit Grock, stacking up to three times. | Use against repeated Physical Damage skills. | Do not choose it as the main answer to Basic Attacks or magic burst. |
| Chastise Pauldron | +900 HP and +40 Physical Defense. Chastise limits an attacker's Attack Speed, while Redemption restores HP after Grock falls below 30% HP. | Use against attack-speed carries when its low-HP recovery can complete the engage. | Skip when enemies deal slow burst and can wait out the recovery. |
| Athena's Shield | +900 HP, +48 Magic Defense, and +2 HP Regen. Shield reduces incoming Magic Damage for three seconds after a hero's magic hit. | Use against concentrated magic burst. | Do not buy first into mostly physical pressure or repeated poke that constantly triggers the shield. |
| Immortality | A late safety option in the third observed setup, trading some sustained defense for a revival window. | Use when one revival can preserve late-game objective control. | Skip when the team cannot protect the revival point. |
Item effects were observed in-game through true long presses. The current displayed tooltips and dated setup rows define this matrix.
Best Teammates, Threats, and Favorable Targets
Best area-damage partners: Odette, Pharsa


Grock's wide airborne control gives Odette and Pharsa a stable area for their damage. Confirm their Ultimate is ready before placing the wall.
Hard kiting threats: Kimmy, Harley


Mobile magic damage can move around Grock's wall and punish a missed charge. Hold Flicker for the second angle instead of chasing in a straight line.
Favorable immobile targets: Gord, Layla


Heroes without a reliable wall-crossing blink struggle when Earthen Rampart closes their route. Block the escape first, then approach from the side that keeps terrain behind them.
Level-One Base Stats
| HP | HP Regen | Physical ATK | Physical DEF | Magic DEF | Attack Speed | Movement SPD |
|---|---|---|---|---|---|---|
| 2700 | 8.4 | 135 | 21 | 15 | 1.01 | 260 |
These are level-one values shown without skin, equipment, emblem, or in-match bonuses.
Grock Skins and Availability
| Skin preview | Skin | Tag | Availability note |
|---|---|---|---|
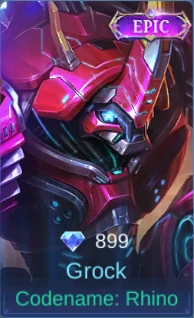 | Codename: Rhino | Epic | 899 Diamonds; Purchase visible |
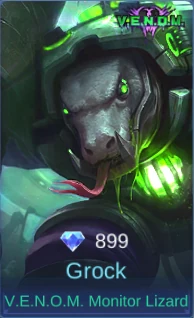 | V.E.N.O.M. Monitor Lizard | V.E.N.O.M. | 899 Diamonds; Purchase visible |
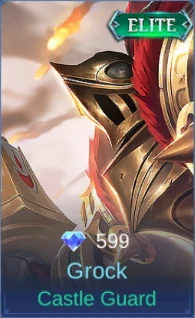 | Castle Guard | Elite | 599 Diamonds; Purchase visible |
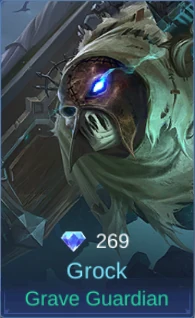 | Grave Guardian | Basic | 269 Diamonds; Purchase visible |
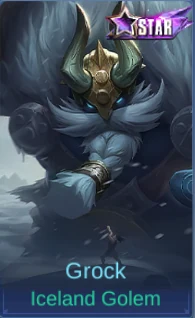 | Iceland Golem | Star | 11/2019 Starlight Member |
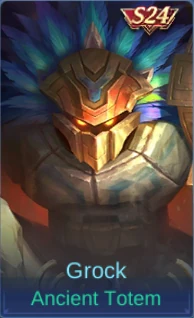 | Ancient Totem | S24 | S24 |
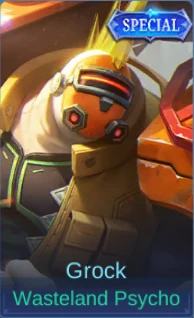 | Wasteland Psycho | Special | Limited-time Event |
 | Tremor of the Deep | Collector Titans | Limited-time Event |
Shop availability was observed in-game on August 9, 2026; server time was cross-checked at 08/09/2026 10:39. Event and membership labels are availability snapshots, not permanent direct-sale promises.
Grock Story in Brief
The towering Fortress Titan is the last creation of the Ancient Ones. Carrying a broken castle tower as a weapon, Grock wanders the Land of Dawn, listens to stories from migrating birds, and searches for both its creators and kindred spirits willing to carry their brave legacy forward.
Related MLBB Guides
- Irithel MLBB Gold Lane Guide
- Gatotkaca MLBB EXP Lane Guide
- Harley MLBB Jungle Guide
- Mobile Legends: Bang Bang product page
Grock FAQ
What is the best Grock Battle Spell?
Flicker is the safest default because it fixes Mighty Swing angles, extends surprise engages, and gives Grock a route out after committing.
Which Grock skill should I max first?
Max Mighty Swing first, keep Earthen Rampart as the backup upgrade, and level Tectonic Charge whenever available.
What is Grock's teamfight combo?
Use Earthen Rampart, collide Tectonic Charge with terrain, follow with Mighty Swing into the obstacle, then use Basic Attacks.
When should Grock buy Athena's Shield?
Buy it against concentrated magic burst. Blade Armor and Antique Cuirass answer different physical threats.
Who counters Grock?
Mobile magic damage is difficult because it can kite around his wall and punish a missed terrain collision. Kimmy and Harley are clear examples.
Final Verdict
Grock is strongest when terrain, timing, and allied damage meet at the same point. Stay near walls to refresh Bastion of Stone, place Earthen Rampart with both teams' routes in mind, aim Tectonic Charge at terrain, and treat each Pro Setup as a dated defensive decision rather than an automatic build.




Copyright © FUTURE OUTLOOK TECHNOLOGY LIMITED.Company Registration No.: 77374965 All rights reserved.UNIT 135,1/F.,143 WAI YIP STREET,KWUN TONG HK