
Granger MLBB Gold Lane Guide: Best Build, Emblem, Combos, and Counters

In-game context: MLBB game version 2.1.88.12027, observed in-game on August 14, 2026. Granger is listed as a Marksman with Burst and Finisher specialties.
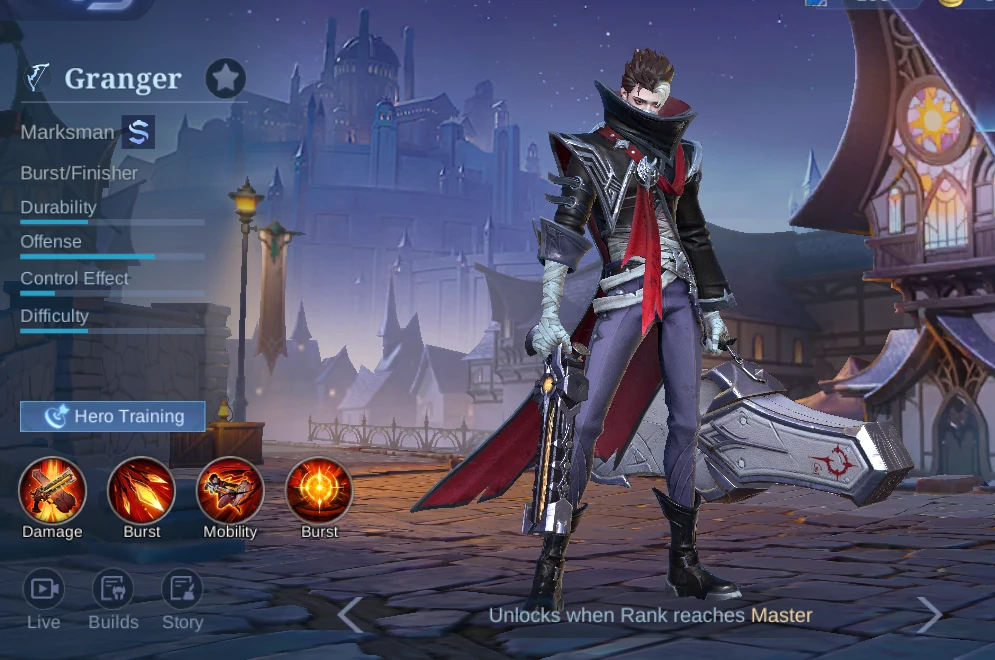
Why Play Granger in Gold Lane?
Granger turns short firing windows into heavy burst. Rhapsody gives him a six-shot lane tool with a guaranteed critical final bullet, Rondo lets him keep that line on a moving target, and Death Sonata reaches fights before he has to enter a dangerous basic-attack range. His passive also rewards clean farming because minion, creep, and hero takedowns permanently expand his Demonic Energy capacity.
The tradeoff is that poor aim costs both time and Energy. Granger cannot rely on conventional Attack Speed scaling to erase positioning mistakes. He needs a clear lane for Rhapsody, a safe exit for Rondo, and enough patience to avoid firing the ultimate into a frontliner who can simply block every shot. Pick him when your team can hold targets still or create open sight lines.
Granger Skills and Practical Uses
Capriccio
Damage / Buff. Granger's unique Demon Hunting Gun and Cannon are powered by Demonic Energy. Both his weapons start with 800 max Energy. His Gun restores 8% Energy per second while his Cannon restores 2% Energy per second. Killing a Minion / Creep permanently increases their max Energy by 6 / 6, and instantly restores their Energy by 5% / 5%, respectively. Each kill or assist on an enemy hero permanently increases both weapons' max Energy by 12 and instantly restores 10% Energy. Every 1% Cooldown Reduction converts to 2 Physical Attack. Demonic Energy costs are not affected by Energy Cost Reduction.
Best use: Keep farming minions and creeps because every kill expands both weapons' permanent Energy ceiling. Cooldown Reduction also becomes Physical Attack, so it supports damage as well as skill access.
Avoid: Do not abandon safe farm for low-percentage chases; missed waves also slow permanent Energy growth.

Rhapsody
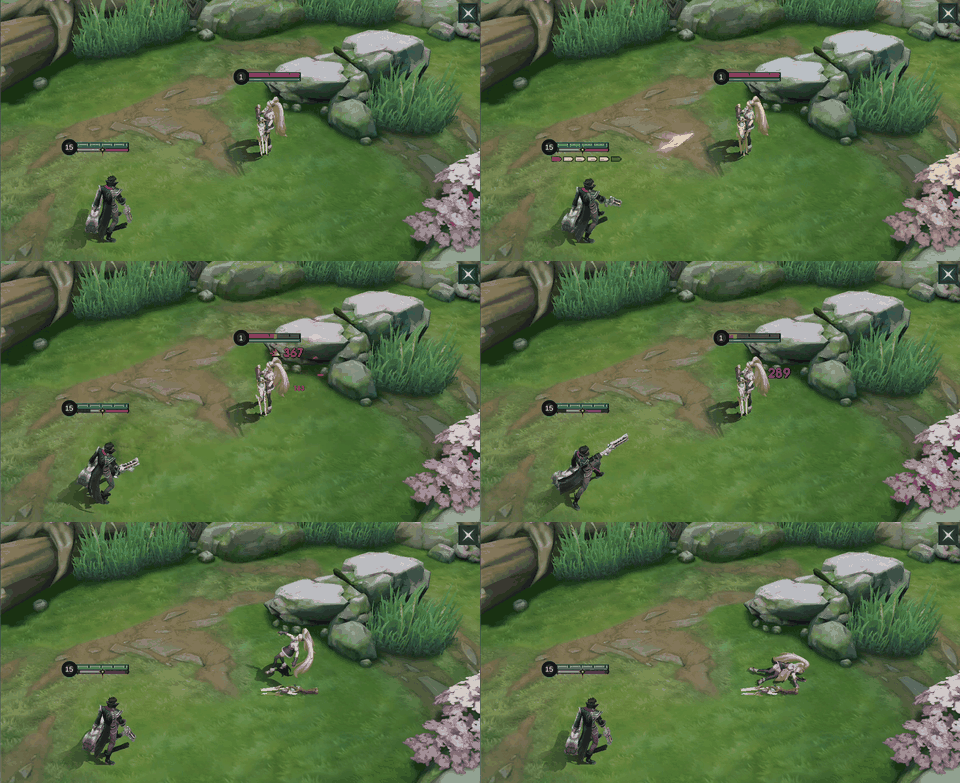
Burst. Granger rapidly fires 6 shot(s) with his Gun, with each shot dealing 60 (+45% Total Physical Attack) Physical Damage and consuming 70 Gun Energy. The last shot is guaranteed to Crit. While firing, Granger's Movement Speed is increased by 10%. Granger stops firing when he runs out of Energy, or when the skill is cast again. Rhapsody has no cooldown and can be cast once his Gun Energy is over 420.
Best use: Aim the six-shot line through the wave and enemy hero when possible. The final shot always crits, so keep the reticle steady long enough to land the end of the burst.
Avoid: Do not fire through a tank when the intended carry can step away from the line, and cancel if the angle is already lost.

Rondo
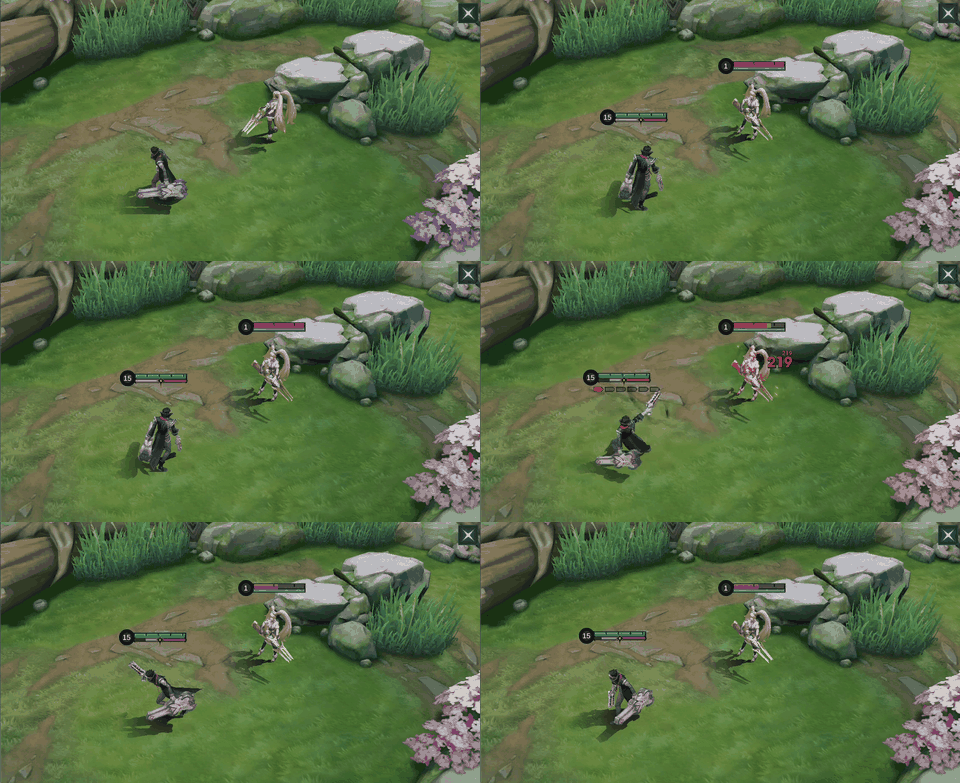
Mobility / Buff. Granger uses his Demon Hunter agility to dash in the target direction, instantly restoring 15% Energy for his Gun. Rondo can be cast while channeling Rhapsody. Each time Rhapsody hits an enemy, Rondo's Cooldown is reduced by 0.5s.
Best use: Dash during Rhapsody to correct the firing line, restore Gun Energy, or open a safer retreat path. Repeated Rhapsody hits shorten Rondo's cooldown.
Avoid: Do not spend the dash only to enter range when the enemy diver is still holding a gap closer.

Death Sonata
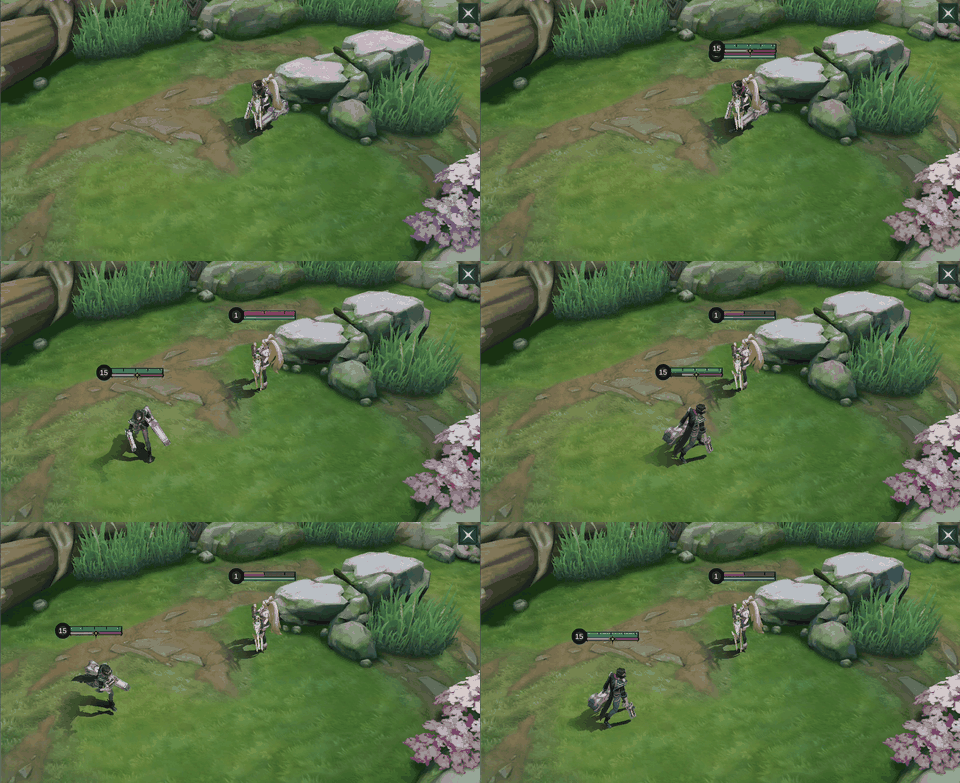
Burst / Slow. Granger fires his Cannon in the target direction, dealing 150 (+110% Total Physical Attack) Physical Damage to the first enemy hero hit and other targets in the blast radius. Targets hit will be briefly slowed. Granger can roll in the Joystick's direction after each shot. Death Sonata can be cast while firing Rhapsody. Death Sonata has a brief cooldown and consumes 250 of Granger's Cannon Energy per shot.
Best use: Use long range to soften a fight, then roll after each shot to change the next angle. It can also be fired during Rhapsody when a target tries to leave the bullet line.
Avoid: Do not stand still between cannon shots; the roll is part of Granger's spacing and survivability.
Skill Priority and Best Combos
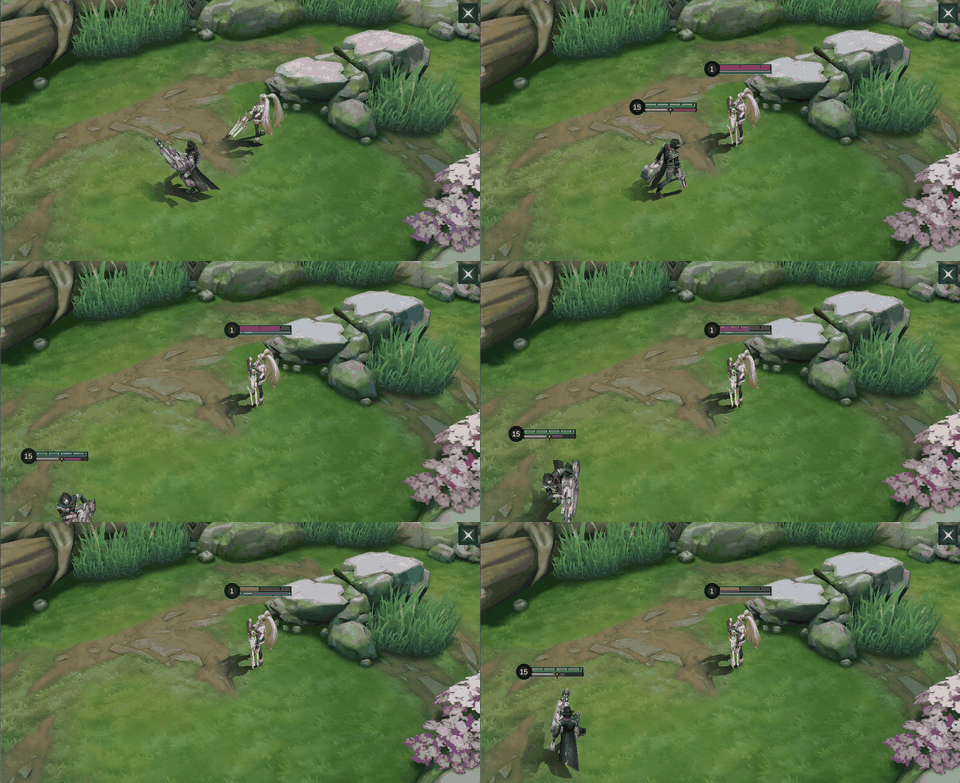
Take Rhapsody at level 1 and prioritize it, with Rondo as the supporting upgrade. Level Death Sonata whenever it is available. This order improves Granger's main wave and hero damage while Rondo remains the tool that restores Gun Energy and keeps the firing line on target.
Laning combo



Rhapsody → Rondo → Rhapsody. Start from behind your minion line, aim through the target, and use Rondo when the enemy shifts sideways or the first burst drains Gun Energy. The dash restores Energy immediately and gives the next Rhapsody a better angle.
Teamfight combo





Death Sonata → Rhapsody → Death Sonata → Rondo → Rhapsody. Open from range, use Rhapsody when a carry enters a clean lane, fire another cannon shot as the target retreats, then Rondo to maintain distance and finish with a second bullet line.
How to Play Granger by Game Phase
Early game
Use Rhapsody to touch the wave and lane opponent together, but do not fire all six shots through minions if the enemy can punish the recovery window. Last-hit consistently to grow the Energy ceiling. Hold Rondo until the opposing roamer or jungler reveals, and approach the first Turtle from a side that keeps a wall or allied frontline between Granger and enemy dive.
Mid game
Clear the side wave, then move to objective entrances where Death Sonata has a long sight line. Start with the cannon only when a carry or low-HP target is reachable; shooting a tank gives away the angle. Hunter Strike and Rapid Boots variants help Granger move between waves and fights, while Malefic Roar keeps the burst relevant into growing defense.
Late game
Play one Rondo behind the frontline and count enemy gap closers. Granger can soften a fight before it starts, but he should not roll forward merely to land the next cannon shot. Keep Rhapsody for a target held by crowd control, then reposition before the opposing assassin receives a second chance to engage.
Five Common Granger Mistakes
- Using Rondo to enter a trade while the enemy diver still has a gap closer.
- Turning Rhapsody too quickly and missing the guaranteed critical final shot.
- Forcing Death Sonata through the enemy tank instead of changing the firing angle.
- Skipping safe farm and slowing Capriccio's permanent Energy growth.
- Buying every damage item before checking whether magic burst, healing, or armor demands a situational slot.
Best Emblem and Battle Spell
Custom Marksman Emblem is the dependable Gold Lane page. Agility improves spacing, Weapon Master increases the value of Granger's Physical Attack purchases, and Quantum Charge adds brief movement and sustain after a Basic Attack. This is a balanced setup for players who want a forgiving lane and safer kiting.
A skill-heavy alternative uses Rupture, Festival of Blood, and Impure Rage. It trades the default page's Basic Attack sustain and item scaling for penetration, spell vamp, and extra skill damage with Energy return. Choose it when your plan centers on repeated Rhapsody pressure. Flicker is the default battle spell because it protects Rondo for combat spacing and gives Granger a second answer to hard engage. Purify is the situational swap against control that must be removed immediately.
How to Read the Build Choices
The five current paths share Hunter Strike, Sky Piercer, Malefic Roar, and Blade of Despair. That core emphasizes burst, movement, and penetration instead of Attack Speed. Magic Boots appears when cooldown access and early HP matter; Rapid Boots appears in four paths for rotation speed and slow resistance.
The last slot should answer the match. Sea Halberd reduces recovery and adds pressure against high-extra-HP targets. Rose Gold Meteor supplies Magic Defense and a low-HP shield. Blade of the Heptaseas rewards an out-of-combat approach and a Basic Attack before the skill burst. Move Malefic Roar earlier when the enemy starts stacking Physical Defense.
Current In-Game Builds
These five current in-game builds were observed on August 14, 2026. Compare the six-item order and adjust utility or defensive slots for the match.
Build 1
| Item 1 | Item 2 | Item 3 | Item 4 | Item 5 | Item 6 |
|---|---|---|---|---|---|
 Hunter Strike Hunter Strike |  Sky Piercer Sky Piercer |  Magic Boots Magic Boots |  Malefic Roar Malefic Roar |  Blade of Despair Blade of Despair |  Sea Halberd Sea Halberd |
Build 2
| Item 1 | Item 2 | Item 3 | Item 4 | Item 5 | Item 6 |
|---|---|---|---|---|---|
 Rapid Boots Rapid Boots | Hunter Strike | Sky Piercer | Malefic Roar |  Rose Gold Meteor Rose Gold Meteor | Blade of Despair |
Build 3
| Item 1 | Item 2 | Item 3 | Item 4 | Item 5 | Item 6 |
|---|---|---|---|---|---|
| Hunter Strike | Sky Piercer | Rapid Boots | Malefic Roar | Blade of Despair | Sea Halberd |
Build 4
| Item 1 | Item 2 | Item 3 | Item 4 | Item 5 | Item 6 |
|---|---|---|---|---|---|
| Rapid Boots | Hunter Strike | Sky Piercer |  Blade of the Heptaseas Blade of the Heptaseas | Malefic Roar | Blade of Despair |
Build 5
| Item 1 | Item 2 | Item 3 | Item 4 | Item 5 | Item 6 |
|---|---|---|---|---|---|
| Hunter Strike | Sky Piercer | Rapid Boots | Malefic Roar | Blade of Despair | Blade of the Heptaseas |
Equipment Guide
Use the item notes below to decide what each slot contributes. The table describes each item independently of the numbered builds.
| Item | What it adds | When to consider it |
|---|---|---|
| Hunter Strike | Physical Attack, Cooldown Reduction, Physical Penetration, and a short Movement Speed burst after repeated hits. | Buy early when Rhapsody can trigger the repeated-hit speed burst and you want faster rotations between waves and fights. |
| Sky Piercer | Adaptive Attack and Movement Speed, with an execute effect against enemies whose HP falls below its threshold. | Take early when your team can keep converting low-HP targets; delay it when reliable survival or penetration is more urgent. |
| Magic Boots | Movement Speed, Cooldown Reduction, and HP for more frequent skill rotations without giving up all early durability. | Choose when cooldown access matters and the enemy lane does not demand defensive boots immediately. |
| Malefic Roar | Physical Attack and Physical Penetration that becomes especially valuable when enemy Physical Defense rises. | Move it earlier against armor stacking; it can wait behind a safety item when enemy divers are the immediate problem. |
| Blade of Despair | A large Physical Attack increase and extra pressure against low-HP targets for stronger finishing damage. | Finish when you can stay alive long enough to use its heavy attack value; do not rush it while repeatedly getting caught. |
| Sea Halberd | Physical Attack, Attack Speed, anti-heal, and added damage against enemies with more extra HP. | Buy against healing, shields, or high-extra-HP frontliners; replace it when those effects are not meaningful. |
| Rapid Boots | High Movement Speed and slow reduction for faster rotations; the movement bonus drops temporarily after dealing or taking damage. | Choose for map tempo and safer spacing, then switch if repeated poke keeps removing its movement advantage. |
| Rose Gold Meteor | Physical Attack, Attack Speed, Magic Defense, and a low-HP shield for surviving magic burst or a dive. | Use against magic burst or dive pressure that reaches Granger before he can reposition. |
| Blade of the Heptaseas | HP, Physical Attack, Physical Penetration, and an enhanced Basic Attack after staying out of combat. | Choose when you can approach from outside combat and open with a Basic Attack before Rhapsody. |
Best Teammates and Matchups
Reliable setup



Popol and Kupa, Franco, and Kaja can hold a target in the Rhapsody line. Wait for the control to land before committing all six shots; Granger gains much more from reliable setup than from chasing scattered enemies.
Targets Granger pressures



Karina, Chang'e, and Cecilion are vulnerable when their approach or retreat becomes predictable. Keep enough distance to see the line clearly and use Death Sonata to force movement before Rhapsody begins.
Dangerous divers



Saber, Hayabusa, and especially Fanny can reach Granger before he finishes a clean firing sequence. Track their position, save Rondo, and favor Rose Gold Meteor or a defensive spell adjustment when their burst decides every fight.
Low-control pairing

Hanabi adds ranged damage but little reliable setup for Granger's bullet line. If both are drafted, the frontline must supply control and one marksman should avoid competing for the same safe farm.
Granger Base Stats
| Stat | Level 1 |
|---|---|
| HP | 2260 |
| HP Regen | 5.4 |
| Physical Attack | 116 |
| Physical Defense | 15 |
| Attack Speed | 1.02 |
| Attack Speed Ratio | 100% |
| Mana | 0 |
| Mana Regen | 0 |
| Magic Power | 0 |
| Magic Defense | 15 |
| Movement Speed | 240 |
These level-one values exclude equipment, Emblems, skins, and match modifiers. Granger starts with 116 Physical Attack and 240 Movement Speed, while the zero Mana values reflect his separate Demonic Energy system.
Granger Skins and Availability
Lightborn - Overrider, Hellbringer, Doomsday Terminator, and Bardic Whisper showed direct Diamond prices on August 14, 2026. Alluring Enigma, Agent Z, Starfall Knight, Megatron, and Exorcist Granger were marked as limited-time events. Biosoldier retained its May 2020 StarLight label, while Thunder Ascendant and Cosmic Finality were tied to the M7 Pass. Availability can rotate, so confirm the active shop or event before planning a purchase.
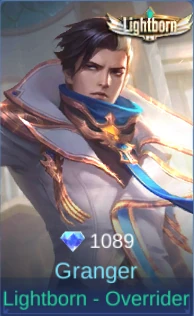
Lightborn - Overrider
1089 Diamonds shown in-game
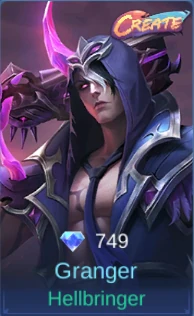
Hellbringer
749 Diamonds shown in-game
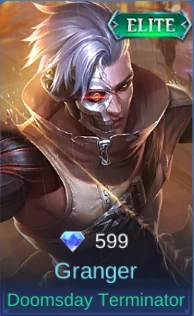
Doomsday Terminator
599 Diamonds shown in-game
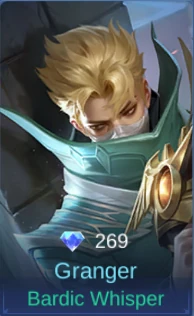
Bardic Whisper
269 Diamonds shown in-game
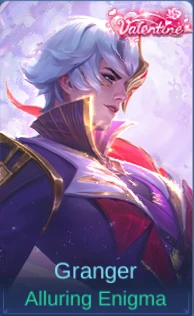
Alluring Enigma
Limited-time Event
Biosoldier
May 2020 StarLight Member
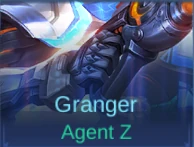
Agent Z
Limited-time Event
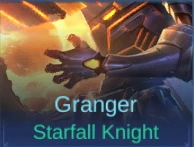
Starfall Knight
Limited-time Event
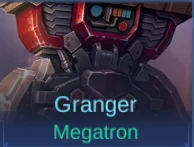
Megatron
Limited-time Event
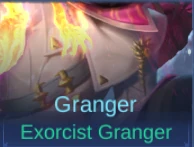
Exorcist Granger
Limited-time Event
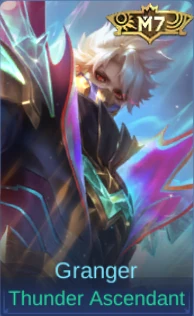
Thunder Ascendant
Available via the M7 Pass
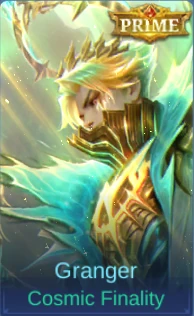
Cosmic Finality
Available via the M7 Pass
Planning a Granger skin purchase?
Check the active in-game shop or event first. If you need Diamonds after confirming availability, use ManaBuy's MLBB top-up page.
Granger Story
Granger is a solitary demon hunter who works beyond the usual rules of the Church of Light. Orphaned by war and raised under the Church, he found purpose in music and in hunting the demons that took so much from him. His violin case hides the Demon Hunting Gun and Cannon, and he crosses the Land of Dawn accepting dangerous missions while keeping both the Church and other people at a distance.
Related MLBB Guides
- Browse the MLBB guide hub for more hero guides.
- Khufra Roam guide covers the hard control Granger wants before committing Rhapsody.
- Harith Gold Lane guide explains a mobile alternative for players who prefer repeated dashes over long firing lines.
Granger FAQ
Which skill should Granger upgrade first?
Take and prioritize Rhapsody, upgrade Rondo as the backup skill, and level Death Sonata whenever available.
What is Granger's best battle spell?
Flicker is the default for Gold Lane because it preserves Rondo for aim correction and adds a second escape. Use Purify when immediate control removal is essential.
What is Granger's laning combo?
Use Rhapsody, reposition and restore Gun Energy with Rondo, then fire Rhapsody again from the corrected angle.
Does Granger need Attack Speed?
His current paths prioritize Physical Attack, penetration, movement, and Cooldown Reduction. Build around skill burst rather than stacking conventional Attack Speed items.
When should Granger buy Rose Gold Meteor?
Buy it when magic burst or a diver reaches Granger before he can reposition. Its Magic Defense and low-HP shield can preserve the firing window.
Final Verdict
Granger rewards controlled aim more than constant attacking. Farm to raise both Energy ceilings, line up the full Rhapsody burst, keep Rondo for the moment the angle changes, and use Death Sonata to pressure a fight without surrendering safe distance. His five current build paths agree on burst and penetration, while the final slot lets him answer healing, armor, or magic dive. With reliable crowd control in front of him, Granger can turn one clean firing lane into a finished teamfight.



Copyright © FUTURE OUTLOOK TECHNOLOGY LIMITED.Company Registration No.: 77374965 All rights reserved.UNIT 135,1/F.,143 WAI YIP STREET,KWUN TONG HK