
Honkai Star Rail Mortenax Blade Build: Support, DPS and Teams

Mortenax Blade is not built from one universal sheet. His Acheron support build values early Energy, Speed, and reliable Zone timing; his hybrid build balances those requirements with HP and CRIT; a personal-DPS build moves further into HP and offensive stats only after the Zone is already stable. The best starting point is 4-piece Divine-Querying Master Smith, CRIT Rate body, Speed boots, HP sphere, Energy Regeneration Rate rope, and either Sprightly Vonwacq or Bone Collection’s Serene Demesne.
Choose Your Mortenax Blade Build First
| Build | Relic / Planar | Main Stats | Use |
|---|---|---|---|
| Acheron support | Master Smith + Vonwacq | CRIT/EHR body, SPD boots, HP sphere, ERR rope | Fast Zone and debuffs |
| Hybrid general | Master Smith + Bone Collection | CRIT Rate, SPD, HP sphere, ERR | Best default |
| Personal DPS | Master Smith + Bone Collection | CRIT Rate, SPD/HP, HP or Fire sphere | Use only after rotation is solved |
The support lane is for Acheron teams that need the Zone and repeated debuffs as early as possible. The hybrid lane is the best general recommendation because his personal damage is meaningful even when he occupies a support slot. The main-DPS lane is an account-specific choice; it sacrifices some consistency and should only be used when the team supplies enough Energy, action control, and amplification.

Mortenax Blade Skills and Trace Priority
| Icon | Trace | Type | Priority |
|---|---|---|---|
 | Fornax Ex Corpore | Basic ATK | Level after core traces |
 | All Karma Comes Due | Skill | Starts the damage and Charge loop |
 | A Rain of Blades Seals Fate | Ultimate | Deploys the Zone and Balefire Bind |
 | Blade's Reach Spares None | Talent | Core Zone and extra-action value |
How the Zone, Balefire Bind and Charge Work

His Ultimate applies Balefire Bind, reducing enemy DEF and increasing damage received, then consumes HP to deploy a Zone and enter Infinite Fury. During the Zone, allied attacks refresh Balefire Bind and generate Charge. At 18 Charge, Mortenax Blade restores Energy and gains an extra Skill use that counts as a follow-up attack. The loop rewards teams that attack frequently rather than teams that wait for one slow burst.
Use the enhanced Ultimate before the countdown removes the Zone. If you hold it too long, you lose both damage and team amplification. His kit also increases aggro and sharply reduces incoming damage during the Zone, so enemy turns become part of his Charge and debuff engine.
Best Relics, Planars and Stat Targets
Use Divine-Querying Master Smith for all three roles. Vonwacq is the clean support planar because it gives Energy Regeneration and opening action advance. Bone Collection is better when the opener already works and you want HP plus CRIT DMG. Target 6,000+ HP, close to 100% CRIT Rate in combat, 130%+ CRIT DMG, and one deliberate Speed tier: 134 for general play, 160 for fast support, or 170 only when a specific Light Cone requires it.
Effect Hit Rate is conditional. Standard signature and CRIT builds do not need a large EHR investment. Raise it only when Resolution or Lies Dance needs application accuracy. ATK% is a weak roll because his important damage scales from Max HP.
Best Mortenax Blade Light Cones by Role
| Icon | Light Cone | Use | Why |
|---|---|---|---|
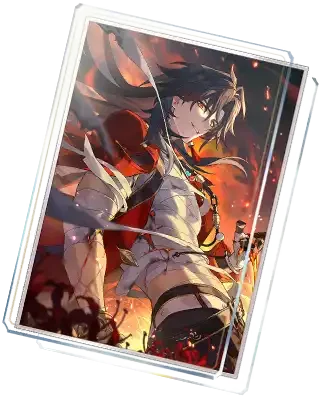 | Reforged in Hellfire | Best overall | HP, opening Energy, and smoother Zone setup |
 | Before the Tutorial Mission Starts | Accessible support | Energy recovery when DEF reduction is active |
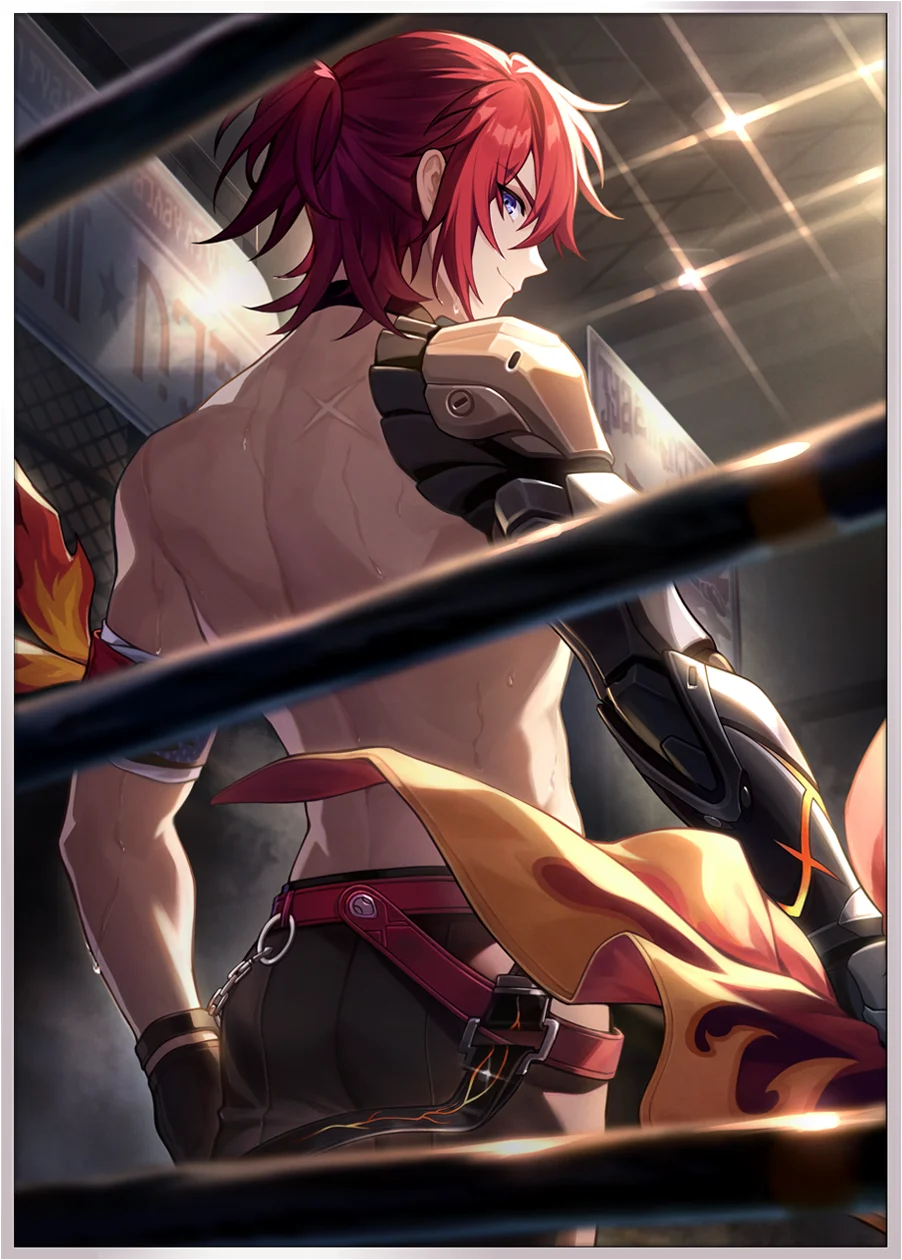 | Resolution Shines As Pearls of Sweat | Debuff support | Extra DEF reduction when Effect Hit Rate is sufficient |
- Reforged in Hellfire: best overall for HP, opening Energy, and smooth Zone setup.
- Lies Dance on the Breeze: specialized fast-support choice; only worth the heavy Speed/EHR requirement when the rotation uses it.
- Before the Tutorial Mission Starts: best accessible Energy option when DEF reduction is active before he attacks.
- Resolution Shines As Pearls of Sweat: support option when its DEF reduction is not overcapped and EHR is sufficient.
- Holiday Thermae Escapade: balanced long-term Battle Pass alternative.
Mortenax Blade Teams and Acheron Synergy
| Team | Lineup | Why it works |
|---|---|---|
| Acheron safe shell |  Acheron Acheron Mortenax Blade Mortenax Blade Jiaoqiuor Jiaoqiuor Pelasustain Pelasustain | Preserves Nihility and adds frequent debuffs |
| Frequent attackers |  AshveilMortenax Blade AshveilMortenax Blade Tribbie Tribbie Dan Heng PT Dan Heng PT | Builds Charge quickly |
| Elation flex |  Evanescia Evanescia Elation Trailblazer Elation Trailblazer Yao GuangMortenax Blade Yao GuangMortenax Blade | High amplification, low safety |
| HP team |  CastoriceMortenax BladeTribbie CastoriceMortenax BladeTribbie Hyacine Hyacine | HP movement supports both kits |
For E0 Acheron, check whether the second Nihility slot is needed to preserve her full Trace multiplier. Mortenax Blade is valuable because he supplies frequent debuffs, DEF reduction, damage-taken amplification, and Ultimate support at the same time. In non-Acheron teams, pair him with frequent attackers who can fill Charge quickly.

Rotation for Reliable First-Turn Zone
- Use DEF reduction first if Tutorial or Resolution needs it.
- Act with Mortenax Blade early, preferably through Speed or Vonwacq.
- Deploy the Zone before the main burst window.
- Let frequent allied attacks build Charge and trigger extra Skill uses.
- Use Tenax Per Ignem before the countdown ends.
Trace Priority, Materials and Farming
Prioritize Ultimate, Talent, and the major Zone-related traces, followed by Skill and Basic ATK. Level Mortenax Blade and his Light Cone before optimizing relic substats, and pin him in the in-game material tracker so every farming run matches your client language.
Pull Value: E0, S1 or E1?
E0 is complete and is the right stop for most players. S1 is the comfort upgrade when first-turn Zone consistency and easier gearing are the goal. E1 is attractive if you already own a strong alternative Light Cone and want deeper RES reduction and Zone value. Accounts without a compatible carry or reliable sustain should solve those gaps before vertical investment.

Mortenax Blade Build Mistakes
- Building 67% EHR without checking the actual Light Cone and enemy resistance.
- Forcing 170 Speed on a build that does not use Lies Dance.
- Using an HP rope before confirming Zone uptime.
- Overcapping CRIT Rate after Infinite Fury’s bonus.
- Holding the enhanced Ultimate until the Zone expires.
Mortenax Blade Build FAQ
What is the best Mortenax Blade relic set?
Divine-Querying Master Smith is the default for support, hybrid, and damage builds.
Does he need Effect Hit Rate?
Only when the chosen Light Cone needs extra accuracy.
What Speed should Mortenax Blade have?
Use 134 as a baseline, 160 for fast support, or 170 only for the specific Lies Dance setup.
Is he good without Acheron?
Yes. Frequent attackers can exploit his Zone, Charge, and team amplification.
What is his best F2P Light Cone?
Before the Tutorial Mission Starts is the most practical Energy-focused option.
More Honkai Star Rail Guides
Mortenax Blade Build Summary
Build Mortenax Blade for the job the team needs. Support and hybrid setups should establish the Zone first; personal damage only becomes the priority after Energy, Speed, and debuff timing are reliable.





Copyright © FUTURE OUTLOOK TECHNOLOGY LIMITED.Company Registration No.: 77374965 All rights reserved.UNIT 135,1/F.,143 WAI YIP STREET,KWUN TONG HK