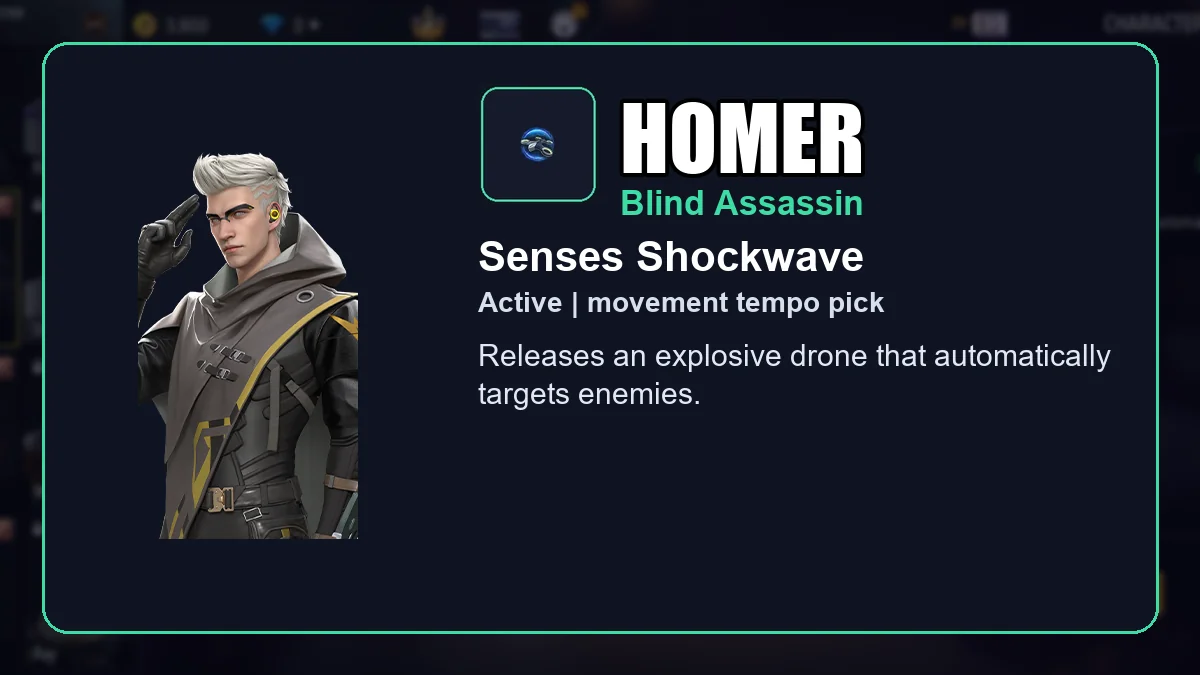
Free Fire Homer Guide: Senses Shockwave Skill, Best Combos, Weapons and Tips

Homer is a Free Fire movement tempo pick built around Senses Shockwave. Pick Homer when your match plan needs rotating, entering or escaping faster than a normal character can. The character is easiest to use when you decide the job before the first fight starts.
For ranked games, the safest way to judge Homer is to ask what the character changes in the first ten seconds of a fight. If the answer is clear, build around it. If the answer is vague, another character may give more reliable value.
Rotating, entering or escaping faster than a normal character can is the round problem your squad keeps losing.
Speed does not replace cover, so a fast route through open ground can still throw the fight.
How Free Fire Homer's Senses Shockwave Skill Works
Senses Shockwave gives Homer a specific timing window rather than a permanent stat advantage. In simple terms, releases a drone to the nearest frontal enemy, creating a 5m-diameter pulse explosion which reduces enemy movement speed and firing speed and inflicts damage on them.
The important habit is not pressing the skill early. Watch the enemy cover, teammate distance and weapon range first. Then use Senses Shockwave when it changes the next trade, not when it only makes the screen busier.
Watch the timing, spacing and follow-up habit, then practice the same decision in your own role instead of copying every movement.
Free Fire Homer skill timing plan
| Moment | What to do | Why it matters |
|---|---|---|
| Before pressing | Confirm the target, reload, and decide whether Senses Shockwave will start the fight or save it. | The skill is strongest when it has a planned purpose. |
| During the window | Stay close enough to convert the advantage but far enough to rebuild cover if the enemy trades back. | Good timing keeps the value from turning into a risky chase. |
| After contact | Call the result, rebuild cover, heal or rotate depending on whether the first target is down. | The second decision often matters more than the button press. |
Is Free Fire Homer Worth Using?
Homer is worth using when the match problem fits the skill. Speed does not replace cover, so a fast route through open ground can still throw the fight. In squad modes, decide who opens the fight, who trades, and who protects the reset before locking the character.
A strong Homer build has one clear answer to this question: what happens right after Senses Shockwave gets value? If the answer is a knock, revive, wall break, rotate, heal or target call, the pick has a real plan.
| Mode or role | Homer value | How to use the pick |
|---|---|---|
| Battle Royale squads | High | Use Homer when your squad can play around rotating, entering or escaping faster than a normal character can during rotations, compound fights or late-zone pressure. |
| Clash Squad | Medium to High | The value is strong when the round quickly creates the exact situation Senses Shockwave is meant to solve. |
| Solo BR | Medium | Good if your personal habits match the role, but weaker if you cannot convert the skill without teammate cover. |
| Beginner use | Situational | Learn the timing in training or casual matches first; Homer is better when the skill has a clear trigger. |
Best Free Fire Homer Skill Combos
Homer should be paired with skills that cover the missing part of the fight. If Senses Shockwave starts pressure, add sustain or reload value. If it is a passive tool, choose an active skill that creates the moment where the passive can matter.
| Combo core | Best for | Why it works | Watch out for |
|---|---|---|---|
| Close-range trades | Jota helps sustain hit trades while Hayato adds pressure when HP drops, giving Homer a safer finish window. | Do not swing without cover or a reload plan. | |
| Fast entry movement | Kelly helps reposition and D-Bee supports movement shooting after Homer's skill creates space. | Speed helps only when the route is protected. | |
| Reload-safe pressure | Nikita improves reload tempo while Dasha reduces punishment from movement mistakes. | Lower damage ceiling than a full duel setup. | |
| Information cleanup | Moco and Otho-style information help the squad keep chasing after the first confirmed hit or knock. | Needs communication so the team fires at the same target. | |
| Safer squad fights | Andrew-style armor value and Kapella-style recovery make repeated trades less risky. | Less explosive when you need instant entry damage. |
Best Weapons and Fight Ranges for Free Fire Homer
Homer works best with SMGs, shotguns and controllable ARs that can punish after a quick reposition. For a wider weapon reference, use the Free Fire weapon tier list after you decide whether this character fits your role.
| Range | Best weapon style | How Homer helps | Simple habit |
|---|---|---|---|
| 0-10m |  M1887 M1887 M1014 M1014 MP40 MP40 | Homer can convert close pressure when the skill creates a short opening. | Reload before committing to the swing. |
| 10-25m | 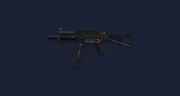 UMP UMP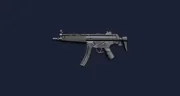 MP5 MP5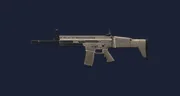 SCAR SCAR | This range gives enough control to use the skill window without overchasing. | Burst, reset behind cover, then re-peek. |
| 25m+ | 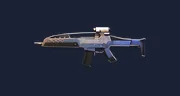 XM8 XM8 Woodpecker Woodpecker SKS SKS | Use longer range only when the skill supports pressure without forcing a blind push. | Stop chasing if the target reaches hard cover. |
How to Play Free Fire Homer in Battle Royale and Clash Squad
Use Homer when the fight has a clear purpose: rotate safely, contest a wall line, finish one target or protect the squad reset. Avoid spending the skill on a random poke if the next zone will force a better fight.
Treat Senses Shockwave as a round plan. Decide whether it opens the first trade, protects a revive, breaks cover or finishes a low target, then choose weapons that can act immediately.
Homer should not duplicate every teammate's job. Let one player create information, one player pressure cover, and one player convert the knock.
Skip the pick when your current build already covers rotating, entering or escaping faster than a normal character can and the team needs healing, wall break or movement more urgently.
Free Fire Homer Compared With Similar Characters
If Homer feels close to another pick, compare the role first instead of choosing by appearance. The right choice is the character that solves the fight problem your squad actually has.
| Alternative | What they solve | When to choose them |
|---|---|---|
| Burst repositioning | Choose Tatsuya when entry timing matters more than long support value. | |
| Simple movement speed | Choose Kelly when you want passive speed without managing an active button. | |
| Escape after taking damage | Choose Joseph when you need a reaction tool for broken peeks. |
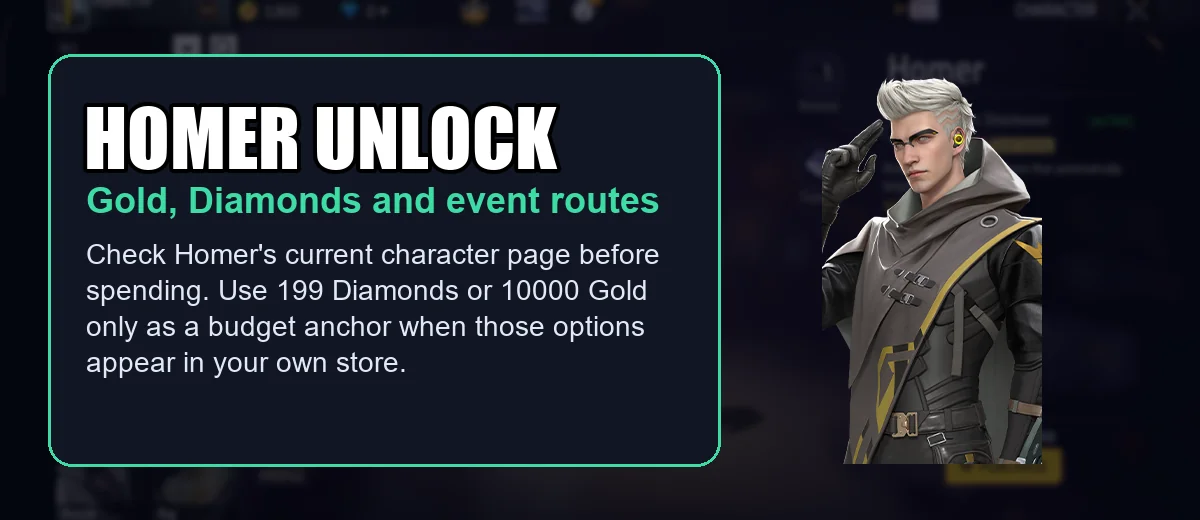
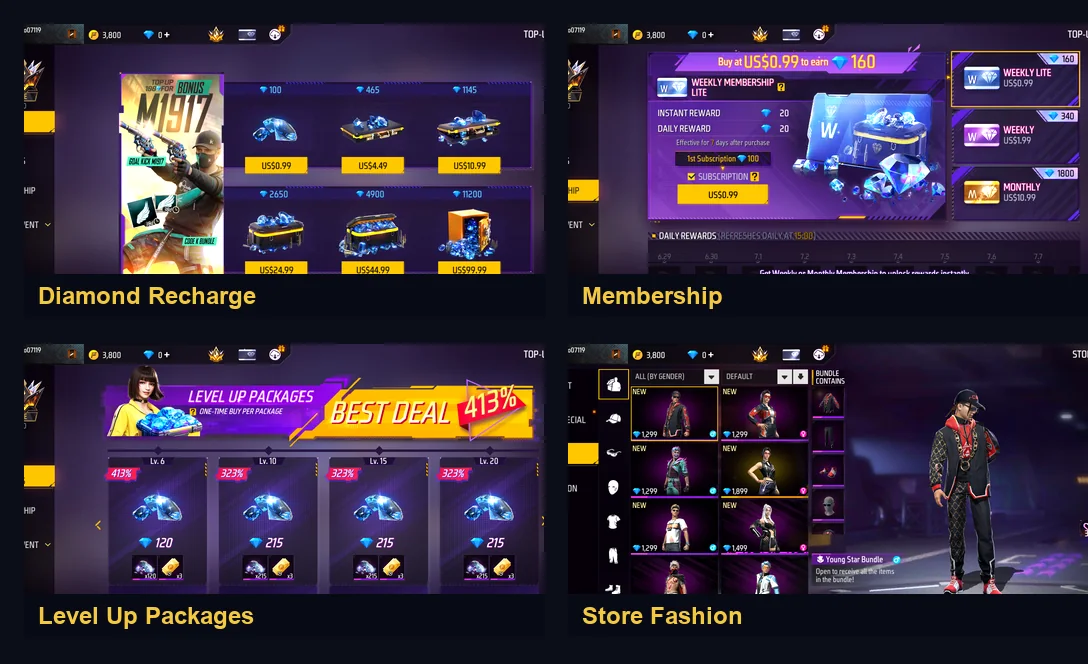
Free Fire Homer Unlock Cost, Gold and Diamonds
Homer should be a gameplay decision first and a currency decision second. Character availability, Gold options, Diamond prices and event routes can change by account, region and update. Use 199 Diamonds or 10000 Gold only as budget anchors when those options appear in your own store.
Use direct Diamonds only when the character or event route is already decided.
Check Homer's current page first; use Gold before Diamonds when your account offers it.
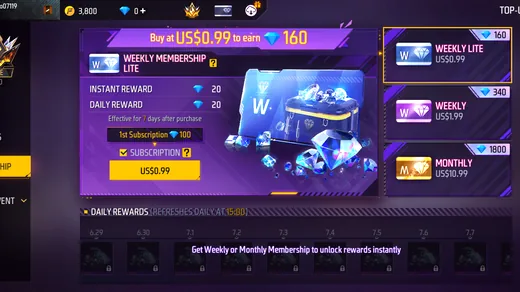
Check membership only if steady Diamond income fits how often you play.
Compare event routes only after the character plan is clear, not because a banner looks urgent.
| Currency route | What to check | Best use |
|---|---|---|
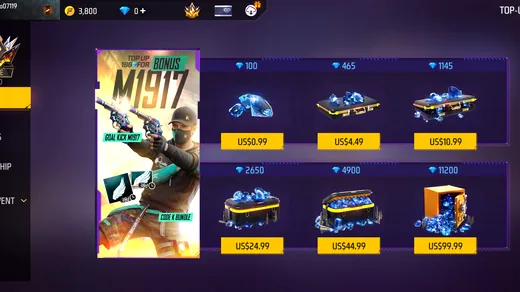
| Direct Diamonds | Use the current Diamond price shown in your own account. Example recharge ladders can include small, medium and large packs. | Top up only after you know Homer is the character or event route you actually want. |
| Gold option | Some character pages may show a Gold route. Treat 10000 Gold as a budget check only when that option appears. | Use Gold first when available, then save Diamonds for event routes or future unlocks. |
| Character unlock | Check the current Homer page before spending. Treat 199 Diamonds as a budget check only when it appears in your store. | Spend only if Senses Shockwave fits your main Free Fire build. |
| Membership | Weekly or Monthly membership can make sense for regular Diamond income, but it is not always needed for one character unlock. | Compare the remaining gap before choosing a membership route. |
Plan the character first, then top up only when you know the exact unlock route or event cost you actually need.
Top Up Free Fire DiamondsCommon Free Fire Homer Mistakes
- Using Senses Shockwave just because it is available instead of waiting for the fight where it matters.
- Choosing weapons that do not match the range created by the skill.
- Ignoring teammate spacing and trying to convert every advantage alone.
- Spending Diamonds before checking whether a Gold or event route is available.
- Stacking similar skills while leaving the squad without healing, wall pressure or information.
Free Fire Homer FAQ
Is Free Fire Homer good?
Homer is good when your match plan needs rotating, entering or escaping faster than a normal character can. The pick is weaker when you choose it without a clear fight role.
What is Free Fire Homer's skill?
Homer's skill is Senses Shockwave. Build around the timing and job of that skill rather than just adding it to any random loadout.
What weapons work best with Free Fire Homer?
Use SMGs, shotguns and controllable ARs that can punish after a quick reposition. If you are unsure, start with a stable AR plus one close-range option.
Should I spend Diamonds on Free Fire Homer?
Only spend Diamonds after checking the current character page and confirming that Senses Shockwave fits your main build. Use Gold first if your account shows that route.
Final recommendation: Homer is strongest when you pick a clear job for Senses Shockwave before the round starts.
- Use Homer when Senses Shockwave has a clear job in the next fight.
- Pair the character with weapons that fit SMGs, shotguns and controllable ARs that can punish after a quick reposition.
- Check the live in-game unlock route before spending Gold or Diamonds.


Copyright © FUTURE OUTLOOK TECHNOLOGY LIMITED. All rights reserved.UNIT 135,1/F.,143 WAI YIP STREET,KWUN TONG HK