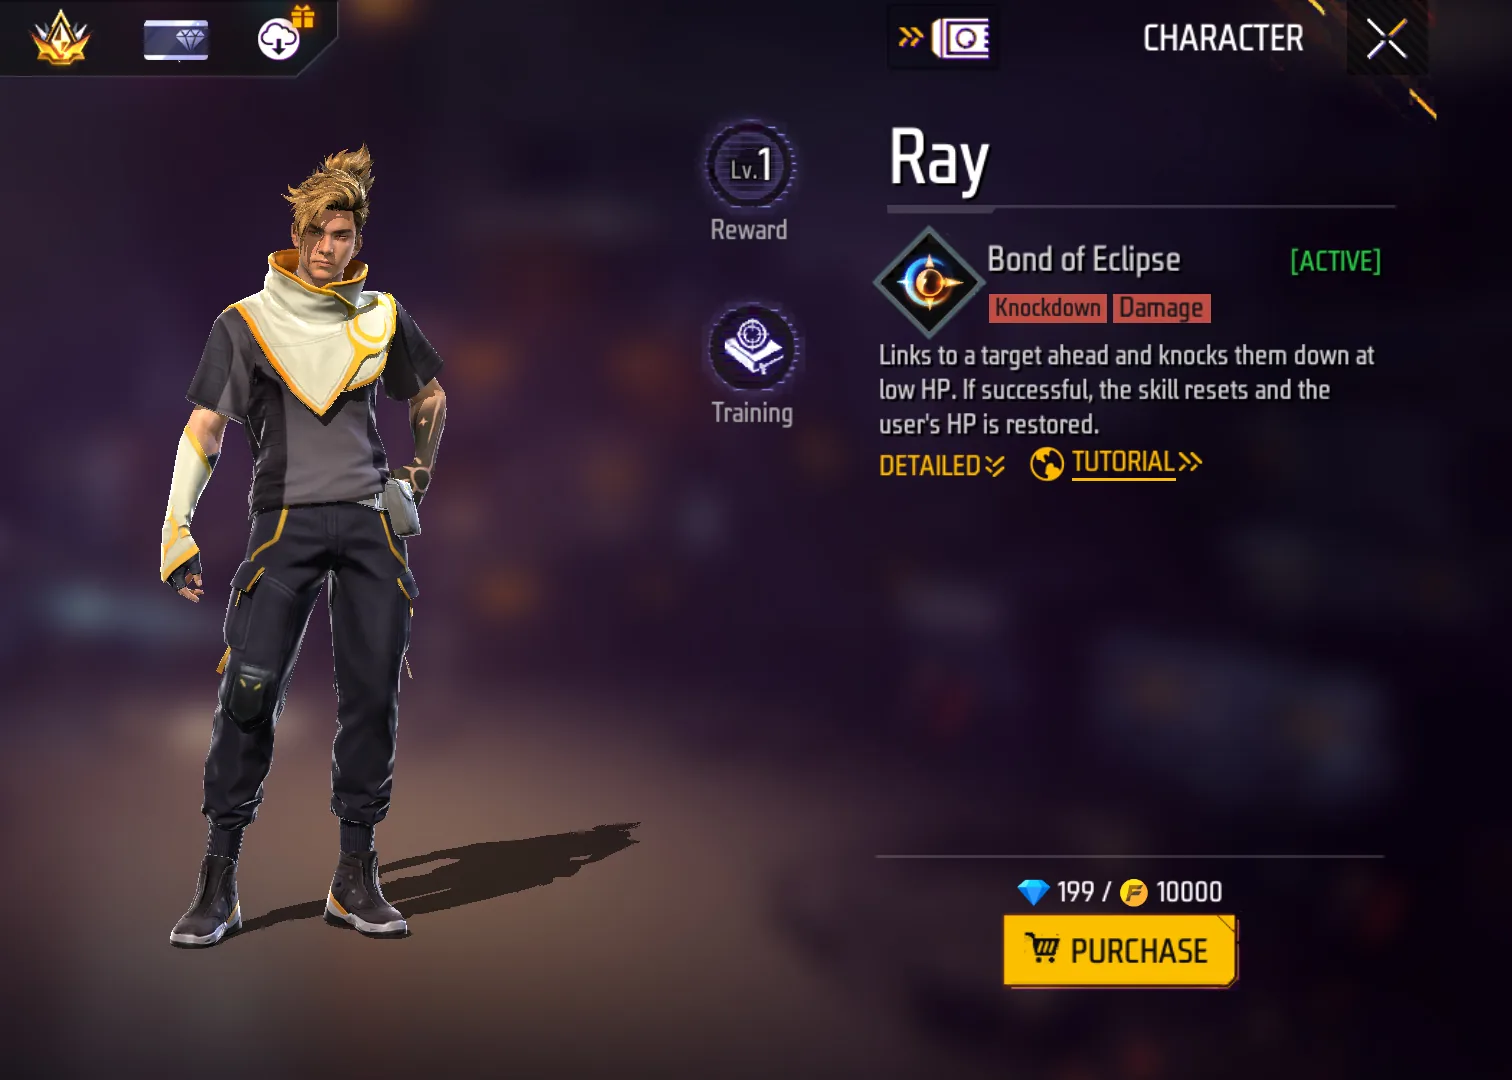
Free Fire Ray Guide: Bond of Eclipse Skill, Best Combos, Weapons and Team Tips

Ray is a Free Fire character built for players who want a clear target and a strong finishing window. Bond of Eclipse is not a general scan and not a panic escape. It gives you one linked enemy, a time limit, and a reward if you convert the duel.
Use Ray when your squad needs a finisher who can punish damaged enemies behind cover. He is especially useful when you already have someone to break Gloo Walls, provide healing, or create the first opening.
How Ray's Bond of Eclipse Skill Works
Bond of Eclipse fires forward in a fan-shaped range and tags the first undowned enemy it hits for 10 seconds. During that link, dropping the target to 40 HP or below knocks them instantly. If that enemy is knocked or eliminated while tagged, Ray's skill resets and he recovers HP over a short window.
The key is discipline. Ray should not link a target and sprint through open space. Link from cover, force the enemy to spend a Gloo Wall or reposition, then finish with the weapon range you already control.
Watch the target link and finishing window, then practice linking from cover before chasing.
Ray needs a real follow-up after the first tag. The link is not a scan; it is a duel contract.
Bring the linked target low enough and Bond of Eclipse can finish the knock instantly.
A successful knock or elimination refreshes the skill and gives Ray a short heal over time.
Ray skill timing plan
A good Ray round starts before the skill button. Use this timing plan to decide when to commit, when to wait, and when to stop chasing.
| Moment | What to do | Why it matters |
|---|---|---|
| Before pressing | Hold a 30m forward angle and choose the enemy your squad can actually pressure. | Ray's link is wasted if the target is far, healthy, or protected by three teammates. |
| During the 10s link | Call the target, break or cut off cover, and keep firing from a protected lane. | The skill rewards focused damage, not a solo sprint through open ground. |
| At the 40 HP line | Swap to the fastest finishing option and stop the revive or heal reset immediately. | Ray's instant knock turns chip damage into a round-winning swing only if you convert on time. |
| After the knock | Use the reset and short HP recovery to re-peek from cover or reposition with the squad. | The heal is a momentum reward, not permission to chase the next enemy alone. |
Is Ray Worth Using?
Ray is worth using when the match problem fits the skill. Ray does not protect you while you chase the linked target, so a greedy push can still get traded. The safest way to evaluate the character is to ask what happens after the skill button is pressed: do you get a knock, force cover, escape pressure, or create information your team can use?
Ray should usually be the second player into a fight, not the first body through every doorway. Let a wall breaker, grenade, or teammate's opening tag create damage first; then Ray turns the wounded target into a confirmed knock. In squads, call the linked enemy by position rather than name alone, such as "linked roof" or "linked right wall," so teammates know which angle to cut.
For ranked play, avoid treating any single character as a miracle fix. Ray should support your weapon range, squad role and active-skill plan. If the skill solves the first decision in the fight but leaves you exposed afterward, pair it with teammates or passives that cover the gap.
| Mode or role | Ray value | How to use the skill |
|---|---|---|
| BR squad | High | Use Ray as the squad finisher after a teammate cracks cover or lands opening damage. |
| Clash Squad | High | The 40-HP execution line can swing close rounds when enemies hide after taking burst damage. |
| Solo BR | Medium | Ray can win duels, but the skill does not stop third parties or give instant escape. |
| Passive backline | Low | If you rarely push after opening damage, Ray's reset and HP reward are wasted. |
Best Ray Skill Combos
Ray already uses the active slot, so his personal loadout should mainly use passive skills that help him finish the linked target. If a teammate brings wall pressure or healing, Ray becomes much easier to play because he can focus on the 10-second execution window instead of creating every opening alone.
| Combo core | Best for | Why it works | Watch out for |
|---|---|---|---|
| Marked finisher | Moco helps the squad keep track after the first hit, while Maro supports longer pressure against marked enemies. | Best when you can land opening AR shots before committing. | |
| Close-range finish | Jota helps sustain hit trades and Hayato supports damage pressure when your HP drops during the final swing. | Do not rely on sustain if you are pushing without cover. | |
| Fast chase | Kelly and D-Bee help Ray move and shoot while closing the gap after Bond of Eclipse starts. | Speed helps only if the route is covered by walls or terrain. | |
| AR control | Laura supports scoped accuracy and Nikita helps reload tempo, making Ray more stable in 10-30m fights. | Less explosive in shotgun-only rounds. | |
| Squad cleanup | After Ray converts a knock, Otho-style information and Jota sustain help the squad chain the next trade. | Needs a confirmed knock first; do not play it like a scan build. |
Best Weapons and Fight Ranges for Ray
Ray prefers weapons that can finish quickly after one target is chosen. ARs and SMGs are reliable because they can chip first and then chase. Shotguns are strong when the enemy is already inside your pressure range, but they are risky if the link starts too far away. For a wider weapon reference, use the Free Fire weapon tier list after you decide whether this character fits your role.
| Range | Best weapon style | How Ray helps | Simple habit |
|---|---|---|---|
| 0-10m | 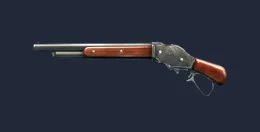 M1887 M1887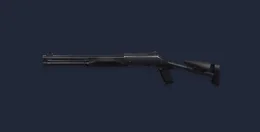 M1014 M1014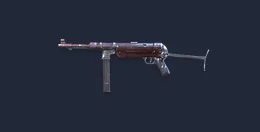 MP40 MP40 UMP UMP | Ray can finish a low target fast, especially after a wall break or close swing. | Link first from cover, then commit only when you know where the enemy can retreat. |
| 10-30m | MP40UMP SCAR SCAR XM8 XM8 | This is Ray's best practical range because you can tag, damage, and finish without crossing too much open ground. | Use short bursts; wasting ammo during the link costs the whole window. |
| 30m+ | SCARXM8 Woodpecker Woodpecker SKS SKS | Longer tags can force panic healing, but Ray still needs a teammate or safe route to convert. | Do not chase a far linked target through unknown angles. |
How to Play Ray in Battle Royale and Clash Squad
Battle Royale: Pick one enemy at the edge of the fight, link from cover, and let your squad create crossfire. Ray is strongest when he turns a damaged player into a confirmed knock, not when he dives alone into a full compound.
Clash Squad: Use Ray after the first Gloo Wall trade or after your team lands opening chip damage. If the linked target falls back with low HP, push the wall line together and finish before the cooldown window is wasted.
Do not burn Bond of Eclipse on a far silhouette. Save it for the enemy already cracked by your AR, grenade, or teammate pressure.
Link the edge player who leaves a wall stack or tree. Keep one teammate watching the second angle so the linked target cannot bait you into crossfire.
Wait until the first Gloo Wall exchange reveals where the enemy anchor is hiding, then link the target your team can burst.
Use the link to stop a low-HP enemy from healing behind cover. If the target survives the timer, reset instead of forcing the wrong swing.
Ray vs Other Free Fire Characters
Use this comparison to decide whether Ray is the right slot or whether another character solves the same fight more directly. The goal is not to stack similar effects; it is to cover the weakness your team actually has.
| Character | Main value | Use instead of Ray when... |
|---|---|---|
| Target link, execute line, reset reward | you want to punish one enemy and chain momentum after a confirmed knock. | |
| Dash and Gloo Wall disruption | you need to break through cover first, not finish a target after damage. | |
| Fast movement entry | you need pure mobility with less target commitment. | |
| Surprise angle and reset after knock | you prefer ambush play over direct target linking. |
How to counter Ray
Knowing the counterplay also makes you better at using Ray. If opponents start doing these things, adjust the skill timing before the next round.
| Counterplay | Why it hurts | Ray adjustment |
|---|---|---|
| Gloo Wall stalling | The linked target survives until the timer fades. | Pair Ray with wall pressure or attack from a side angle before the enemy can reset. |
| Crossfire bait | Ray chases one low-HP player and walks into the rest of the squad. | Have one teammate anchor the second angle; if the chase route is blind, stop the push. |
| Long-distance poke | The target is tagged but too far away to convert. | Use the link for information only and hold the next cover line instead of sprinting. |
| Third-party timing | Ray gets the knock but loses the next trade. | Take the reset heal from cover and reload before choosing another target. |
Ray Unlock Cost, Gold and Diamonds
Ray's spending decision should start with the character unlock and the role you actually need. If Ray appears with both Gold and Diamond options in your account, use Gold first and keep Diamonds for later needs. Only spend Diamonds on Ray when Bond of Eclipse already fits your finisher role.
Confirm whether Ray is available in your store, whether a Gold option appears, and whether the current price matches your account region.
If your store shows a Gold unlock, use that route first. Diamonds should be reserved for characters you cannot unlock with Gold or for later event needs.
Do not top up just because Ray is new. Top up only when you know the exact Diamond gap and you will actually use Bond of Eclipse.
Weekly or Monthly membership can make sense for regular players, but a single character unlock usually needs only the current price gap.
Character availability, Gold options, Diamond prices and event routes can change by account, region and update. Use 199 Diamonds or 10000 Gold only as a budget check when those options appear in your own store. The final number to trust is always the price shown on the current character page.

| Currency route | What to check | Best use |
|---|---|---|
| Direct Diamonds | Example USD ladder: 100, 465, 1145, 2650, 4900 or 11200 Diamonds. | Use this only after you know Ray is the character you want to unlock or build around. |
| Membership | Weekly Lite, Weekly and Monthly membership options may appear in the recharge area. | Better for players who prefer steady Diamond income instead of one large pack. |
| Character unlocks | Check the current Ray character page before spending. Treat 199 Diamonds or 10000 Gold as a budget check only when that option appears in your store. | Use Gold when available; save Diamonds for Ray only if the character fits your main build. |
| Event routes | Character availability, discounts and reward routes can change during events. | Check the current route first so you do not top up more Diamonds than the unlock needs. |
Plan the character first, then top up only when you know the exact unlock route or event cost you actually need.
Top Up Free Fire DiamondsCommon Ray Mistakes
- Linking the wrong target and chasing through open ground.
- Treating the skill like a scan instead of a duel setup.
- Ignoring the 10-second timer and starting the push too late.
- Using Ray without any wall pressure, sustain or movement support.
- Forgetting that the HP recovery is a reward after conversion, not a shield before the fight.
Ray FAQ
Is Ray an active character?
Yes. Ray uses an active skill, so he takes the active slot in your build. Pair him with passive skills that help damage, movement or sustain.
What does Bond of Eclipse do?
It links the first undowned enemy hit in front of Ray. If that target drops to 40 HP or below during the link, they are knocked instantly. A successful knock or elimination can reset the skill and restore HP briefly.
Is Ray good for Clash Squad?
Yes, especially when your team can break walls and trade quickly. The mode gives Ray many short fights where one low-HP execution can decide the round.
Is Ray beginner-friendly?
Ray is understandable, but not completely beginner-proof. New players may overchase the link. Learn to use cover and commit only when the target is already pressured.
Should I use Ray or Oscar?
Use Ray when you already have a way to pressure the target and want a finisher. Use Oscar when your main problem is breaking through Gloo Walls and starting the entry.
Final recommendation: Ray is strongest when you pick a clear job for Bond of Eclipse before the round starts.
- Use Ray if your squad can focus one target and finish quickly.
- Skip Ray if you need scan, healing or escape more than execution pressure.
- Pair Bond of Eclipse with wall break, movement or sustain so the link becomes a real win condition.


Copyright © FUTURE OUTLOOK TECHNOLOGY LIMITED. All rights reserved.UNIT 135,1/F.,143 WAI YIP STREET,KWUN TONG HK