
Where Winds Meet Map Guide: Regions, Fast Travel & Exploration Checklist

The Where Winds Meet map is too large to clear efficiently by chasing every icon as soon as it appears. The better approach is to reveal a region, unlock its travel network, complete the objectives that open useful systems, and leave low-value cleanup for a focused return route. This guide turns the official interactive map into a practical exploration checklist. It explains the difference between map reveal and fast travel, gives you a repeatable route for new regions, and organizes the best cleanup priorities for Qinghe, Kaifeng, Hexi, Liangzhou, Qinchuan, the Imperial Palace, and Hidden Mountain. Region availability can depend on story progress and version, so use the route as an exploration method rather than a rigid campaign order.
Turn on only the marker category you are currently hunting. Too many filters make the map harder to use.
Open the official interactive mapHow to use the official Where Winds Meet interactive map
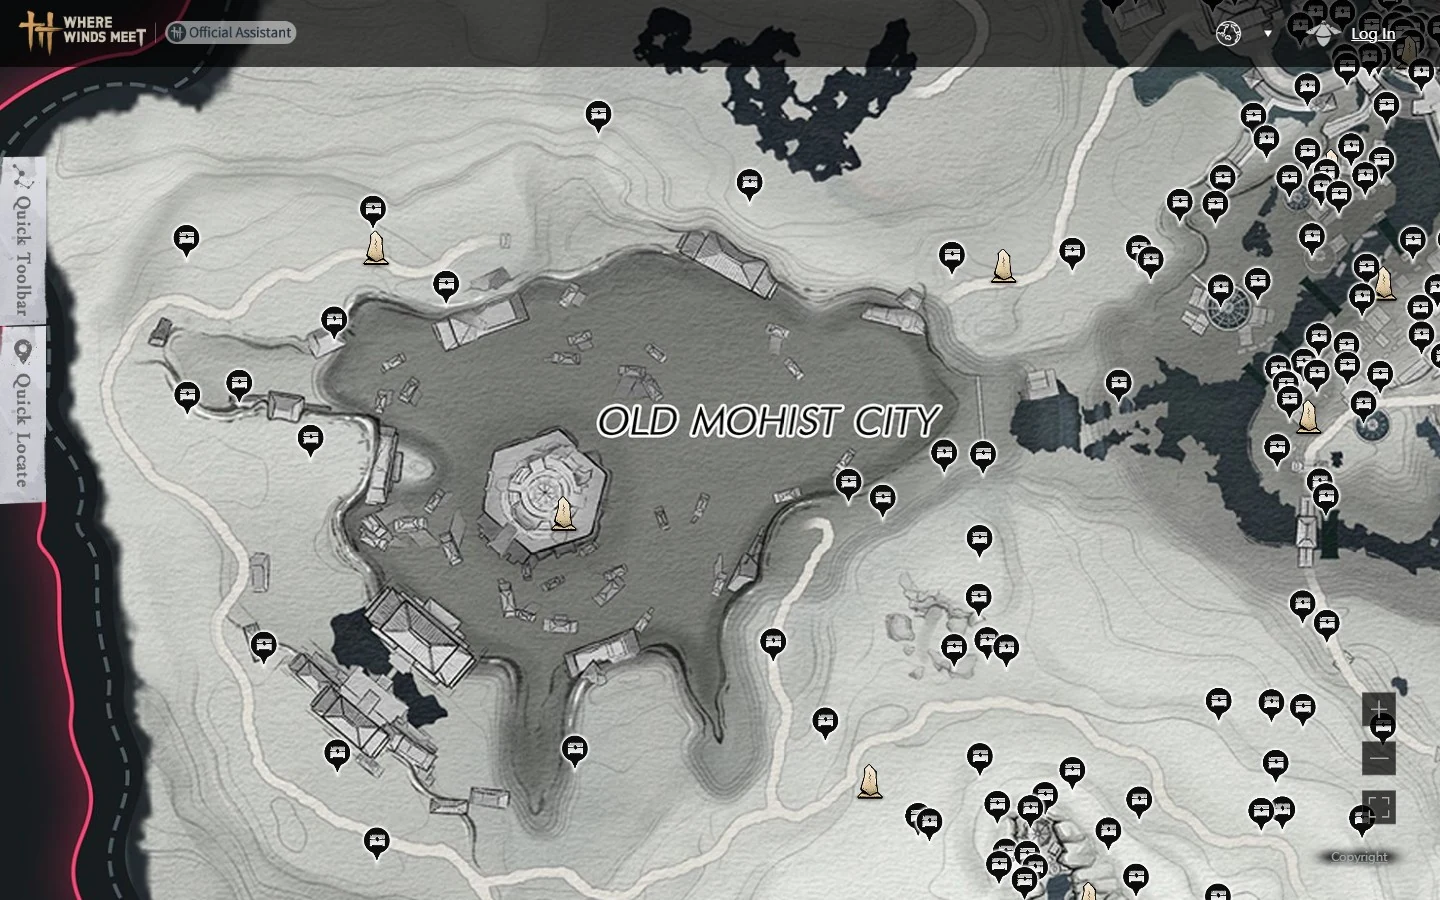
The official map is most useful when one marker category is enabled at a time. Source
- Choose one region.Do not mix collectible routes across distant regions in the same session.
- Reveal the local map.Use the flame or campfire marker to find the local Wayfarer, then speak to them before detailed cleanup.
- Build a fast-travel spine.Unlock Boundary Stones along the main roads, town entrances, and major vertical transitions.
- Filter one objective type.Use the official map for one category at a time: upgrades, quests, bosses, chests, then minor collectibles.
- Leave a return point.End near a Boundary Stone you have not used as a starting point before.
Map reveal, Boundary Stones, and exploration progress
Speak to the local Wayfarer to open the readable regional map before collectible cleanup.
Boundary Stones turn long crossings into short return routes. Prioritize them at hubs and region edges.
Exploration progress comes from several activity types. Use filters to find the category you are missing.
These systems solve different problems. A revealed area can still be slow to revisit if its travel points are locked, and a fast-travel point does not guarantee you have found the valuable objectives nearby. Build both layers before you start a completion route.
Region-by-region exploration plan
| Region or phase | First priority | Second pass | Route warning |
|---|---|---|---|
| Qinghe | Learn reveal, travel, and local activity icons | Permanent upgrades and nearby side stories | Do not spend your first hours clearing every small icon |
| Kaifeng | Unlock city entrances and central travel nodes | Group quests and activities by district | Dense urban routes can look close on the map but require different levels or gates |
| Hexi | Secure long-distance travel points | Combine open routes with boss and resource stops | Open terrain can hide the true travel time between markers |
| Liangzhou | Connect settlements and main-road stones | Return for side content in compact loops | Avoid crossing the whole region for one low-priority collectible |
| Qinchuan | Use the Exploration Manual and establish a travel spine | Clear upgrade and discovery categories separately | Vertical paths may require a different approach than the flat map suggests |
| Imperial Palace | Follow access requirements and major objectives | Clean up interior branches after routes are understood | Indoor layers and restricted paths can make a nearby marker misleading |
| Hidden Mountain | Unlock transport and learn its vertical structure | Plan separate runs for bosses, Jianghu Legacies, mechanisms, and subregions | The area has four major sections and many subregions; one giant sweep is inefficient |
What to clear first in every region
- Access and movement.Reveal points, Boundary Stones, transport systems, and routes through vertical terrain.
- Permanent power or utility.Prioritize objectives that improve your character, unlock systems, or expand future route options.
- Major quests and encounters.Clear content that opens new areas, bosses, or important rewards.
- Dense collectible clusters.Take several nearby rewards in one loop instead of crossing a region for one marker.
- Low-value cleanup.Save scattered collectibles and cosmetic completion for a dedicated session.
Three efficient route patterns
The hub-and-spoke route
Start from a town or central Boundary Stone, clear one direction until you reach another travel point, then return to the hub for a different spoke. This works well in dense regions and cities because every run begins from a known location.
The edge sweep
Begin at one edge of a revealed area and follow the border in a wide arc. Use it for discovery points, remote chests, and terrain that does not fit a straight road route. Avoid this pattern until you have enough travel points to exit quickly.
The category loop
Filter the official map to one objective type and connect the nearest markers into a loop. Category loops are ideal when your exploration percentage is high but one reward track is still incomplete.
Hidden Mountain needs its own plan
Official development notes describe Hidden Mountain as a large vertical zone with four main areas, 14 subregions, more than 10 bosses, eight Jianghu Legacies, mechanisms, and new transport. Treat each main area like a separate map. Unlock its local movement options first, then make distinct routes for bosses, Legacies, mechanisms, and completion items. Trying to combine every layer in one pass increases missed markers and repeated climbing.
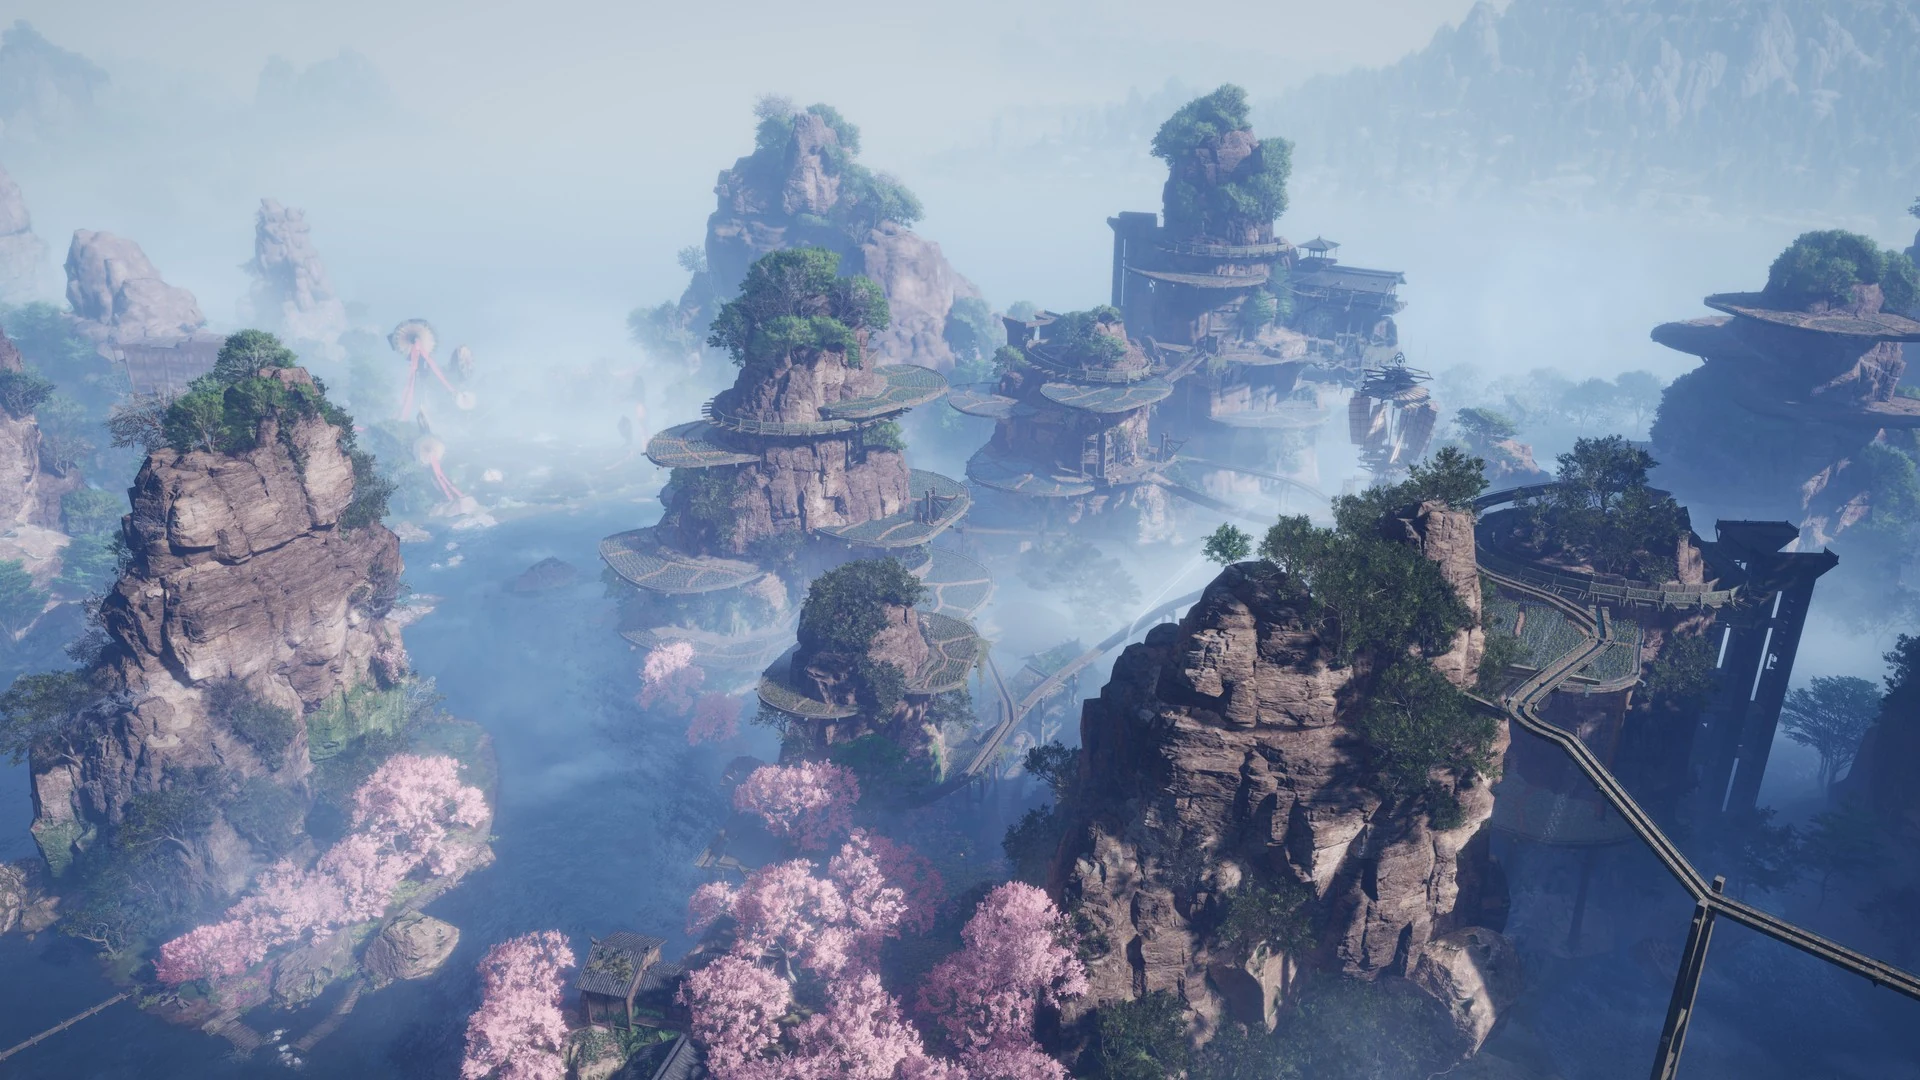
Hidden Mountain uses layered paths across steep terrain. Source
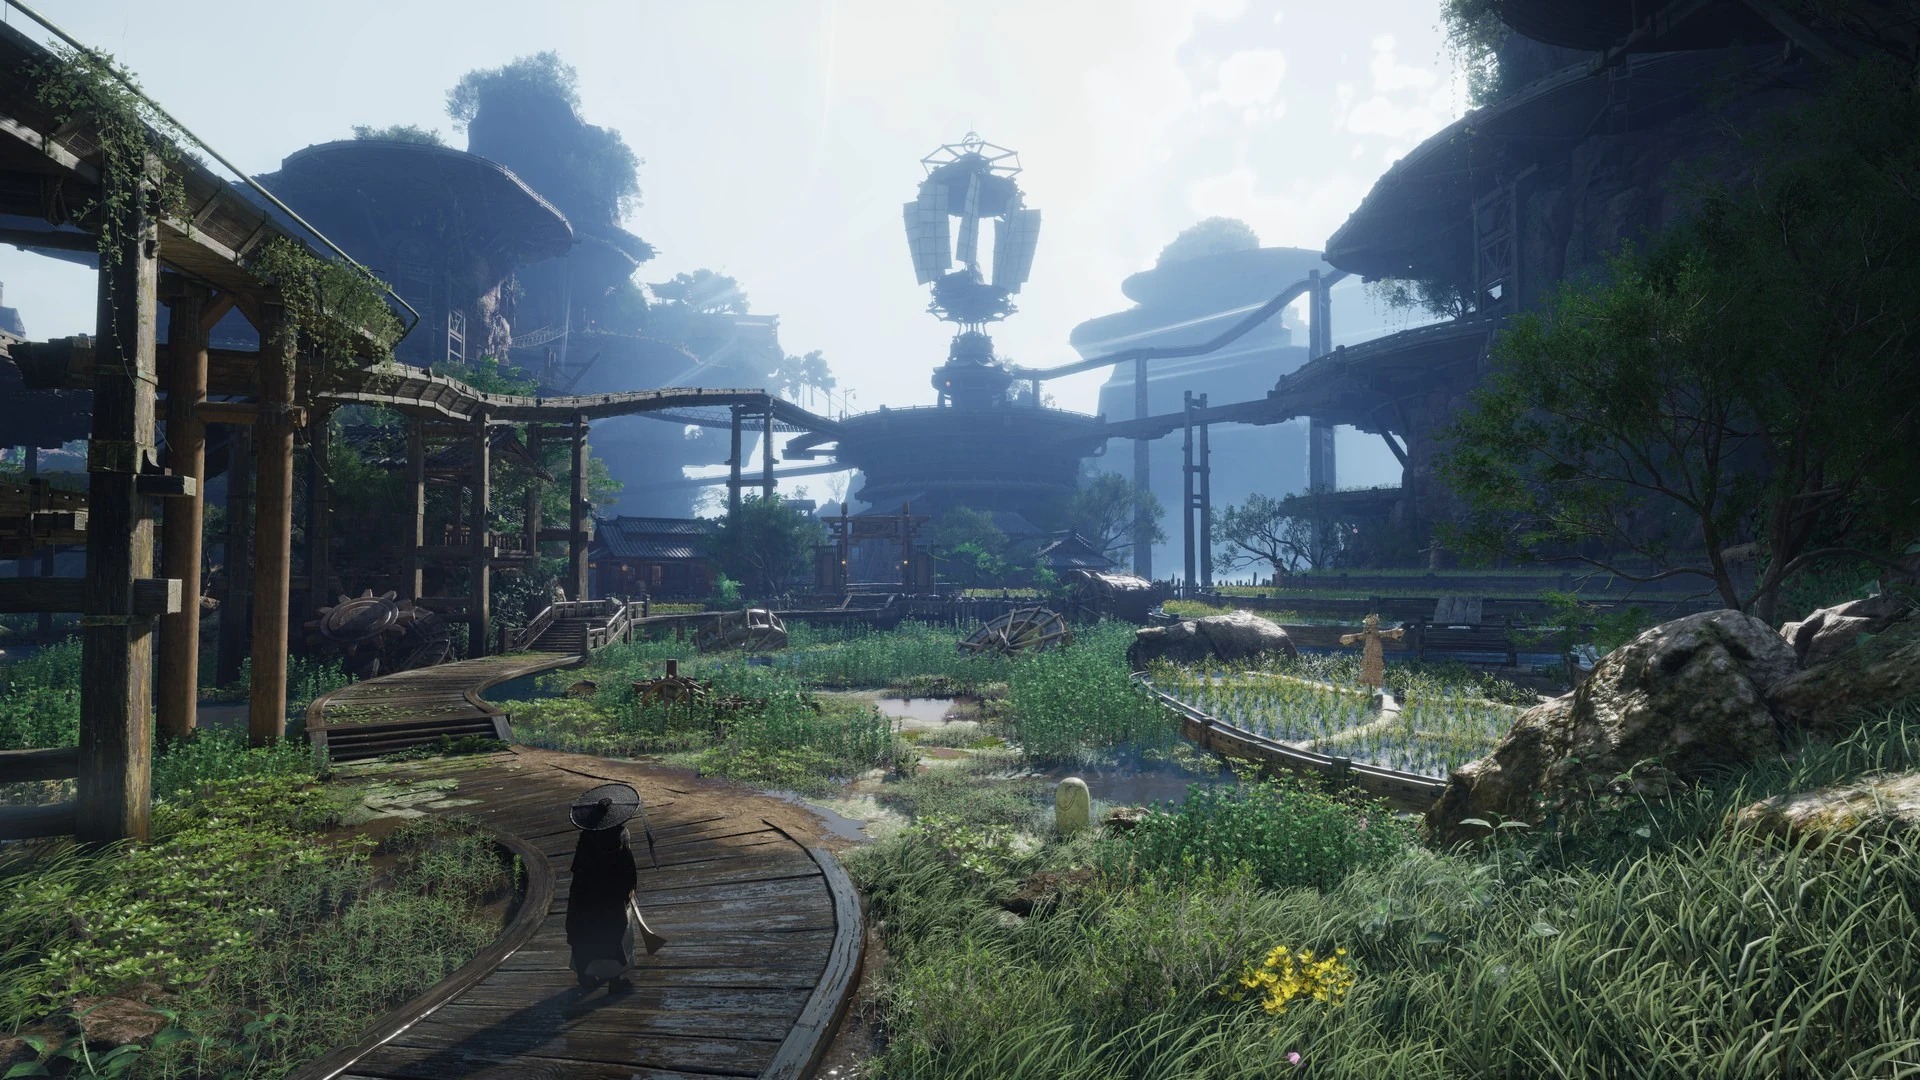
Transport links make vertical return routes easier to manage. Source
Solo and online exploration
Official January 2026 update notes state that exploration in Online Mode can synchronize with Solo Mode. Before a co-op session, decide who is navigating and which marker category the group is clearing. After the session, check your own map filters and progress rather than assuming every nearby icon was completed. Story access and some activities may still depend on individual progression.
Exploration checklist
- Regional map revealed
- Main hub Boundary Stone unlocked
- Region-edge travel points connected
- Vertical transport or shortcuts opened
- System-unlock quests completed
- Permanent upgrade objectives checked
- Bosses grouped into one route
- Side stories grouped by district
- Collectible filter used one category at a time
- Return point prepared for the next session
Where Winds Meet map FAQ
Is there an official interactive map?
Yes. The official Where Winds Meet website provides an interactive map. Use its filters to isolate the activity you are currently clearing.
What should I unlock first in a new region?
Reveal the local map, then activate Boundary Stones along the main route and near hubs. After that, prioritize permanent upgrades and system-opening quests.
Why does a nearby marker take so long to reach?
The map is two-dimensional while many areas use cliffs, rooftops, interiors, gates, or underground paths. Look for a nearby travel point, entrance, or vertical transport route before forcing a direct path.
Does online exploration count in solo mode?
Official update notes say Online Mode exploration can synchronize with Solo Mode. Check your own progress after the session because access and activity completion can still depend on individual state.
How do I reach 100% exploration efficiently?
Finish access and travel first, then run one marker category at a time. When progress stalls, compare the Exploration Manual and official map filters to identify the missing activity type.

Check the receiving Character ID, then choose only the package amount you need.
Related Where Winds Meet guides
Final route
Reveal, connect, progress, then clean up. That four-part loop scales from Qinghe to later vertical zones and prevents most wasted travel. Keep the official map on one marker category, end at a fresh Boundary Stone, and let each session create a better starting point for the next one.




Copyright © FUTURE OUTLOOK TECHNOLOGY LIMITED.Company Registration No.: 77374965 All rights reserved.UNIT 135,1/F.,143 WAI YIP STREET,KWUN TONG HK