MLBB Collector Skin Cost Guide: Draw Strategy and Budget Rules

Status check: Reviewed July 27, 2026: this article now works as both a current lookup entry and a historical archive. Use the dated rows, current in-game Event screen, and latest official notices to confirm what is still active.
Collector skins sit in the premium end of MLBB cosmetic spending. They are not normal Shop purchases, and they should not be judged by the first draw button alone. A Collector plan needs a budget range, a stop rule, a comparison against fixed Shop skins, and a decision about whether the hero or skin line is worth premium event spending.
This guide explains Collector basics, cost planning, draw strategy, when to stop, worth-it checks, archive examples and related Diamond routes. Use it before starting a Collector event or before topping up because a Collector skin looks limited.
The examples below use a June 2026 MLBB Shop and Draw review plus existing ManaBuy coverage of Grock's Tremor of the Deep Collector event. Collector events rotate, so confirm the live event rules, discount attempts and reward pool before spending.
MLBB Collector skins are usually premium event goals, not casual Diamond purchases. A past ManaBuy Grock Collector guide recommended preparing around 3,000 to 5,000 Diamonds for that specific Collector event, depending on discounts and progress. Treat that as a planning range example, not a universal guarantee.
Before you pull, compare the target Collector skin with fixed Shop anchors such as 599, 749 and 899 Diamond skins. If you only want a good skin for the hero, a fixed Shop option can be cleaner. If the Collector skin is the exact reward you want, set a hard ceiling before the first draw.
Collector Basics
Collector skins are premium cosmetics usually tied to event-style acquisition rather than simple permanent Shop pricing. They often matter to players because of hero attachment, visual effects, limited return timing and collection status.
Use this baseline:
| Collector factor | Why it matters |
|---|---|
| Hero usage | A Collector skin for your main is easier to justify |
| Event rules | Draw structure controls the real cost |
| Discounts | Daily or first-draw discounts can change timing |
| Existing progress | Starting near a milestone is different from starting at zero |
| Alternatives | Fixed Shop skins may be much cheaper |
The first question is not "how much is one draw?" The first question is "am I willing to spend a premium-event budget for this exact reward?"
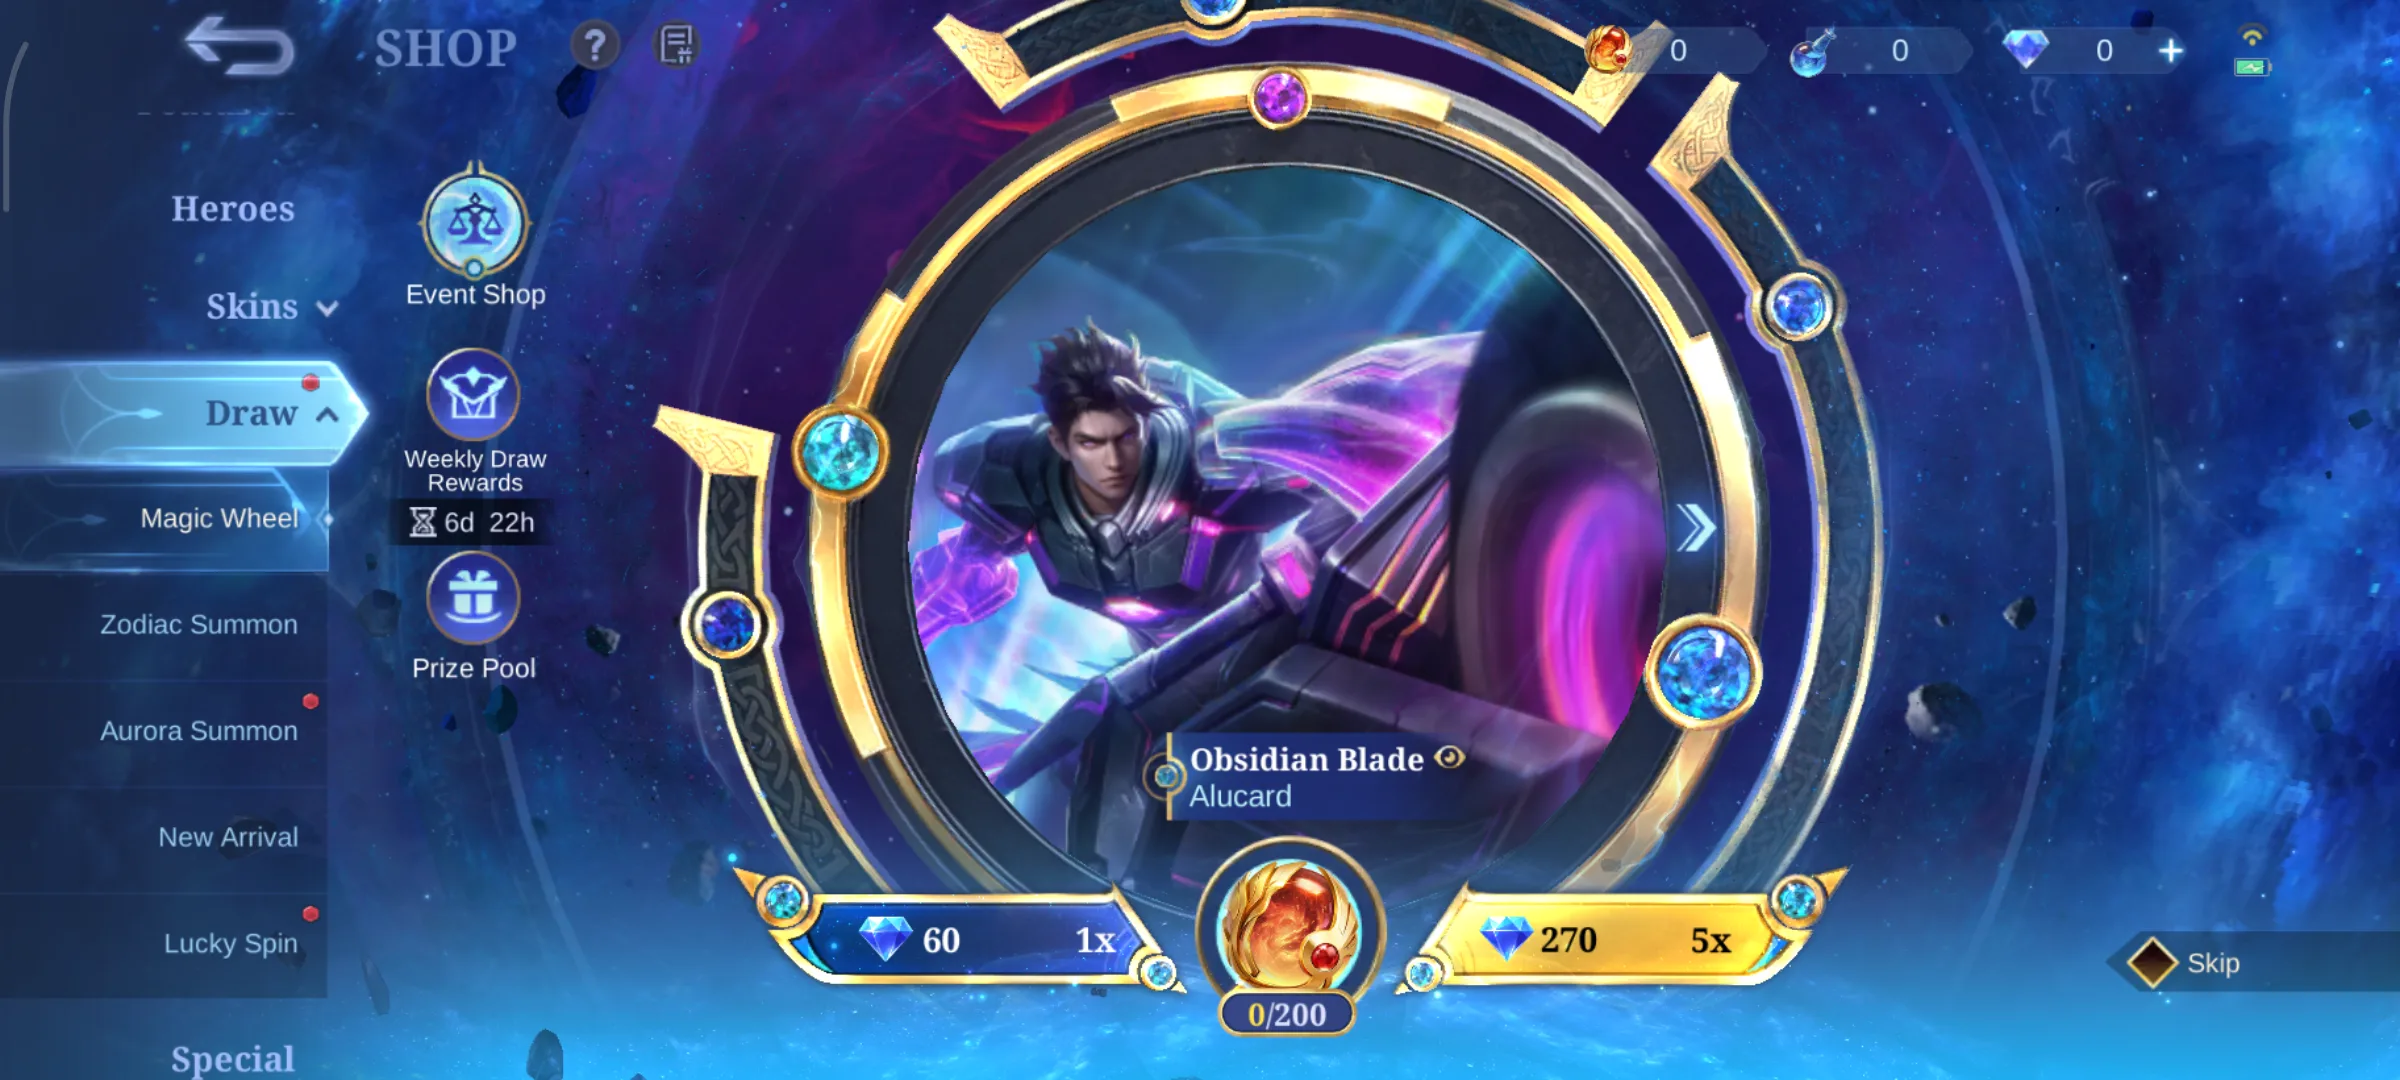
Cost
Collector cost should be presented as a range and a method, not a fake fixed number. The Grock Tremor of the Deep article used around 3,000 to 5,000 Diamonds as a practical planning range for that event. Other Collector events can differ because discounts, free attempts, event mechanics and exchange rules rotate.
| Cost layer | How to use it |
|---|---|
| Try budget | A small number of discounted or free attempts |
| Planned chase budget | The maximum Diamonds you accept before starting |
| Emergency stop | A point where you stop even if progress feels close |
| Top-up route | The cash route to the chosen Diamond ceiling |
| Leftover plan | What you will do with unused Diamonds if you stop early |
If you cannot name the ceiling before starting, do not start the Collector draw.
Pre-Top-Up Checklist
Before adding Diamonds for a Collector target, separate the skin decision from the payment decision. The skin decision asks whether the reward is worth chasing; the top-up decision asks how much balance you are willing to place on the account for that chase.
| Check | Pass condition |
|---|---|
| Exact target | You want this Collector skin, not just any premium reward |
| Current rules | You have checked the live event page, discounts and exchange route |
| Ceiling | You know the maximum Diamond amount before purchase |
| Package fit | The top-up route does not create a large unused leftover by accident |
| Backup use | Leftover Diamonds have a planned use such as Shop, Starlight or a future event |
This checklist keeps the page inside spending strategy rather than after-sales support. UID, payment and delivery checks belong in the main top-up flow; the Collector question is whether the planned Diamond ceiling makes sense before the buyer reaches checkout.
Draw Strategy
A Collector strategy is mostly about preventing a low-cost first step from turning into an uncontrolled chase. Decide whether you are trying, chasing or skipping.
| Strategy | What it means | Who it fits |
|---|---|---|
| Skip | No paid attempts | Players who only mildly like the skin |
| Try | Use free or discounted attempts only | Players curious about the event |
| Controlled chase | Set a Diamond ceiling and stop there | Players who really want the skin |
| Completion chase | Prepare for high spend and finish the route | Collectors who accept the cost |
The controlled chase is the healthiest middle ground. It lets serious players participate without treating every near-miss as permission to buy more.
When To Stop
Stopping rules must be written before the first draw. Otherwise, progress bars and limited timers can rewrite the budget in the middle of the event.
| Stop rule | Practical example |
|---|---|
| Diamond ceiling | Stop at 3,000 Diamonds even if the reward is close |
| Cash ceiling | Stop after the planned package route is spent |
| Discount-only rule | Use discounted attempts, then stop |
| Progress rule | Continue only if the next milestone is within the planned budget |
| Alternative rule | Stop if a fixed Shop skin would now be better value |
The best stop rule is the one you will still follow when the event UI makes one more draw look harmless.
Worth It
Collector skins can be worth it, but only for the right player. They are usually poor value for players who just want any good-looking skin. They can be strong value for hero mains, long-term collectors and players who care about premium skin identity.
| Worth-it question | Good answer |
|---|---|
| Do I play the hero often? | Yes, the hero is in my regular pool |
| Do I prefer this skin over fixed Shop alternatives? | Yes, the Collector version is the real target |
| Can I afford the ceiling? | Yes, without changing other spending plans |
| Do I understand the event rules? | Yes, I know discounts, pity or exchange behavior |
| Will I regret stopping short? | No, the stop rule is clear |
If the answer is mostly no, Collector spending is probably not the right Diamond use.
Archive
Archive examples help separate evergreen Collector advice from one-event hype.
| Example | Role in planning |
|---|---|
| Grock Tremor of the Deep | Past Collector event article with a 3,000-5,000 Diamond planning range |
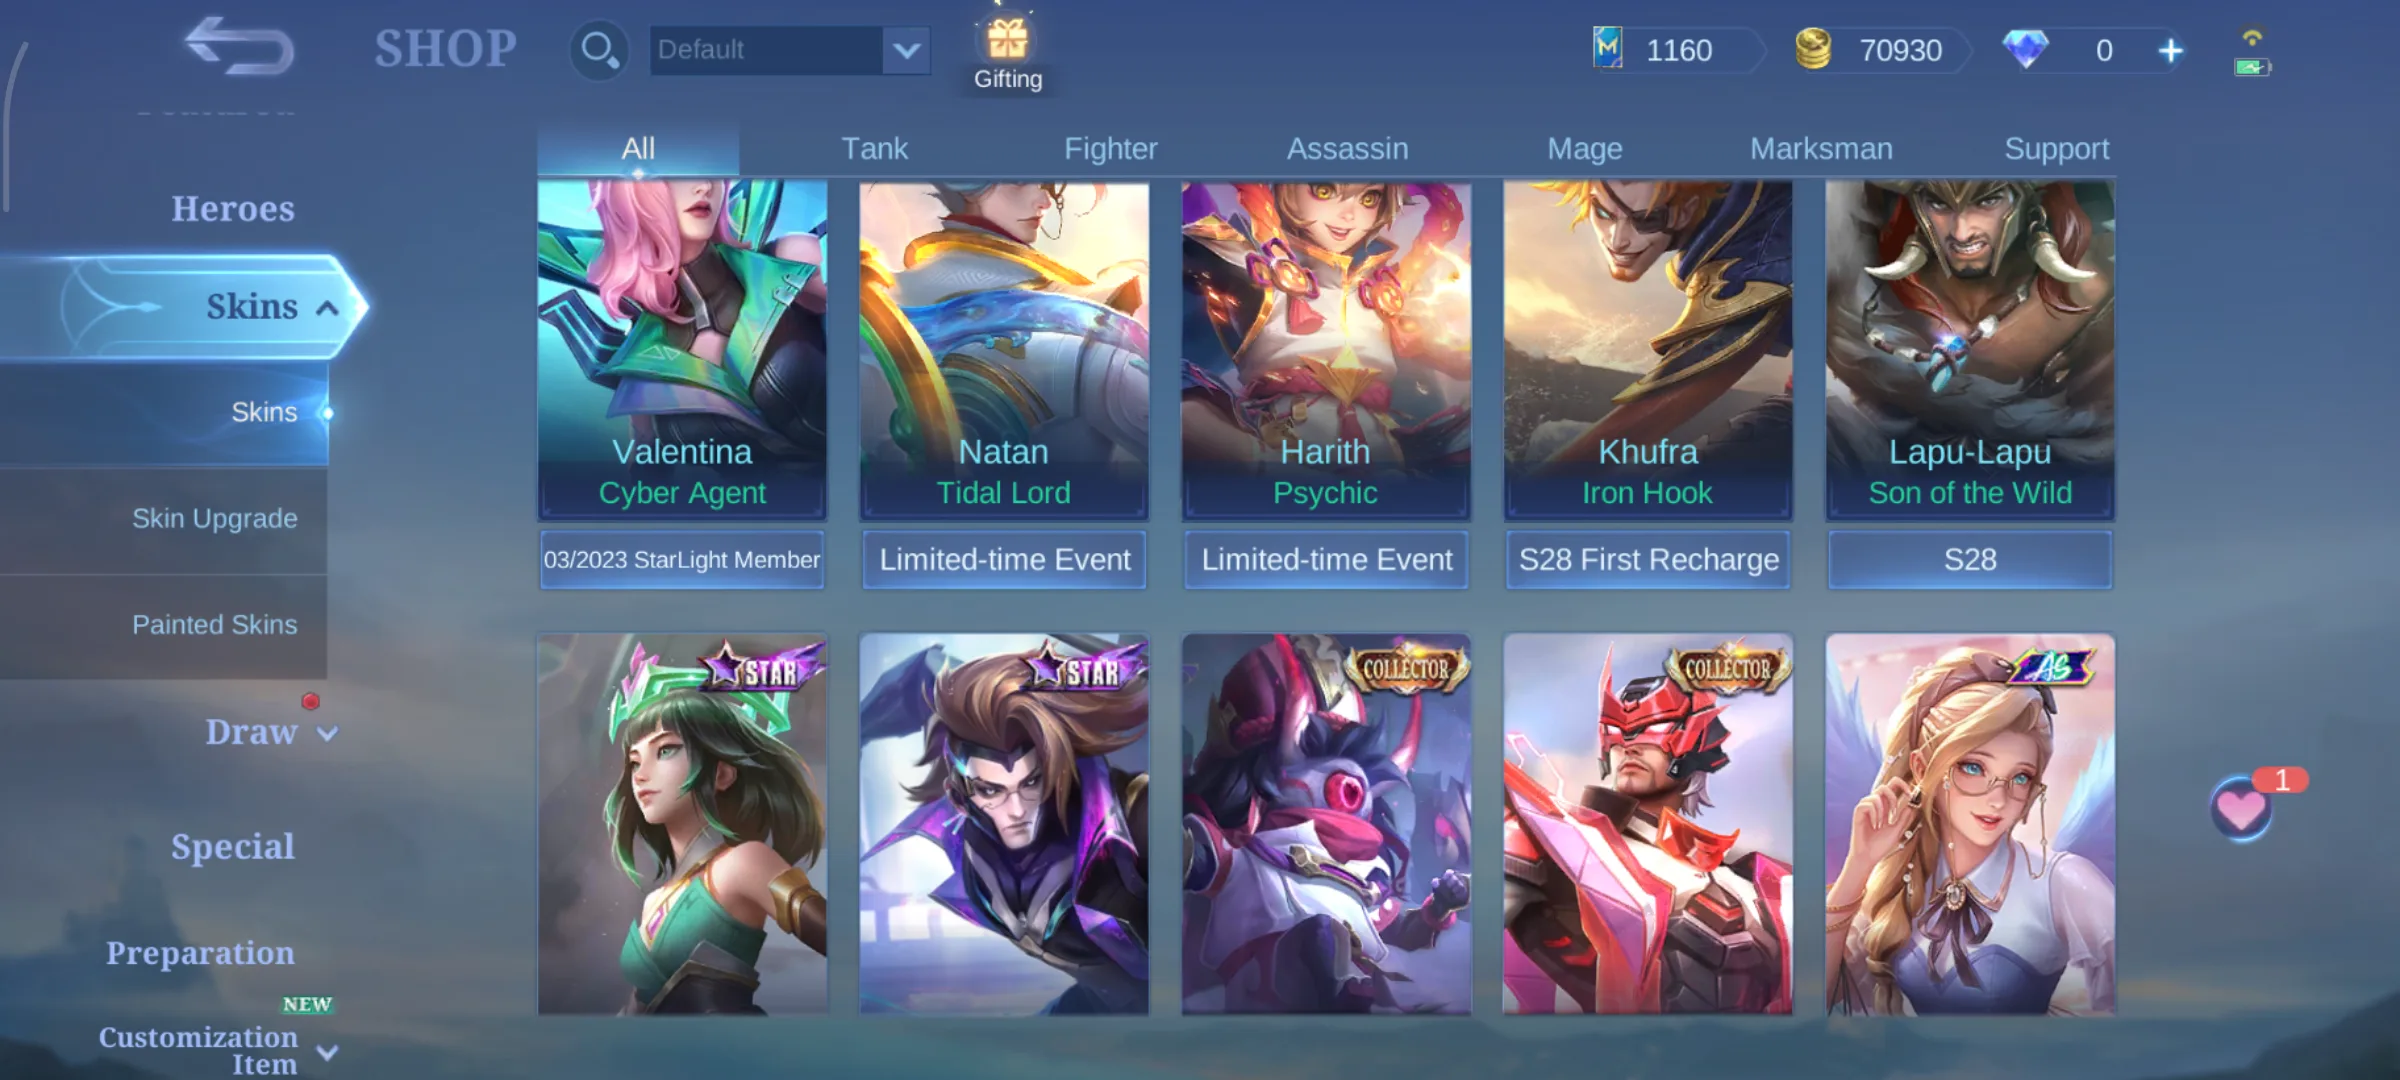
| Harith Psychic | Shop archive example showing Collector label context |
| Harith Killua | Collaboration or limited Collector context in shop listings |
| Older Collector tags | Reminder that Collector skins can sit inside broader archive systems |
Archive pages should support the evergreen rule: Collector skins are premium targets, not normal gap-fill purchases.
Budget Routes
For Collector spending, route planning matters because a large target can create leftover Diamonds. The route should be based on the ceiling, not the event emotion.
| Budget level | Planning use |
|---|---|
| Under 899 Diamonds | Fixed Shop comparisons and small tries |
| Around 3,000 Diamonds | Lower Collector planning range example |
| Around 5,000 Diamonds | Higher Collector planning range example |
| Around 10,800 Diamonds | Magic Wheel 200-draw stress-test reference, not a Collector guarantee |
Use the MLBB Recharge, Passes and Bundles Guide for cash route planning and the MLBB Draw Systems Cost Guide for pity and draw logic before topping up.
Collector Versus Shop and Events
Collector skins compete with three other Diamond uses: fixed Shop skins, Starlight-style monthly value and limited event rewards.
| Alternative | Why compare it |
|---|---|
| 599/749/899 Shop skins | Fixed price and no random chase |
| Starlight Pass | Predictable monthly value |
| Weekly Diamond Pass | Slow Diamond building |
| Event currencies | May offer a limited reward for a defined package |
| Magic Wheel or featured draws | Similar premium-event psychology |
Collector spending makes sense only when the target skin beats these alternatives for you personally.
After You Stop
Stopping is easier when the leftover plan is already written. If the Collector route ends below the ceiling, do not immediately roll the unused balance into another premium draw just because it feels like free budget.
| Leftover situation | Better use |
|---|---|
| Small leftover | Save for recharge-task gaps or low-cost Shop items |
| Around a fixed skin price | Compare 599/749/899 Diamond Shop skins |
| Enough for Starlight | Check whether the monthly hero fits your account |
| Enough for several discounted draws | Recheck whether a new draw has a real target |
| No clear use | Hold the balance instead of forcing a purchase |
This is also why Collector planning should not absorb every Diamond article on the site. The Collector page handles premium skin chase logic; recharge pages handle package choice, and support pages handle order or delivery problems.
Related MLBB Guides
Collector decisions should connect to draw, event, shop and top-up planning:
| Guide | What you will learn |
|---|---|
| MLBB Diamonds Value Guide | How Collector spending fits into the full Diamond map. |
| MLBB Draw Systems Cost Guide | How pity, progress and draw buttons change the real cost. |
| MLBB Shop Prices Catalog | Which 599/749/899 Diamond fixed skins compete with Collector spending. |
| MLBB Events, Currencies and Spending Guide | How event currencies and limited reward systems should be budgeted. |
| MLBB Starlight Pass Guide | How monthly pass value differs from premium Collector spending. |
FAQ
How many Diamonds does an MLBB Collector skin cost?
It depends on the active event. A past Grock Collector article used around 3,000 to 5,000 Diamonds as a planning range for that event, but live rules should decide the current budget.
Are Collector skins worth it?
They are worth considering for hero mains and collectors who accept premium-event spending. They are weak value for players who only want any good skin.
Should I top up before pulling?
Only after setting a ceiling. Topping up first and deciding later is the easiest way to overspend.
Is a Collector skin better than a 899 Diamond Shop skin?
Only if the Collector skin is your exact target. A 899 Diamond Shop skin is fixed and easier to budget.
What is the best Collector draw strategy?
Use free and discounted attempts first, set a Diamond ceiling, and stop when the ceiling is reached even if the event feels close.


Copyright © FUTURE OUTLOOK TECHNOLOGY LIMITED. All rights reserved.UNIT 135,1/F.,143 WAI YIP STREET,KWUN TONG HK