
Kagura MLBB Mid Lane Guide: Best Build, Emblem, Skills, Combos, and Counters

Kagura is a high-skill Mid Lane Mage who controls space through the Seimei Umbrella, then turns one safe poke angle into burst, crowd control, or an escape. Pick her when the enemy backline lacks multiple control-immunity tools and your team can hold targets near the umbrella. Avoid forcing her when Joy, Martis, or another immunity-heavy diver can ignore the pull and chase through both dashes.
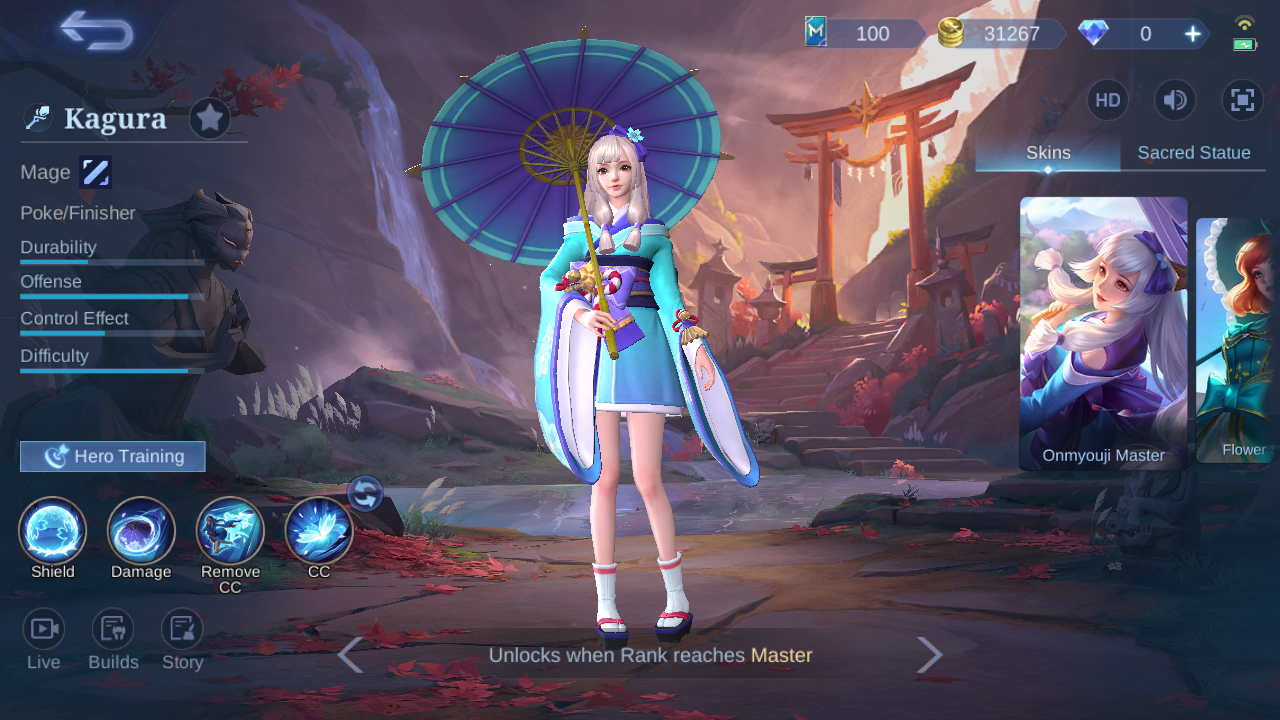
Kagura in-game profile: Mage, Poke/Finisher.
Kagura Skills and Umbrella States

1. Yin Yang Gathering — Shield / CC
Upon retrieving the Seimei Umbrella, Kagura gains a 450 (+80% Total Magic Power) shield, stuns nearby enemies for 0.5s, and slows them by 60% for 1s. Cooldown: 4.5s.
When: Retrieve the umbrella near enemies after they commit so the shield, stun, and slow protect the next cast.
Do not: Do not walk into control just to trigger the passive; use the teleport state or a safe return path.
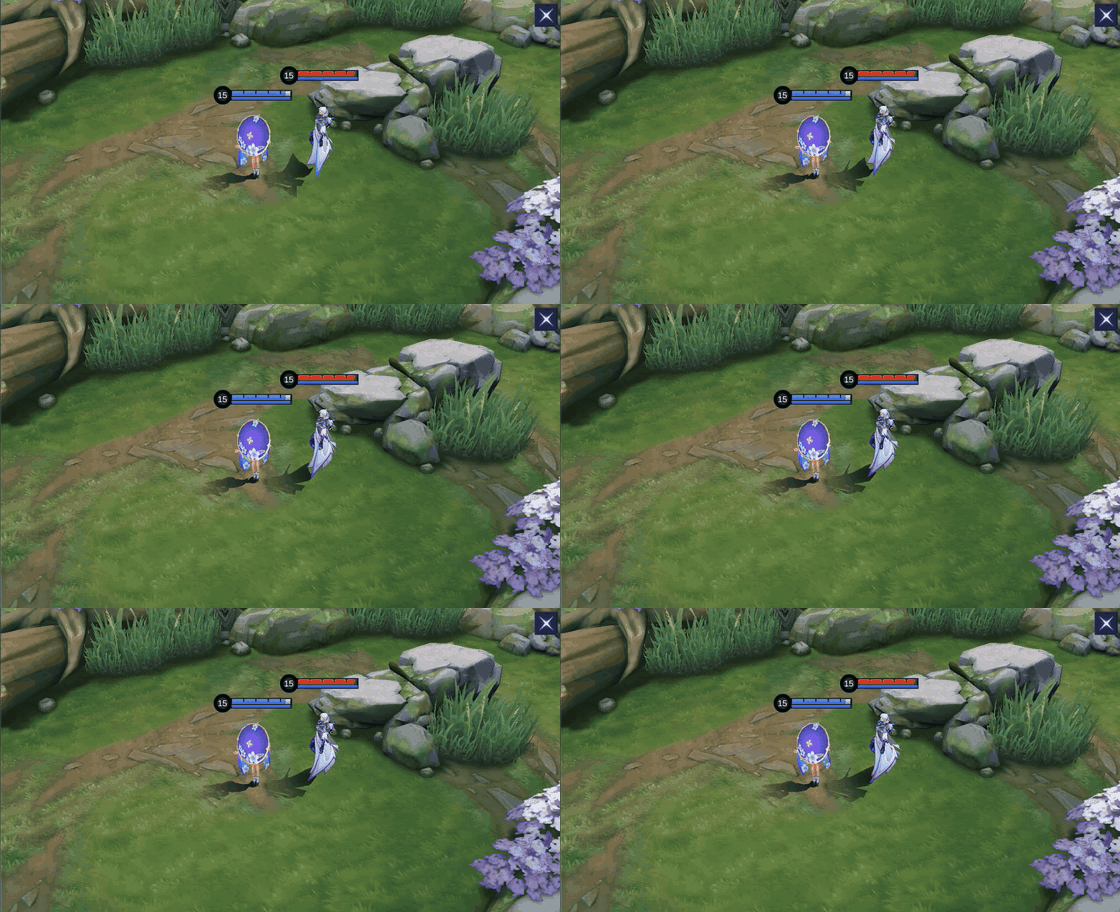
Yin Yang Gathering in-game demonstration.

2. Seimei Umbrella Open — Damage / Slow
Kagura sends the Seimei Umbrella to the target location, dealing 365 (+105% Total Magic Power) Magic Damage to enemies in its path and slowing them by 60% for 0.5s. The Umbrella will automatically return to Kagura when she's too far away. This skill deals 130% damage to non-hero enemies.
When: Place the umbrella through the wave or behind a target to threaten both poke and a later teleport.
Do not: Do not leave it so far away that it returns before the Ultimate pull can resolve.
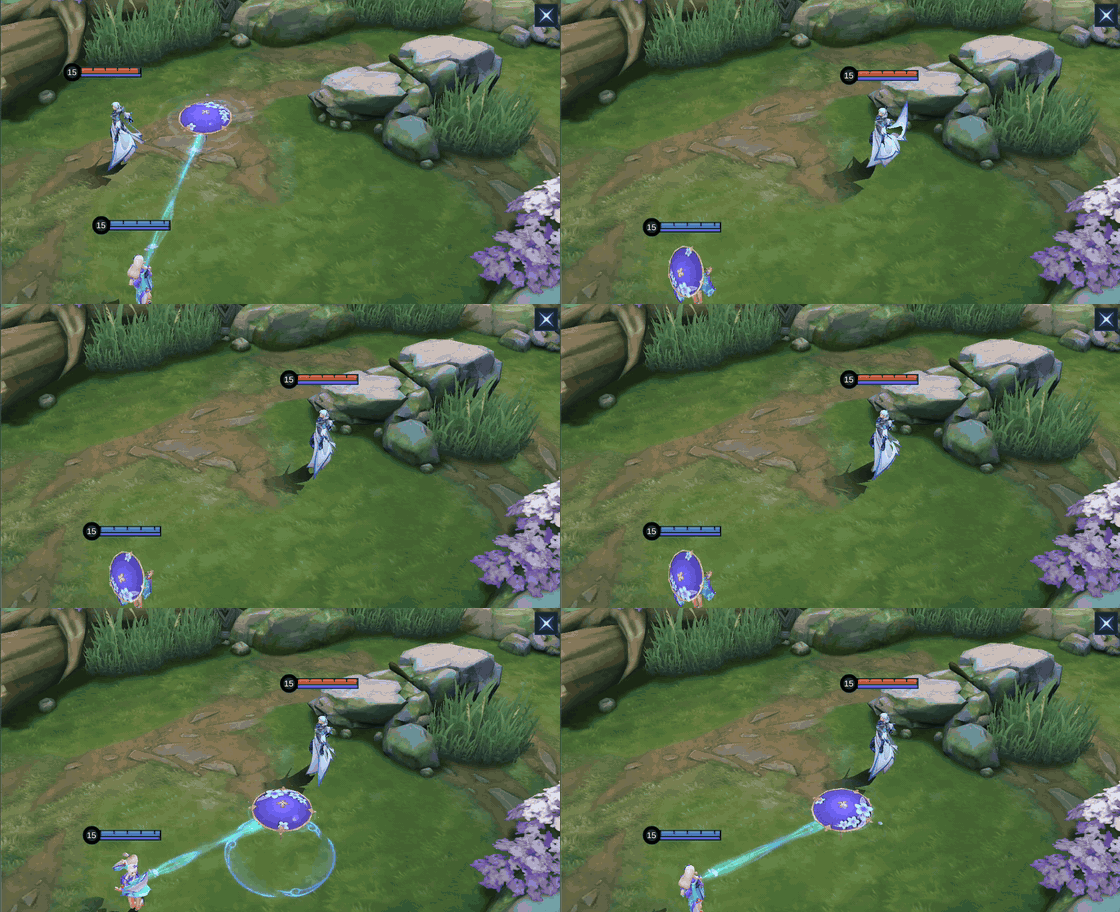
Seimei Umbrella Open in-game demonstration.

3. Rasho Umbrella Flee — Remove CC / Mobility
Kagura removes all debuffs on her and leaps in the target direction, while leaving the Seimei Umbrella behind.
When: Use the umbrella-held dash as a cleanse and escape; use the umbrella-separated version to teleport in and stun.
Do not: Do not spend the cleanse for routine movement when suppression or a key stun is still available.
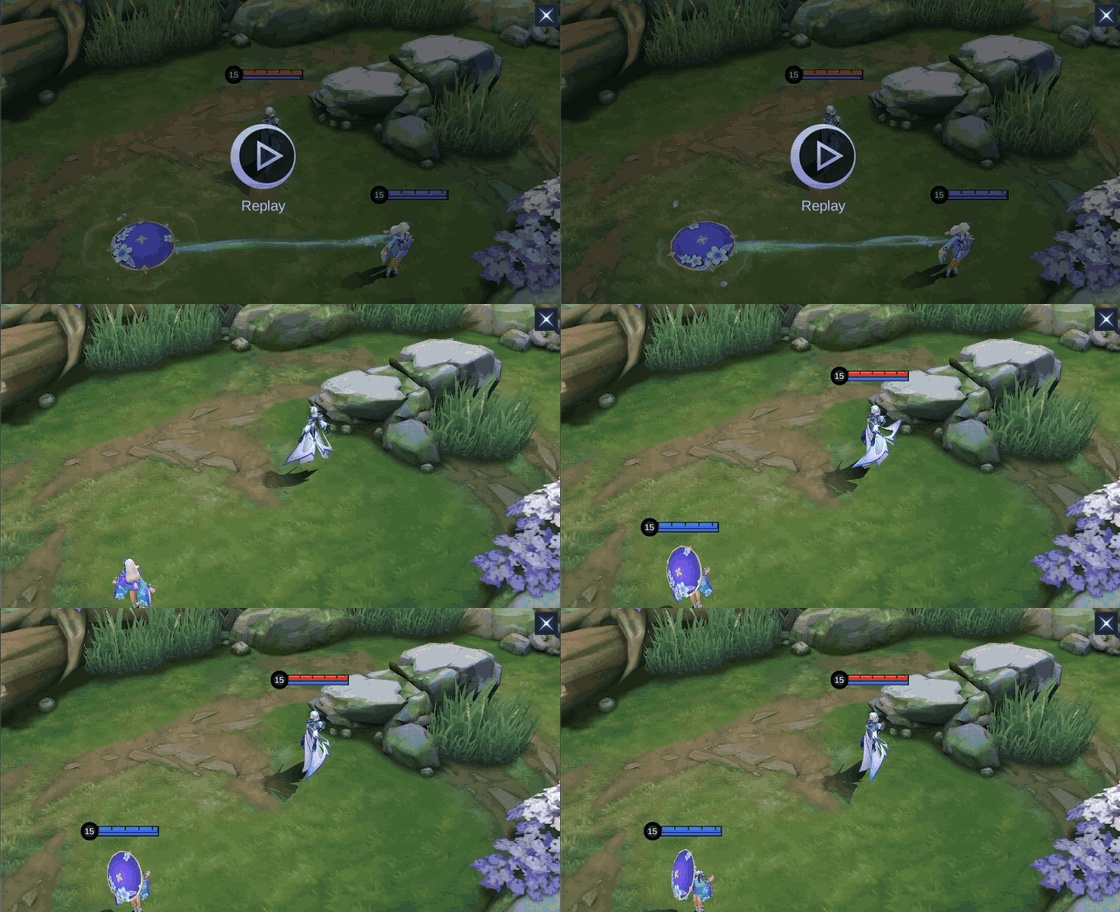
Rasho Umbrella Flee in-game demonstration.

4. Yin Yang Overturn — CC / Burst
Kagura invokes the power of the Seimei Umbrella, dealing 250 (+95% Total Magic Power) Magic Damage to nearby enemies, knocking them back, and slowing them by 60% for 0.5s.
When: Cast the separated state first for reset and pull pressure; cast the held state after teleporting for knockback and burst.
Do not: Do not treat both Ultimate states as one button—the umbrella location decides which effect appears.
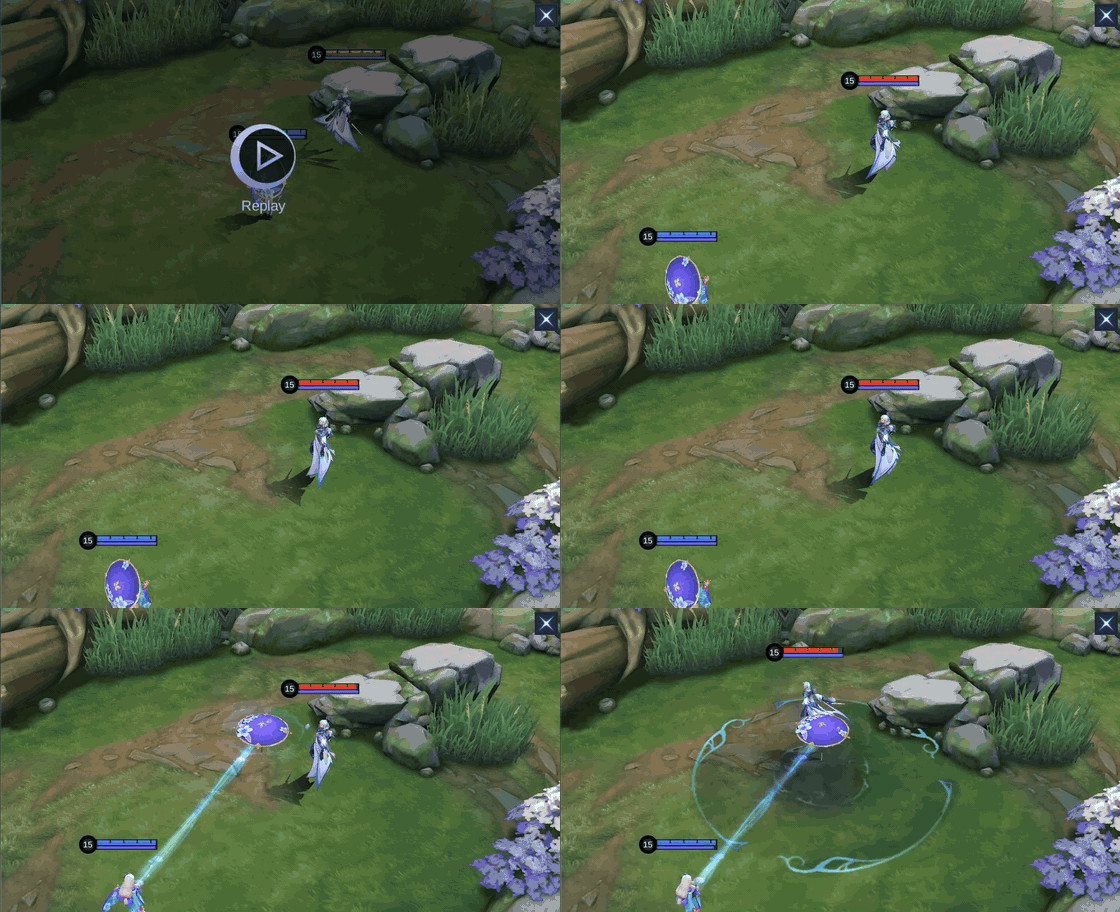
Yin Yang Overturn in-game demonstration.
Kagura Skill Priority
Level 1: Seimei Umbrella Open. Upgrade: prioritize Skill 1, keep Skill 2 as the backup upgrade, and level the Ultimate whenever available.
The priority matches the official-data lineage: Skill 1 controls the wave, checks brushes, moves the umbrella, and creates every serious combo. Skill 2 matters for cleanse and mobility, but it does not replace the repeated damage and positioning value of a shorter Skill 1 cycle.
Kagura Combos: Lane and Teamfight
Teamfight combo






Seimei Umbrella Open → Yin Yang Overturn (out) → Seimei Umbrella Open → Rasho Umbrella Flee (to umbrella) → Yin Yang Overturn (in) → Rasho Umbrella Flee (escape)
Why: Place the umbrella between enemies, cast the separated Ultimate to reset Skill 1, move the umbrella again so the pull point follows the target, teleport in for the passive stun, use the held Ultimate, then dash out.
Do not: If the first umbrella misses the group or immunity is still ready, stop after the reset and keep both dashes.
Laning combo



Seimei Umbrella Open → Rasho Umbrella Flee (to umbrella) → Rasho Umbrella Flee (dash back)
Why: Poke with Skill 1, teleport only when the return trade is safe, then recast Skill 2 to dash back after the passive stun and close-range damage.
Do not: Do not teleport into a full minion wave when the enemy Jungler is missing or Skill 2 must remain available as a cleanse.
How to Play Kagura by Game Phase
Early game
Use Skill 1 to hit the wave and threaten the enemy Mage from outside retaliation range. Keep the umbrella between you and the next brush, and do not teleport forward before the river side is known.
Mid game
Control Turtle entrances and narrow jungle paths. The separated Ultimate is strongest when enemies must cross the umbrella to reach an objective; reset Skill 1 and move the pull point before committing your body.
Late game
Play one step behind the first engager. Track control immunity, Purify, and dive cooldowns, then use Flicker or the held dash to preserve a second angle rather than entering the first target you can touch.
Five Kagura Mistakes to Avoid
1. Forgetting the umbrella state
Skill 2 and the Ultimate change when Kagura is holding the umbrella. Check the state before starting a memorized sequence.
2. Teleporting before the pull is fixed
Move the umbrella after the reset so the delayed pull follows the target; an early teleport can leave the damage behind.
3. Spending the cleanse for movement
The held Skill 2 removes debuffs. Save it when one control effect would end the whole combo.
4. Copying full damage into dive
Holy Crystal and Blood Wings do not help if Kagura dies before the second Skill 1. Add defense or preserve Flicker when assassins can reach her.
5. Throwing Skill 1 at maximum range every time
If the umbrella auto-returns, the pull and teleport plan disappear. Use a shorter placement when a full combo matters.
Best Kagura Emblem and Battle Spell
Default: Mage Emblem + Flicker
Talents: Rupture, Weapon Master, and Lethal Ignition. Rupture strengthens the first umbrella hit, Weapon Master scales the Magic Power-heavy sample, and Lethal Ignition rewards landing several parts of one combo. Flicker adds one instant wall crossing or lets Kagura correct the held-Ultimate angle without spending the cleanse early.
Do not Flicker forward: while Purify or a control-immunity skill is available. Make the enemy spend that answer on umbrella pressure first.
Alternative: rotation or mana route + Flameshot
Agility and Bargain Hunter are reasonable standard-talent alternatives when faster rotations and earlier item timings matter. Impure Rage trades some one-combo finishing pressure for mana and repeatable poke. Flameshot is the ranged finisher or emergency knockback when Flicker is not required for survival.
The 2026 Kagura setup page, Kagura community guide, and ONE Esports Kagura guide support these choices; all were accessed August 8, 2026.
Top Five In-Game Pro Setups
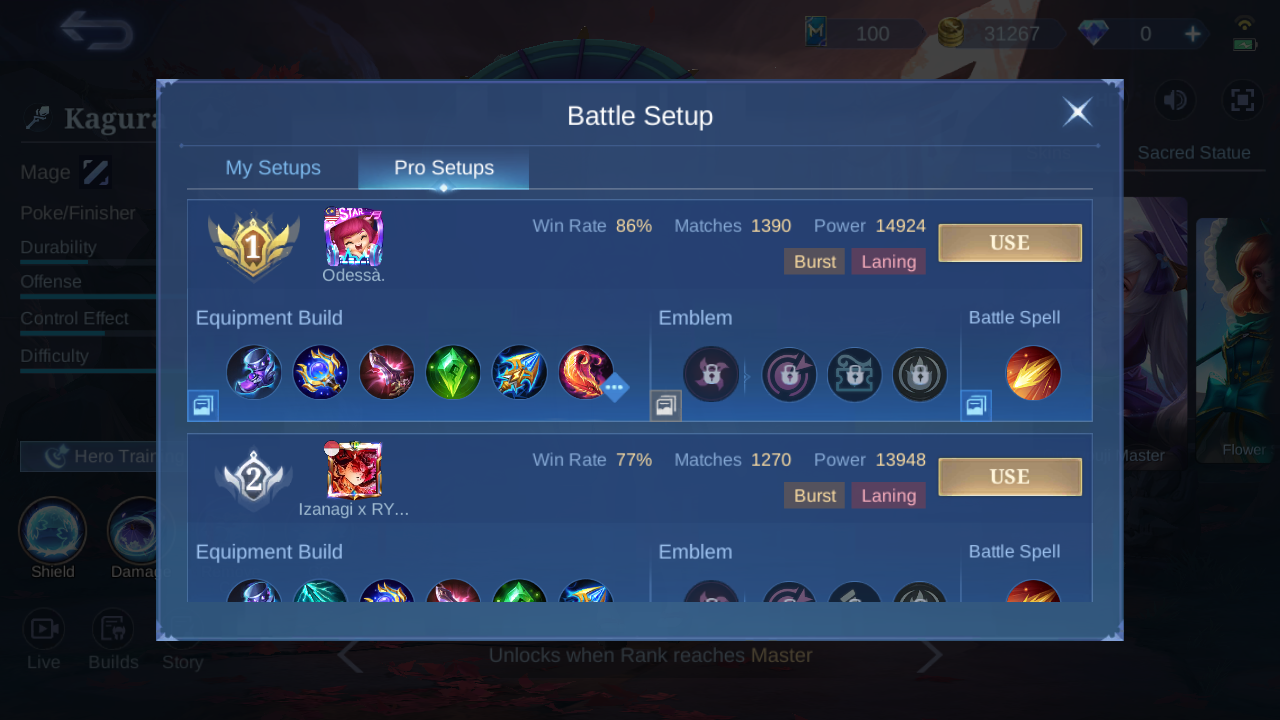
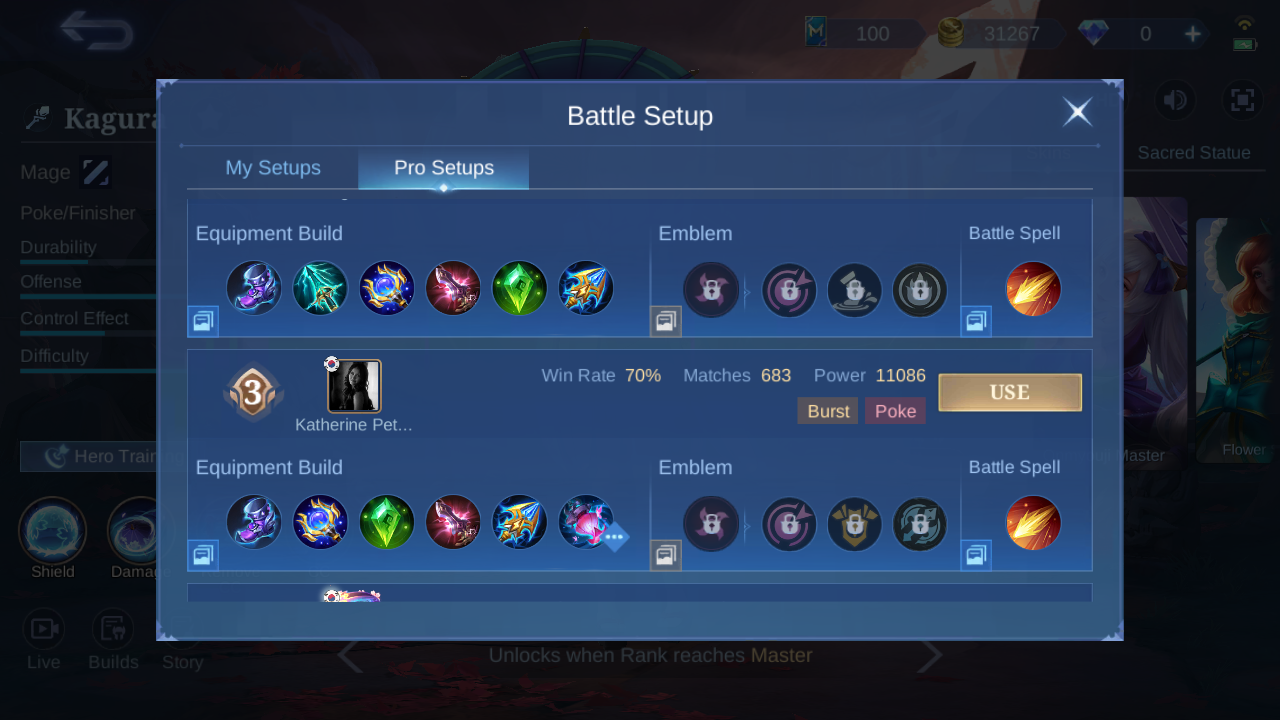
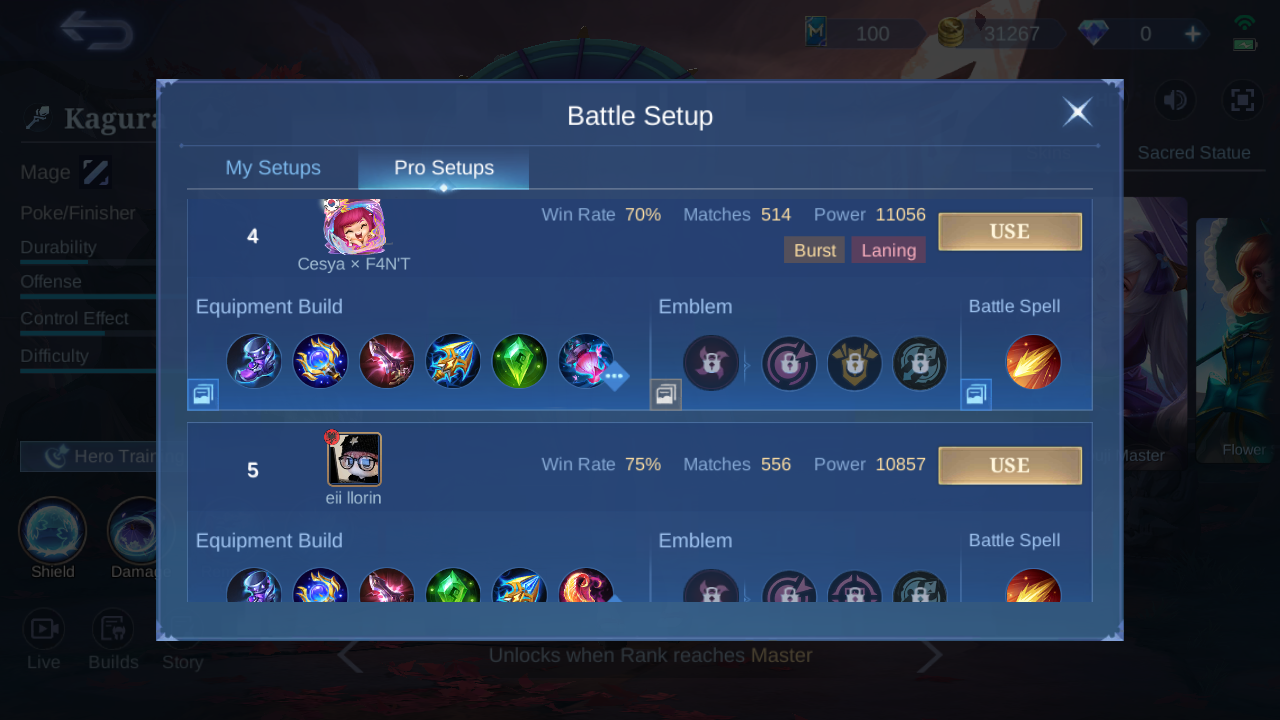
These rows are a dated in-game build sample from August 8, 2026, not a permanent ranking. All five used Mage Emblem icons and Flicker. The shared core is Arcane Boots, Genius Wand, Divine Glaive, Holy Crystal, and Lightning Truncheon; the last slot changes how Kagura handles HP, shields, or dive.
Build 1
| Item 1 | Item 2 | Item 3 | Item 4 | Item 5 | Item 6 |
|---|---|---|---|---|---|
 Arcane Boots Arcane Boots |  Genius Wand Genius Wand |  Divine Glaive Divine Glaive |  Holy Crystal Holy Crystal |  Lightning Truncheon Lightning Truncheon |  Blood Wings Blood Wings |
Build 2
| Item 1 | Item 2 | Item 3 | Item 4 | Item 5 | Item 6 |
|---|---|---|---|---|---|
| Arcane Boots |  Glowing Wand Glowing Wand | Genius Wand | Divine Glaive | Holy Crystal | Lightning Truncheon |
Build 3
| Item 1 | Item 2 | Item 3 | Item 4 | Item 5 | Item 6 |
|---|---|---|---|---|---|
| Arcane Boots | Genius Wand | Holy Crystal | Divine Glaive | Lightning Truncheon |  Wishing Lantern Wishing Lantern |
Build 4
| Item 1 | Item 2 | Item 3 | Item 4 | Item 5 | Item 6 |
|---|---|---|---|---|---|
| Arcane Boots | Genius Wand | Divine Glaive | Lightning Truncheon | Holy Crystal | Wishing Lantern |
Build 5
| Item 1 | Item 2 | Item 3 | Item 4 | Item 5 | Item 6 |
|---|---|---|---|---|---|
| Arcane Boots | Genius Wand | Divine Glaive | Holy Crystal | Lightning Truncheon | Blood Wings |
Kagura Equipment Decision Matrix
| Item | Observed effect | When to buy | When to skip |
|---|---|---|---|
| Arcane Boots | +40 Movement Speed, +15 Magic Power, and +10 Magic Penetration. | Use for early pressure into low Magic Defense. | Swap when anti-control or a defensive boot is the real survival check. |
| Genius Wand | +75 Magic Power, +5% Movement Speed, +10 Magic Penetration, and stacking Magic Defense reduction. | Buy when several umbrella hits can build three reduction stacks. | Delay when the target already has enough Magic Defense to demand percentage penetration. |
| Divine Glaive | +60 Magic Power and +40% Magic Penetration; Spellbreaker scales into higher Magic Defense. | Buy once tanks or carries invest in Magic Defense. | Do not rush it against low-defense targets when flat penetration gives more tempo. |
| Lightning Truncheon | +75 Magic Power, +400 Mana, +10% Cooldown Reduction, and a six-second Resonance echo. | Use for wave control and repeated grouped-target burst. | Delay when immediate defense or anti-heal is required. |
| Holy Crystal | +165 Magic Power with 21-35% extra Magic Power as Kagura levels. | Buy when the draft lets Kagura protect a greedy damage spike. | Do not force it before penetration or survival needs are solved. |
| Wishing Lantern | +75 Magic Power, +400 Mana, +10% Cooldown Reduction; every 900 pre-reduction Magic Damage summons an 8% current-HP hit. | Use against high-HP targets that survive the first umbrella cycle. | Skip when a single low-HP backliner is the only target that matters. |
| Blood Wings | +90 Magic Power and a regenerating shield; the shield grants movement and a short speed burst when broken. | Finish with it when damage and one extra defensive layer are both useful. | Do not treat the shield as a substitute for positioning against hard dive. |
| Glowing Wand | +60 Magic Power, +300 HP, +5% Movement Speed, a Max-HP burn, and Lifebane healing/shield reduction. | Buy into healing, shields, or repeated high-HP targets. | Skip when a teammate already maintains Lifebane and immediate burst is more valuable. |
Kagura Counters, Targets, and Teammates
Best setup partners



Atlas and Tigreal hold enemies near the umbrella long enough for the delayed pull and reset to land. Harley adds another mobile burst threat that can punish the target Kagura has already displaced. Follow their control; do not reveal first.
Hard immunity and dive threats


Joy and Martis have repeated immunity or control-resistant windows that can escape Kagura's layered crowd control. Track those windows, preserve the cleanse dash, and use umbrella poke before committing the teleport.
Favorable back-row targets


Layla and Eudora are dangerous when protected but lack an easy answer after Kagura fixes the umbrella behind them. Enter only after their control or repositioning tool is known.
Draft caution

Lolita can blunt projectile pressure and protect the backline while Kagura waits for a clean angle. Change the umbrella path, threaten from a side corridor, and avoid feeding every poke through the same shield line.
Kagura Base Stats
These are level-one in-game values without equipment, Emblem, skin, or match modifiers.
| Stat | Value |
|---|---|
| HP | 2380 |
| HP Regen | 7 |
| Physical ATK | 118 |
| Physical DEF | 17 |
| Attack Speed | 1.02 |
| Attack Speed Ratio | 100% |
| Mana | 500 |
| Mana Regen | 4 |
| Magic Power | 0 |
| Magic DEF | 15 |
| Movement SPD | 240 |
Kagura Skins and Availability
Ten exact Kagura Shop cards were observed on August 8, 2026, in addition to the base Onmyouji Master appearance. Diamond values are shown only where Purchase was visible; Starlight, Luckybox, Exorcists, Beyond the Clouds, and limited-event notes are not guaranteed permanent direct-sale offers.
| Preview | Skin | Tag | Observed availability |
|---|---|---|---|
 | Jade Blossom | Epic | 899 Diamonds; Purchase visible |
 | Cherry Witch | Special | 749 Diamonds; Purchase visible |
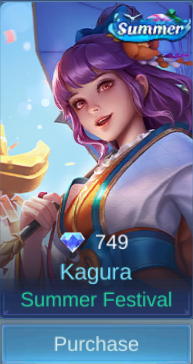 | Summer Festival | Summer | 749 Diamonds; Purchase visible |
 | Flower Season | Basic | 299 Diamonds; Purchase visible |
 | Dragon Maiden | Luckybox | Limited-time Event |
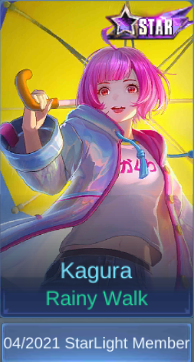 | Rainy Walk | Starlight | 04/2021 Starlight Member |
 | Water Lily | Starlight | 2021 Starlight Fest |
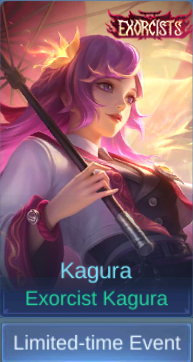 | Exorcist Kagura | Exorcists | Limited-time Event |
 | Beyond the Clouds Kagura | Beyond the Clouds | Limited-time Event |
 | Lady Parasol | Special | Limited-time Event |
Kagura Story
Though born from the attachments held inside the Seimei Umbrella, Kagura gradually learned to choose her own path. Life in the Scarlet Shadow and her friendship with Hayabusa taught her about ordinary joy, duty, and loss. The visions stored in the umbrella eventually showed her that carrying the hopes of those who had passed did not require remaining trapped in their regret.
Kagura FAQ
What is the best Kagura battle spell?
Flicker is the default because it corrects one angle without consuming Skill 2's cleanse. Flameshot is a ranged finisher or emergency knockback in lower-dive drafts.
Which skill should Kagura max first?
Start and prioritize Seimei Umbrella Open, keep Rasho Umbrella Flee as the backup upgrade, and level Yin Yang Overturn whenever available.
Why does Kagura have more than four apparent skill effects?
Skill 2 and the Ultimate change when Kagura is holding the umbrella versus when it is away. The button remains the same, but the state changes the action.
What is Kagura's safest lane combo?
Use Skill 1 to poke, teleport only when the river and enemy control are known, trigger the passive stun, then recast Skill 2 to dash back.
Should Kagura always copy the rank-one build?
No. The shared damage core is stable in this snapshot, but Glowing Wand, Wishing Lantern, Blood Wings, defense, and item order should follow healing, HP, Magic Defense, and dive.
Verdict
Kagura rewards players who read umbrella state before pressing the memorized combo. Control space with Skill 1, make immunity or Purify answer the umbrella, move the pull point after the reset, and preserve one dash for the enemy's real engage.
Top up MLBB safely on ManaBuy




Copyright © FUTURE OUTLOOK TECHNOLOGY LIMITED.Company Registration No.: 77374965 All rights reserved.UNIT 135,1/F.,143 WAI YIP STREET,KWUN TONG HK