
Eudora MLBB Mid Lane Guide: Best Build, Emblem, Skills, Combos, and Counters

Eudora is a burst-control Mid Lane Mage who turns one Superconductor mark into either a wide stun or a second wave of lightning damage. Pick her when your team can punish a reliable stun and the enemy backline lacks a clean way to remove targeted crowd control. Avoid forcing her into drafts where Hayabusa, Kadita, or another diver can reach her before Ball Lightning lands.
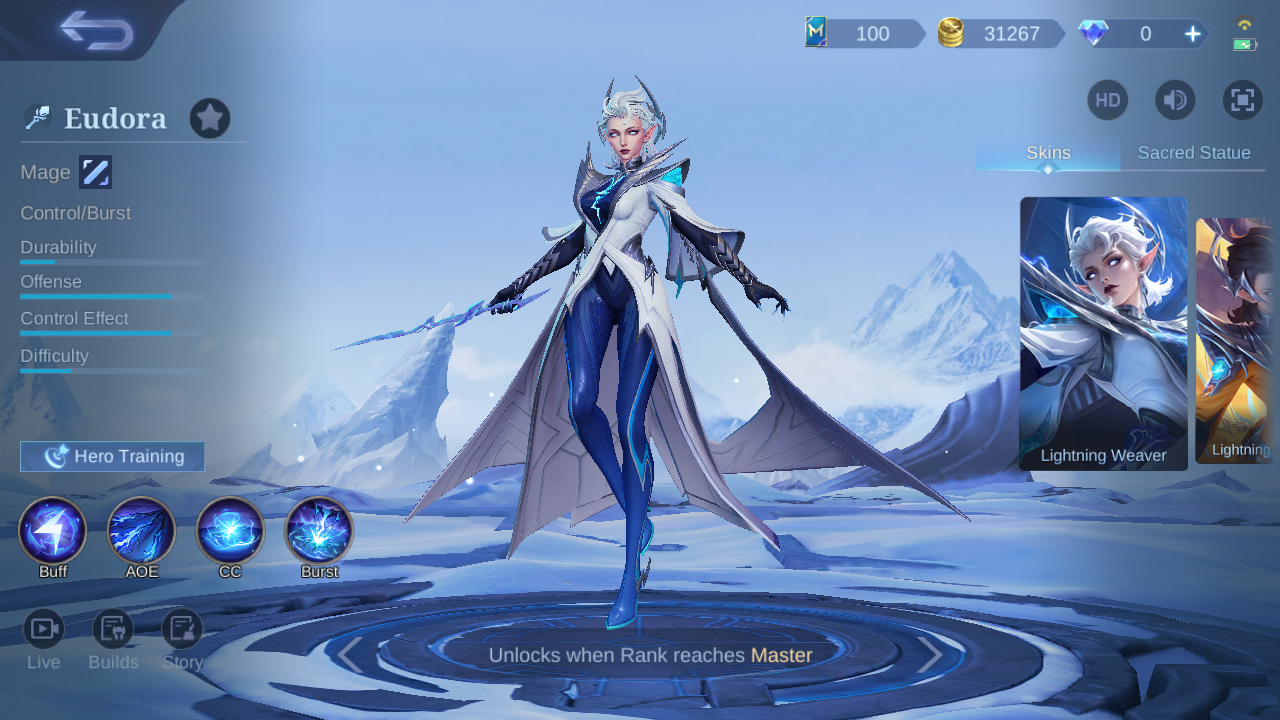
Eudora in-game profile: Mage, Control/Burst.
Eudora Skills: What Each One Does

1. Superconductor — Buff / Passive
Eudora's skills mark non-minion targets with Superconductor for 5 seconds. Hitting a marked target triggers an additional effect on the next skill, so each burst sequence is about choosing which spell applies the mark and which spell cashes it in.
When: Track the five-second mark window before deciding which active skill consumes it.
Do not: Do not autopilot the same order when you need an AOE stun instead of maximum single-target damage.
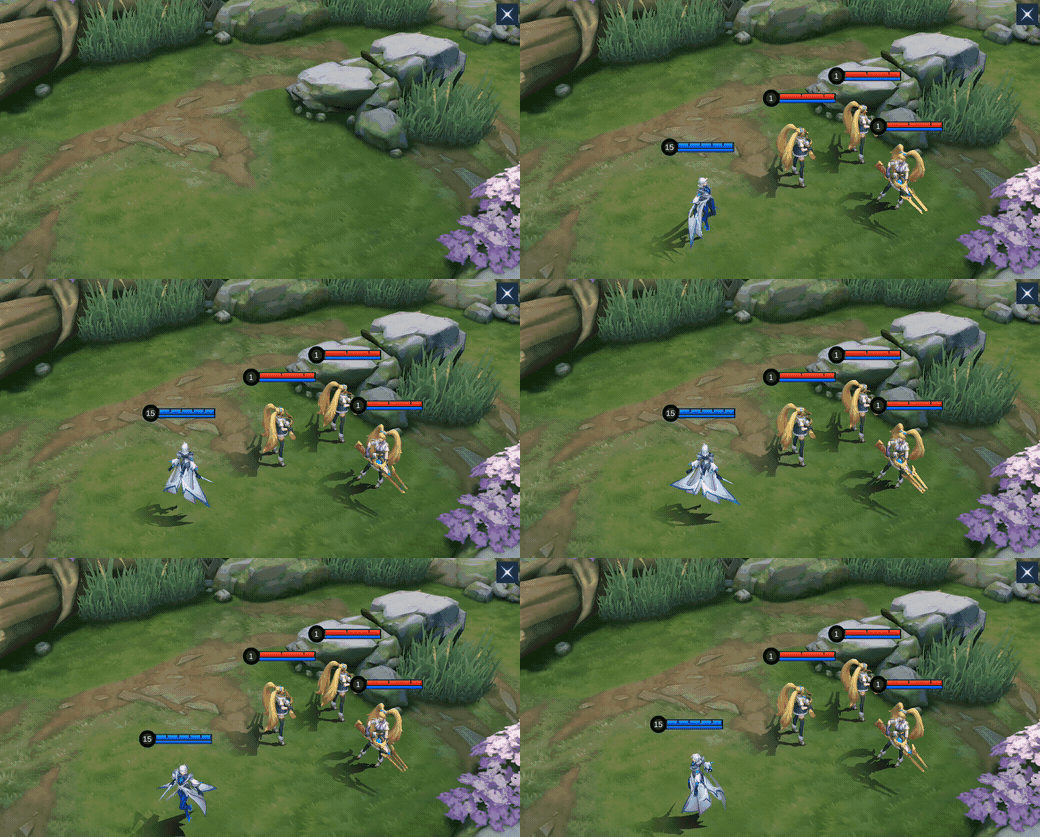
Superconductor in-game demonstration.

2. Forked Lightning — AOE
Eudora casts a fan-shaped bolt that deals 275 plus 100% Total Magic Power as Magic Damage, doubled against minions. Against a Superconductor target, it creates a lightning chain, grants 40% Movement Speed for up to 1 second, deals repeated damage and another 275 plus 100% Total Magic Power when the chain ends; a completed hit cuts the skill's cooldown by 50%.
When: Use the wide fan to clear, mark several enemies, or finish a marked chain for movement and cooldown value.
Do not: Do not stand still waiting for the chain to end when a diver can punish the animation window.
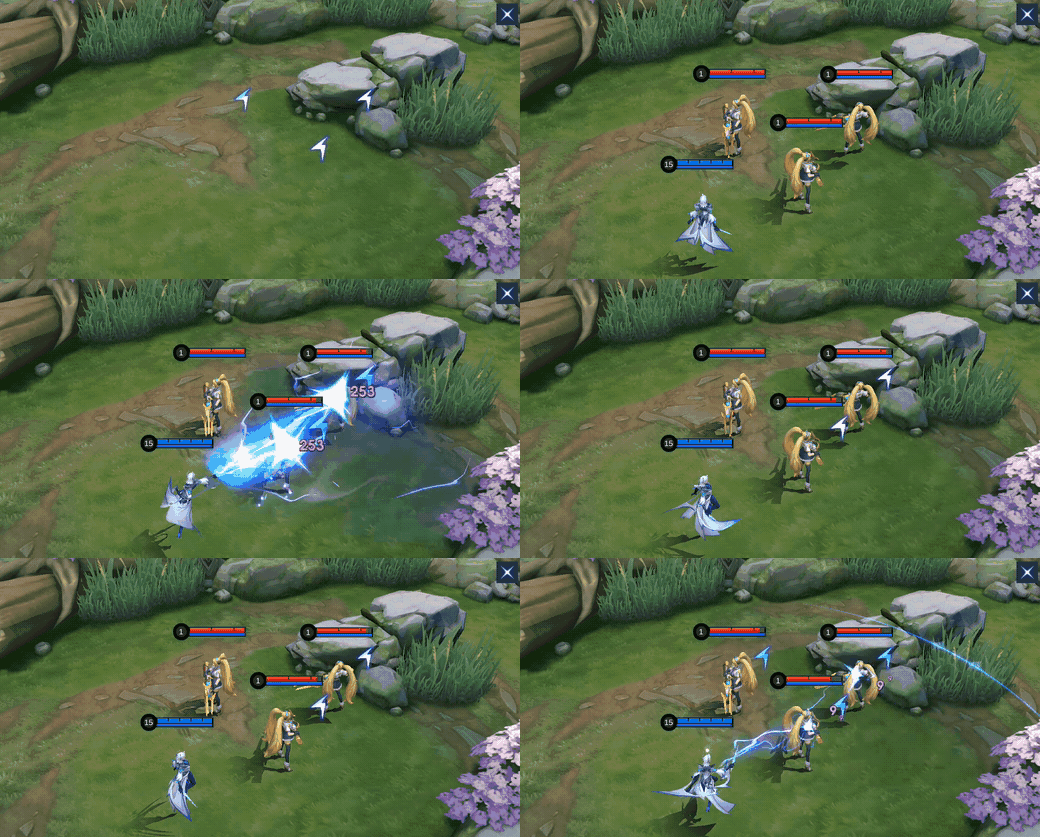
Forked Lightning in-game demonstration.

3. Ball Lightning — CC / Damage
Ball Lightning reduces the target's Magic Defense by 10 for 1.8 seconds, deals 300 plus 50% Total Magic Power as Magic Damage, and stuns for 1 second. If the target is already marked, the defense reduction, damage, and stun spread to nearby enemies.
When: Lead with Ball Lightning for a safe single-target pick, or cast it into a marked target to spread stun and Magic Defense reduction.
Do not: Do not spend the stun on the frontline if the enemy diver is still outside vision.
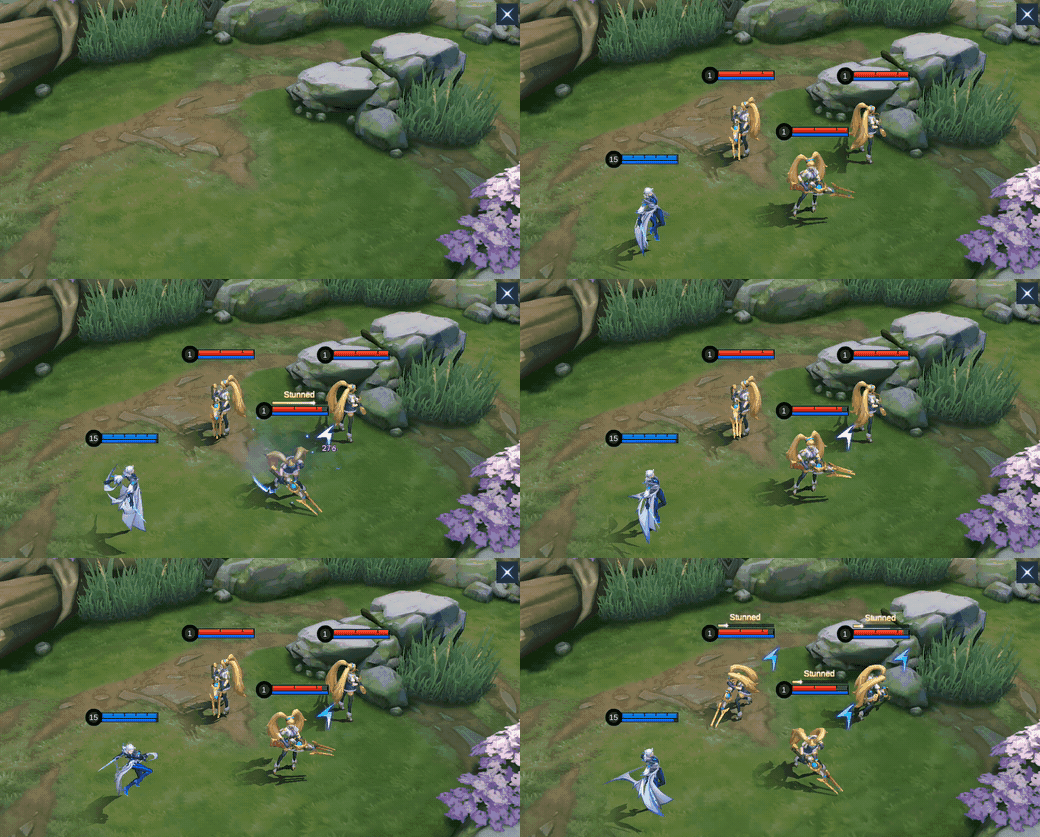
Ball Lightning in-game demonstration.

4. Thunder's Wrath — Burst
Thunder's Wrath deals 600 plus 160% Total Magic Power at the center and 300 plus 100% Total Magic Power outside it. Each hit on a Superconductor target schedules an extra Thunderburst for 330 plus 110% Total Magic Power after a short delay.
When: Center Thunder's Wrath on a stunned, marked target so the delayed Thunderburst also lands.
Do not: Do not open with the ultimate on an unmarked mobile target that can leave the center.
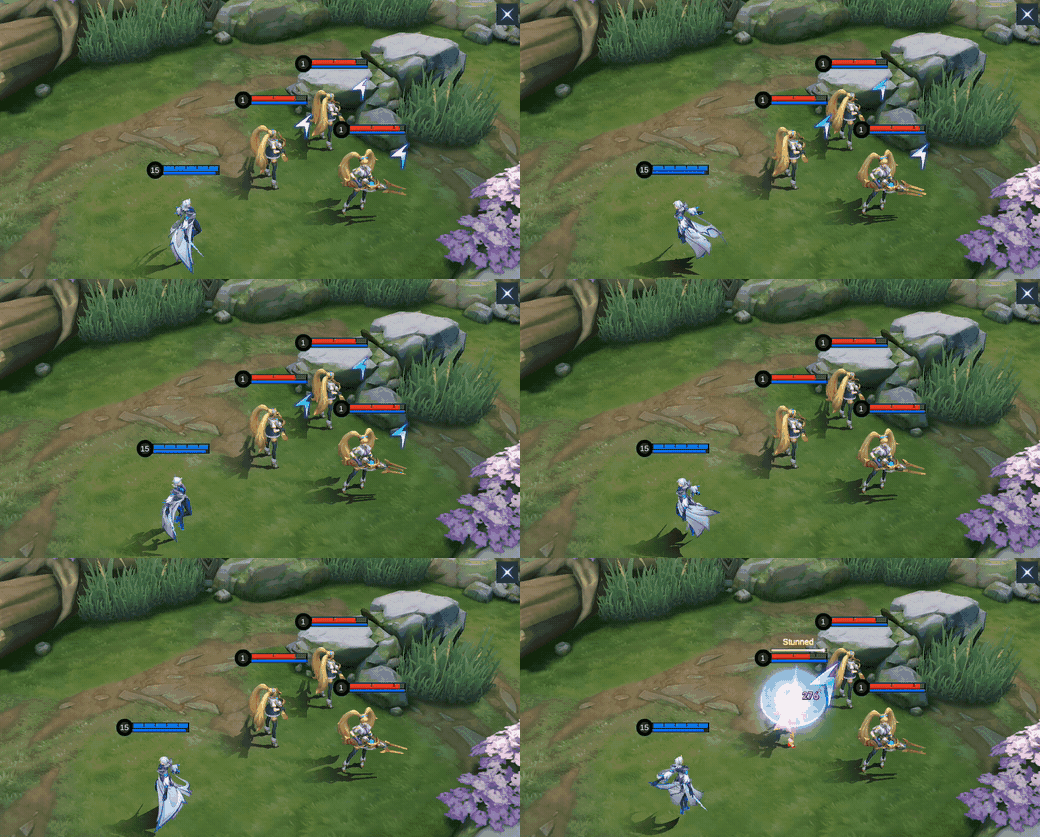
Thunder's Wrath in-game demonstration.
Eudora Skill Priority
Level 1: unlock Forked Lightning. Upgrade order: prioritize Forked Lightning, keep Ball Lightning as the backup upgrade, and level Thunder's Wrath whenever available.
The priority works because Forked Lightning handles both wave control and the repeat-cast damage window. Ball Lightning remains essential, but its main job is to create the stun and Magic Defense reduction that let the rest of the kit finish.
Eudora Combos and Execution Rules
Teamfight combo




Forked Lightning → Ball Lightning → Thunder's Wrath → Forked Lightning
Why: Forked Lightning applies Superconductor to several enemies. Ball Lightning then spreads its stun and Magic Defense reduction through a marked target, Thunder's Wrath lands its delayed burst inside that control, and the reduced-cooldown Forked Lightning finishes survivors.
Do not: Do not force the sequence if the first fan misses the group; wait for another mark window instead of wasting the stun and ultimate.
Laning pickoff combo



Ball Lightning → Thunder's Wrath → Forked Lightning
Why: Ball Lightning gives Eudora the most reliable first contact. Thunder's Wrath uses the one-second stun window, then Forked Lightning links to the marked target for its additional damage and movement burst.
Do not: Do not reveal from the same bush repeatedly. Once the enemy respects Ball Lightning range, rotate or approach from fog with Flicker available.
How to Play Eudora by Game Phase
Early game
Use Forked Lightning to clear without walking into the enemy mid's control range. At level 2, threaten Ball Lightning from fog, but do not trade the stun just for small poke if the enemy Jungler is missing.
Mid game
Move first into a side brush near Turtle, a lane entrance, or a tower path. Eudora is strongest when the target enters Ball Lightning range before seeing her, not when she walks through open river toward the target.
Late game
Stay behind the first vision line and identify the one carry or diver your stun must stop. Flicker can create a pick, but preserving it for a second angle is often more valuable than entering before teammates can follow.
Five Eudora Mistakes to Avoid
1. Ignoring Superconductor order
The mark changes the next skill. Decide whether the fight needs spread control or maximum burst before pressing the second spell.
2. Opening ultimate on a mobile target
Thunder's Wrath gains far more value when Ball Lightning has already fixed the target inside the center.
3. Stacking penetration into no defense
Arcane Boots, Genius Wand, and Divine Glaive solve different defense ranges. Buy the percentage option only when enemy Magic Defense justifies it.
4. Copying Sky Piercer while behind
The execute threshold grows with successful kills and shrinks on death. A stable damage or defensive slot is safer in a losing game.
5. Showing before the engage
Eudora loses most of her pressure when the enemy sees exactly which angle Ball Lightning must travel from.
Best Eudora Emblem and Battle Spell
Default: Assassin Emblem + Flicker
Talents: Rupture, Weapon Master, and Lethal Ignition. Rupture strengthens the first damage window, Weapon Master rewards the Magic Power-heavy build, and Lethal Ignition adds finishing pressure after the full combo.
Use Flicker: to change Ball Lightning range, cross a wall after revealing yourself, or escape the diver that survives the first stun. Do not Flicker forward when the target has Purify ready or teammates cannot reach the pick.
Alternative: Mage Emblem + Purify
Use Mage Emblem with Inspire, Bargain Hunter, and Lethal Ignition when cooldown access and item timing matter more than the Assassin route. Purify is the defensive spell when one stun, silence, or airborne chain would stop Eudora before Ball Lightning.
The 2026 Eudora setup page and current Eudora build overview support these Emblem and spell routes; both were accessed August 8, 2026.
Current In-Game Builds
These five current in-game builds were observed on August 11, 2026. Compare the six-item order and adjust defensive or utility slots for the match.
Build 1
| Item 1 | Item 2 | Item 3 | Item 4 | Item 5 | Item 6 |
|---|---|---|---|---|---|
 Arcane Boots Arcane Boots |  Genius Wand Genius Wand |  Sky Piercer Sky Piercer |  Lightning Truncheon Lightning Truncheon |  Divine Glaive Divine Glaive |  Holy Crystal Holy Crystal |
Build 2
| Item 1 | Item 2 | Item 3 | Item 4 | Item 5 | Item 6 |
|---|---|---|---|---|---|
| Arcane Boots | Genius Wand |  Glowing Wand Glowing Wand | Lightning Truncheon | Divine Glaive |  Blood Wings Blood Wings |
Build 3
| Item 1 | Item 2 | Item 3 | Item 4 | Item 5 | Item 6 |
|---|---|---|---|---|---|
 Enchanted Talisman Enchanted Talisman |  Clock of Destiny Clock of Destiny |  Rapid Boots Rapid Boots |  Brute Force Breastplate Brute Force Breastplate | Glowing Wand |  Ice Queen Wand Ice Queen Wand |
Build 4
| Item 1 | Item 2 | Item 3 | Item 4 | Item 5 | Item 6 |
|---|---|---|---|---|---|
| Rapid Boots | Sky Piercer | Blood Wings |  Wishing Lantern Wishing Lantern | Divine Glaive | Holy Crystal |
Build 5
| Item 1 | Item 2 | Item 3 | Item 4 | Item 5 | Item 6 |
|---|---|---|---|---|---|
| Arcane Boots | Genius Wand | Lightning Truncheon | Glowing Wand | Divine Glaive | Holy Crystal |
Equipment Guide
Use the item notes below to decide what each slot contributes. The table describes the equipment itself, independent of any numbered build.
| Item | What it adds | When to consider it |
|---|---|---|
| Arcane Boots | Magic penetration | Use when early spell damage needs to cut through low magic defense. |
| Genius Wand | Magic defense reduction | Useful when repeated magic hits can prepare the target for the full combo. |
| Sky Piercer | Low-HP execution | Best when Eudora can consistently finish targets after the opening burst. |
| Lightning Truncheon | Burst and wave clear | Adds a strong proc for faster clearing and front-loaded damage. |
| Divine Glaive | Percentage magic penetration | Prioritize once opponents invest in meaningful magic defense. |
| Holy Crystal | High magic power | A late damage multiplier when survivability is already sufficient. |
| Glowing Wand | Sustained magic damage and anti-heal | Use against healing or targets that survive the first spell cycle. |
| Blood Wings | Magic power and shield | A late slot that combines damage with extra safety. |
| Enchanted Talisman | Cooldown and mana sustain | Supports frequent casting in longer fights and rotations. |
| Clock of Destiny | Scaling durability and magic power | Choose when the match allows time for a scaling core. |
| Rapid Boots | Rotation speed | Helps reach lanes, bushes, and engage angles earlier. |
| Brute Force Breastplate | Mixed defense and mobility | Useful when repeated casting and movement matter more than pure burst. |
| Ice Queen Wand | Slow and kiting | Adds control when repeated spell hits can keep targets in range. |
| Wishing Lantern | Damage against high-HP targets | Consider when the enemy frontline survives standard magic burst. |
Eudora Counters, Targets, and Teammates
Best setup partners


Diggie and Tigreal help group or hold several enemies where a marked Ball Lightning and Thunder's Wrath can hit more than one target. Eudora should enter after their control starts, not stand in front waiting to create it alone.
Hard dive threats


Hayabusa can avoid or outlast targeted control, while Kadita threatens burst and control from an angle Eudora cannot safely face-check. Hold Ball Lightning for self-defense, track their entry skill, and consider Purify or a sturdier build.
Favorable pick targets


Sora and Moskov are flagged as targets Eudora can pressure with reliable targeted control and burst. Approach from fog, confirm their cleanse or dash state, then finish inside the one-second stun instead of chasing after it ends.
Draft cautions


Barats is a warning that raw burst may not solve a high-HP control target. Aurora overlaps with Eudora's burst-control role, so the team can lack sustained damage or frontline access if both occupy similar space.
Eudora Base Stats
These are level-one in-game values without equipment, Emblem, skin, or match modifiers.
| Stat | Value |
|---|---|
| HP | 2440 |
| HP Regen | 7.6 |
| Physical ATK | 112 |
| Physical DEF | 18 |
| Attack Speed | 1 |
| Attack Speed Ratio | 100% |
| Mana | 500 |
| Mana Regen | 4 |
| Magic Power | 0 |
| Magic DEF | 15 |
| Movement SPD | 250 |
Eudora Skins and Availability
Eight exact Eudora Shop cards were observed on August 8, 2026. Diamond prices appear only where Purchase was visible; limited, seasonal, and Starlight labels are availability notes rather than guaranteed permanent Shop offers.
| Preview | Skin | Tag | Observed availability |
|---|---|---|---|
 | Vivo Selfie Goddess | Limited | 749 Diamonds; Purchase visible |
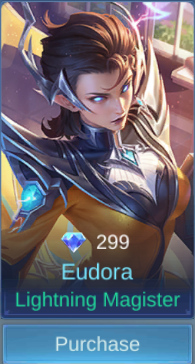 | Lightning Magister | Basic | 299 Diamonds; Purchase visible |
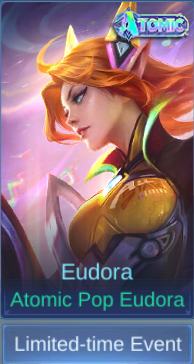 | Atomic Pop Eudora | Atomic | Limited-time Event |
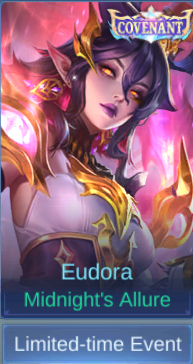 | Midnight's Allure | Covenant | Limited-time Event |
 | Christmas Carnival | Christmas | Limited-time Event |
 | Emerald Enchantress | Luckybox | Limited-time Event |
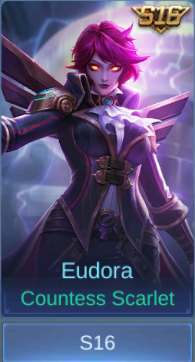 | Countess Scarlet | S16 | Season 16 |
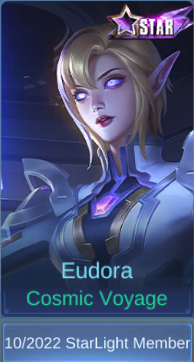 | Cosmic Voyage | Starlight | 10/2022 Starlight Member |
Eudora Story
Born in an isolated Moniyan mountain village, Eudora was treated as an outsider because of her half-elf heritage and lightning magic. Archmage Theresa brought her to the Magic Academy, where prejudice and a public duel forced Eudora to stop hiding her power. She chose control over fear, mastered lightning on her own terms, and ultimately became the academy's new headmaster.
Eudora FAQ
What is the best Eudora battle spell?
Flicker is the default because it creates or escapes one decisive Ball Lightning angle. Purify is better when a control chain would stop Eudora before she can stun the target.
Which skill should Eudora upgrade first?
Unlock and prioritize Forked Lightning, keep Ball Lightning as the backup upgrade, and level Thunder's Wrath whenever available.
What is Eudora's safest pickoff combo?
Ball Lightning applies Superconductor and stuns, Thunder's Wrath lands inside that control, and Forked Lightning finishes with its marked-target chain.
Why does the teamfight combo start with Forked Lightning?
The wide fan can mark several enemies. Ball Lightning can then spread its stun and Magic Defense reduction before the ultimate hits the controlled group.
Should Eudora always copy the rank-one build?
No. Sky Piercer rewards a clean snowball, while the other displayed rows trade some immediate execute pressure for anti-sustain, cooldown access, mana, or durability.
Verdict
Eudora is strongest when the enemy walks into a prepared stun and weakest when she shows first. Learn which spell should consume Superconductor, keep Ball Lightning for the target that decides the fight, and adapt the item path to defense rather than copying one six-slot row blindly. Compare the Gord guide, the Rafaela guide, and the Bruno guide.
Top up MLBB safely on ManaBuy



Copyright © FUTURE OUTLOOK TECHNOLOGY LIMITED.Company Registration No.: 77374965 All rights reserved.UNIT 135,1/F.,143 WAI YIP STREET,KWUN TONG HK