
Free Fire Ranked Push Guide: BR, Clash Squad, Characters and Survival Tips

Pushing rank in Free Fire is not just a kill race. A strong ranked climb comes from surviving the early danger, choosing fights that improve your position, rotating before the zone forces you and using characters, pets, weapons and Gloo Walls as one plan. Battle Royale and Clash Squad both reward mechanics, but they punish different mistakes.
This Free Fire ranked push guide is built for players who want steadier gains in BR and CS without turning every match into a coin flip. It avoids exact rank-point promises because season rules can change, but the climb logic stays practical: protect placement, win useful fights and stop losing points to impatience.
Battle Royale vs Clash Squad Ranked
Battle Royale ranked is a long match-management problem. You need landing discipline, looting speed, rotation timing and final-zone patience. Clash Squad ranked is a round economy and execution problem. You need clean buys, role discipline and fast adaptation after each round.
| Mode | Main ranked skill | Best habit | Worst habit |
|---|---|---|---|
| Battle Royale | Survive and rotate into better positions. | Land where you can loot, leave and choose the next fight. | Hot dropping every match after a loss streak. |
| Clash Squad | Win repeated short rounds with economy control. | Buy around team roles and adapt after each enemy pattern. | Four players buying for solo plays with no utility plan. |
| CS-Ranked | Fast team execution under ranked pressure. | Trade kills, protect the carrier and avoid isolated pushes. | Peeking one by one into the same angle. |
Ranked BR Drop and Rotation Plan
Your drop should match your rank goal. If you need steady points, choose a location with enough loot and at least one clean exit route. A hot drop is useful for aim practice, but it is expensive as a ranked habit because one early mistake ends the match before placement has value.
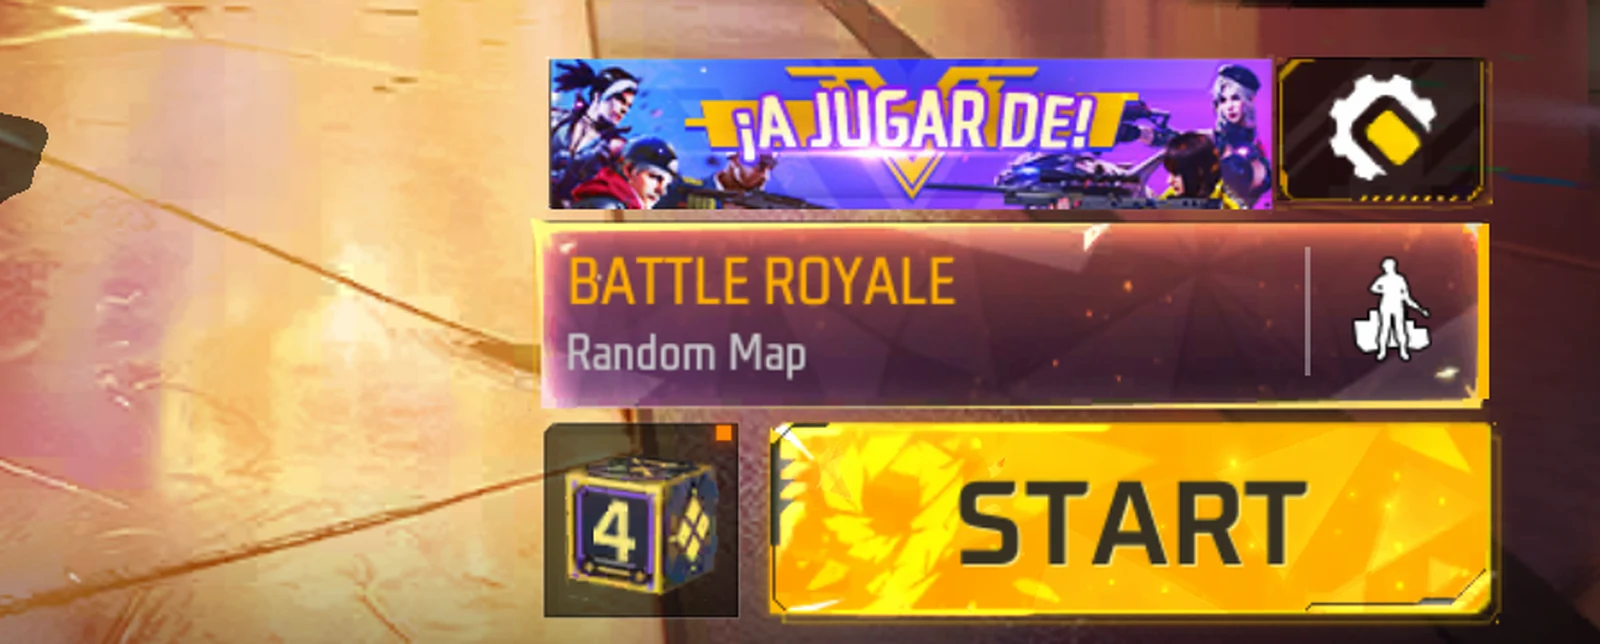
Choose a drop with two exits. If another squad lands close, loot fast and decide whether to fight or leave before you are trapped.
Rotate before the edge becomes crowded. Late rotations force bad Gloo Wall use and expose your squad to third parties.
Take fights from cover. A knock only helps if your team can secure it without losing position.
Play the final zone with utility discipline. Walls, grenades, healing and information matter more than chasing one extra kill.
Characters, Pets and Weapons for Ranked Push
The best ranked setup is role-based. One entry player can use movement or wall-break pressure. One support player should protect revives and healing. One information player can help detect rotations. Your weapon choices should match the map and mode: AR plus shotgun or SMG for flexible BR, faster close-range buys for Clash Squad, and marksman or sniper options only when your team can protect distance.
Entry
Use movement, wall-break or burst skills to start fights with cover. Do not enter so far that teammates cannot trade.
Support
Carry safer healing and revive habits. Support does not mean hiding; it means keeping the squad alive for placement.
Info
Reveal and scan value helps avoid ambushes, especially when rotating into crowded zones.
Clash Squad Ranked Push Basics
Clash Squad is not a smaller BR match. The economy matters because each round starts with a buy decision. If your team loses because nobody bought utility, walls or the right close-range weapon, the problem is planning, not only aim.
| Round problem | Better decision | Why it works |
|---|---|---|
| Enemy rushes every round | Hold crossfire and buy close-range weapons plus walls. | You punish entry players before their team trades. |
| Enemy camps deep angles | Use wall pressure, utility and a slower split. | You avoid giving them the first free knock. |
| Your team loses after first knock | Assign a trade player to follow the entry. | A fast trade keeps the round from becoming 3v4. |
| You run out of money | Buy for the team's plan, not every player's favorite gun. | More balanced buys protect utility and role coverage. |
Common Ranked Push Mistakes
The mistake that hurts most is emotional queuing. After two bad matches, players drop hotter, push earlier and change settings. That usually creates a bigger loss streak. Reset after bad games, keep your drop plan and review the reason you died: no cover, late rotate, isolated push, poor buy or bad wall timing.
BR Rank Push By Match Phase
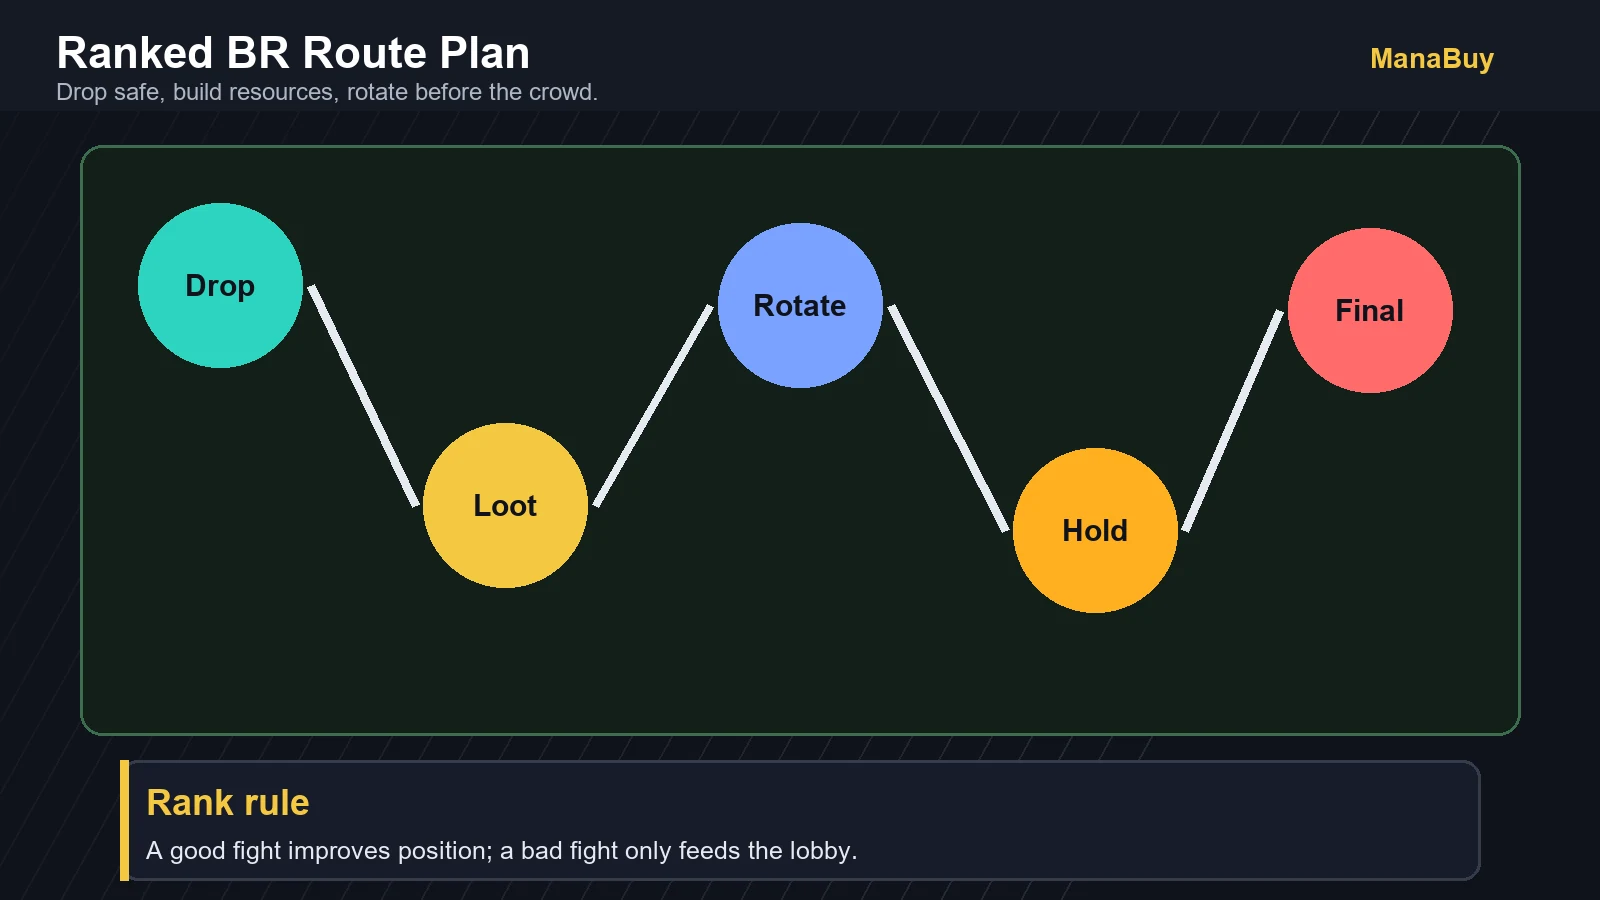
Rank push becomes easier when every match has a phase plan. Early game is about surviving the landing and building resources. Mid game is about rotating before stronger squads trap the edge. Late game is about cover, Gloo Walls, information and patience. The final zone is not the time to prove aim from bad cover.
| Phase | Main goal | Good fight | Bad fight |
|---|---|---|---|
| Drop to first loot | Leave with armor, healing, wall utility and a usable weapon pair. | A nearby isolated enemy with teammate trade support. | A hot-drop chase through three buildings with no wall count. |
| First rotation | Move before the obvious route is crowded. | Cut off a team rotating late from low cover. | Running into center with no vehicle, walls or information. |
| Mid game | Upgrade resources and avoid third-party traps. | A fight that gives better zone position or revive safety. | A long hill fight that burns healing and walls for no placement gain. |
| Final circles | Hold cover, count enemies and spend walls only for forced moves. | A knock that opens a safe push or removes a flank. | Wide-swinging for damage while the zone closes behind you. |
Rank Stage Adjustments
The same plan should not be played at every tier. Lower ranks let you win more fights through aim alone. Higher ranks punish predictable rotations and solo pushes. Treat each stage as a different risk budget.
| Rank stage | Best focus | What to avoid | Useful training |
|---|---|---|---|
| Bronze to Gold | Learn drops, loot speed and basic weapon comfort. | Changing sensitivity every match. | Training, casual CS and safe BR rotations. |
| Platinum to Diamond | Reduce early deaths and learn when to disengage. | Hot dropping after one boring match. | Review the first death of every session. |
| Heroic push | Play around team roles, final-zone cover and utility count. | Taking mid-game fights with no zone reward. | Two-player trades, wall revives and route calls. |
| Grandmaster attempt | Consistency, scheduled sessions and avoiding tilt queues. | Solo ego pushes and late rotations through open ground. | Short focused sessions with a stop-loss rule. |
Session Stop-Loss Rule
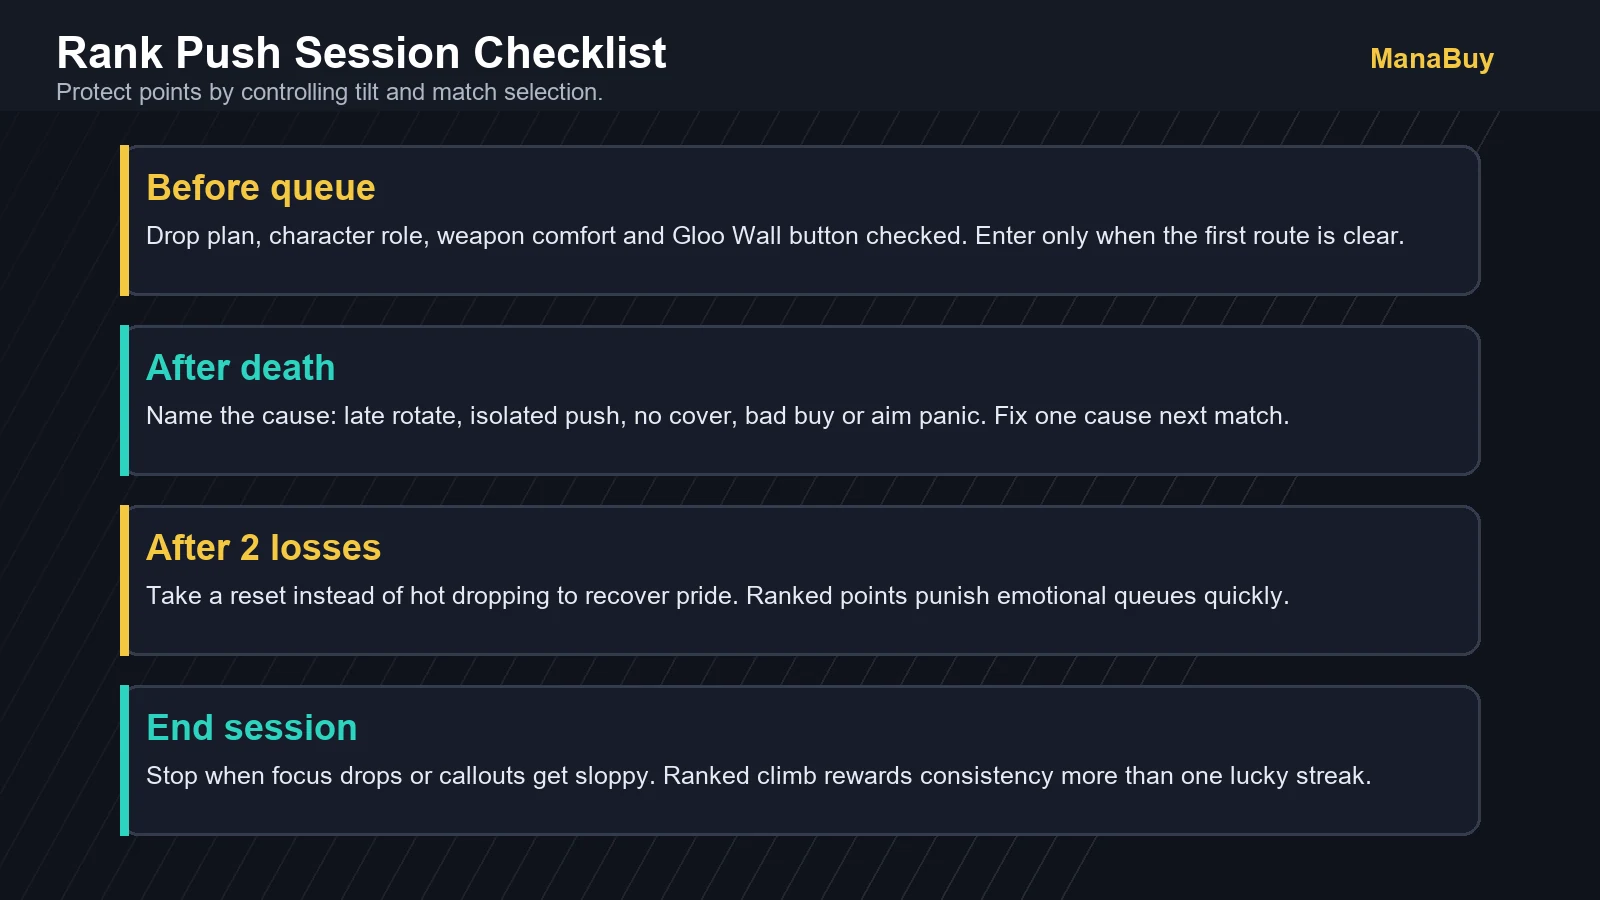
Ranked is also stamina management. Set a session target before queuing: number of matches, time limit or loss limit. After two early deaths, pause and name the cause before continuing. If you cannot name the cause, you are probably queuing on emotion.
BR and CS Skill Combo Direction
For BR, prioritize survival, movement and information. Alok, Koda, Homer, Wukong and healing or scan pets can help longer matches. For Clash Squad, prioritize close-range trading, round-reset value and fast wall pressure. Do not force one character combo into both modes just because it worked yesterday.
Map Pool Planning: Bermuda, Kalahari, NeXTerra, Purgatory and Solara
A rank push plan should also change by map. Bermuda rewards familiar compounds and clean third-party timing. Kalahari punishes late open-field movement, so vehicles, elevation and early cover matter more. NeXTerra and Solara can create fast route collisions around popular points, while Purgatory gives more long rotations where patience and information can beat raw aim. Before queuing, pick two safe drops per map so you do not improvise after seeing the flight path.
The practical rule is simple: if the map gives you hard cover, play for position and trades; if the map gives you open crossings, spend Gloo Walls for movement rather than greedily saving every wall for final circle. Players lose many ranked points because they treat every map like Bermuda and rotate late through empty ground.
Top Up Free Fire Diamonds for Ranked-Season Rewards
Ranked points come from cleaner matches, not spending. When a ranked-season bundle, character, or event reward fits your account plan, compare current Free Fire Diamond packages here before choosing a package.


Free Fire Ranked Push FAQ
What is the fastest way to push rank in Free Fire?
The fastest stable way is survival plus controlled kills. Early coin-flip fights can work for one match, but they are poor for long ranked sessions.
Is Clash Squad good for rank practice?
Yes. Clash Squad teaches fast peeks, trades, utility buys and close-range pressure. BR still needs separate rotation and survival practice.
Which character is best for ranked?
There is no single best pick for every player. Choose by role: movement or wall-break for entry, healing for support, reveal for information and Gloo Wall skills for cover fights.
Should I play solo or squad for rank push?
Squad is usually more stable if teammates communicate and trade. Solo can work, but you need stronger rotation discipline because nobody can rescue a bad push.
Final Takeaway
A good Free Fire ranked push is steady, not frantic. Protect survival, fight from cover, rotate early and keep your team roles simple. When your habits become repeatable, the rank climb stops depending on lucky matches.



Copyright © FUTURE OUTLOOK TECHNOLOGY LIMITED.Company Registration No.: 77374965 All rights reserved.UNIT 135,1/F.,143 WAI YIP STREET,KWUN TONG HK