
Free Fire Complete Hub Guide: Ranked, Characters, Pets, Diamonds and Events

Free Fire is easiest to improve at when you treat it as several connected systems instead of one giant menu. Ranked climbing, Clash Squad rounds, character skills, pet support, weapon choice, Diamonds, Booyah Pass and Luck Royale all push on each other. A player who copies a sensitivity code but ignores role choice will still lose easy trades. A player who spins every event without a budget will run out of Diamonds before the reward that actually fits their account.
This Free Fire complete hub guide is built as a routing page for players who want a stable path. Start with the goal you have today, then use the matching guide, table or checklist below. It is evergreen by design: event names change, but the habits of checking mode, role, currency, reward value and risk stay the same.
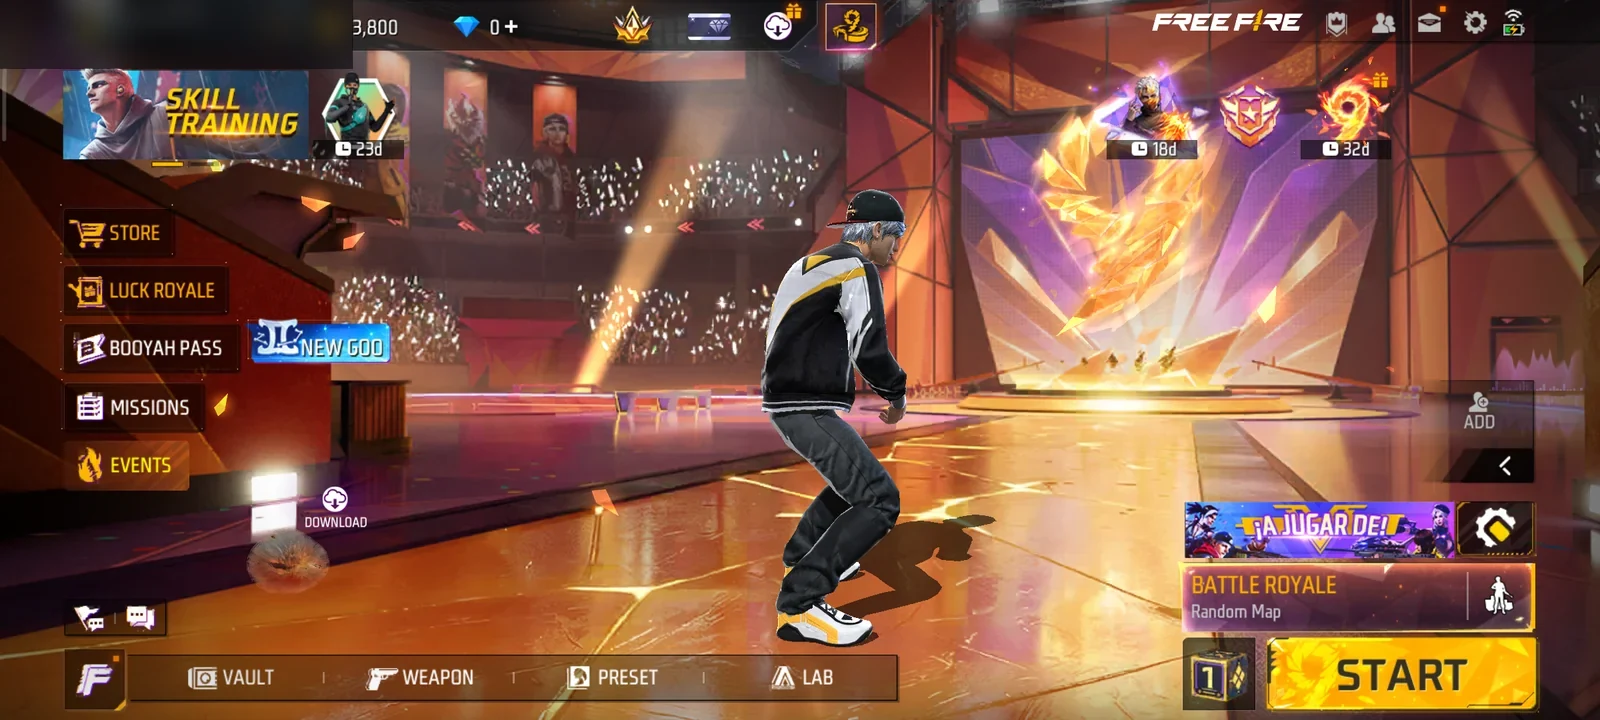
What This Free Fire Hub Covers
The hub separates Free Fire into five decisions: how you fight, which role you play, which support tools help that role, how you spend Diamonds and which event route deserves attention. That structure keeps the page useful even when a new event, collaboration or pass season arrives.
| Player goal | Best starting point | Why it matters |
|---|---|---|
| Win more ranked games | Ranked Push Guide | Ranked needs survival rules, rotation discipline and role decisions before cosmetic planning. |
| Choose characters | Best Characters for Ranked and Clash Squad | A character is a job, not just a favorite portrait. Pick the job before the combo. |
| Match pets to skills | Free Fire Pets Guide | Pets work best when they support the same fight plan as your character setup. |
| Spend Diamonds better | Diamonds Value Guide | Value depends on whether you need direct currency, a pass, a membership or a limited draw. |
| Track events and spins | Events and Luck Royale Tracker | Luck Royale and event pages change often, so the tracking habit is more important than one date. |
Choose a Free Fire Path by Mode
Battle Royale rewards patience, information and zone decisions. Clash Squad rewards round economy, short trades, wall timing and fast role clarity. Special modes can be fun practice, but they should not rewrite your main ranked habits unless the mechanic also appears in standard play.
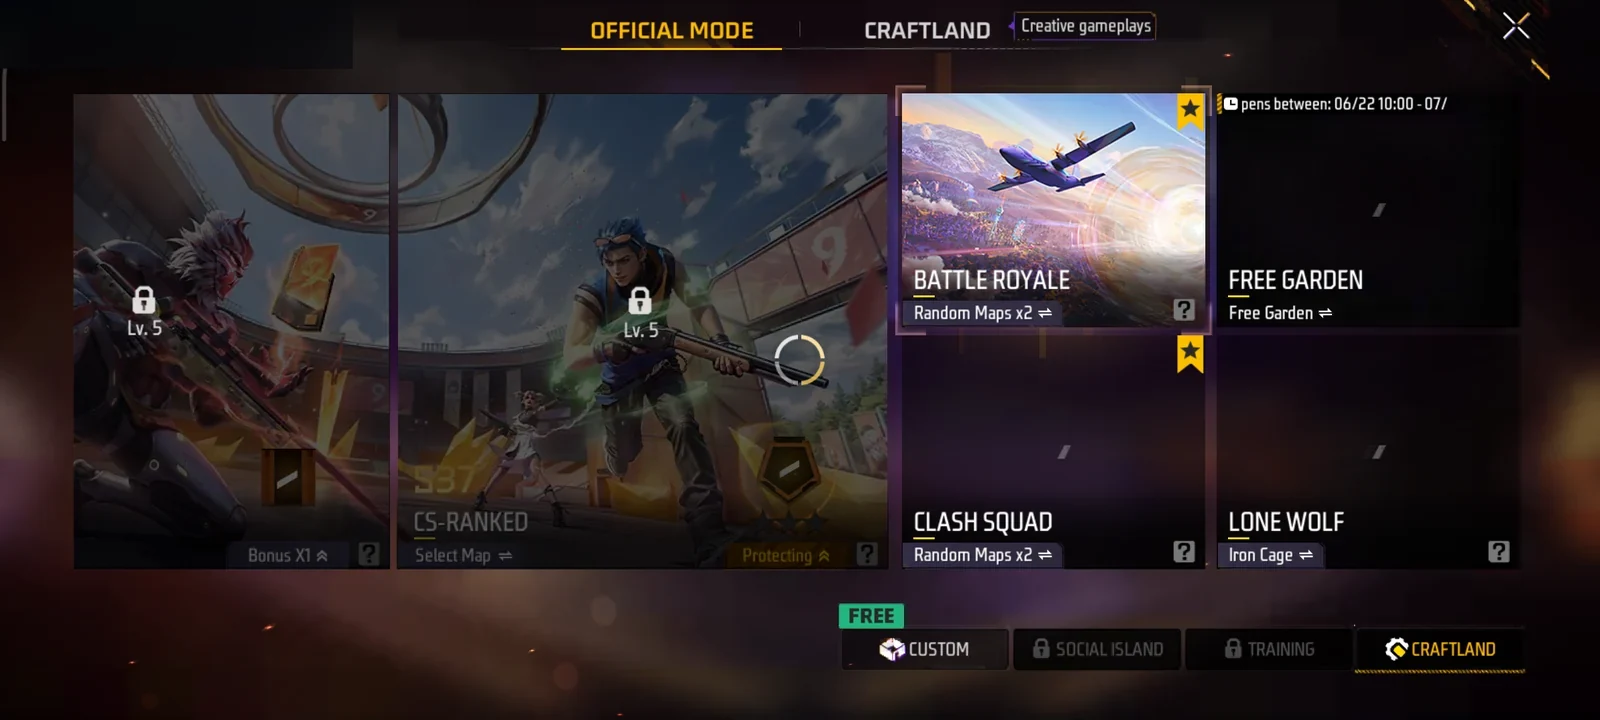
Prioritize landing safety, loot speed, zone reading, revive cover and late-game utility. Characters with sustain, scan, rotation or wall pressure usually matter more than pure duel skills.
Prioritize first buy, two-angle trades, wall economy, short peeks and a clear entry/support split. A good CS player knows when to stop chasing and reset for the next round.
Use Training Ground to test sensitivity, recoil, drag distance and Gloo Wall placement. Change one setting at a time so the result is measurable.
How to Build a Character, Pet and Weapon Core
A stable Free Fire setup starts with a role. Entry players need movement, wall break or burst tools. Support players need healing, information or reset value. Anchor players need durability, cover control and weapons that hold a lane. After that, choose a pet that supports the same job instead of adding a random bonus.
| Core choice | Good question to ask | Common mistake |
|---|---|---|
| Character | What fight problem does this skill solve? | Choosing a popular active skill without a role plan. |
| Pet | Does this pet help the same timing window? | Picking a pet because it looks useful in isolation. |
| Weapon | What range will I fight most often? | Using a shotgun, SMG or AR plan that does not match map position. |
| Gloo Wall habit | Can I place cover before taking damage? | Using every wall as panic defense after the trade is already lost. |
Diamonds, Passes and Events Without Waste
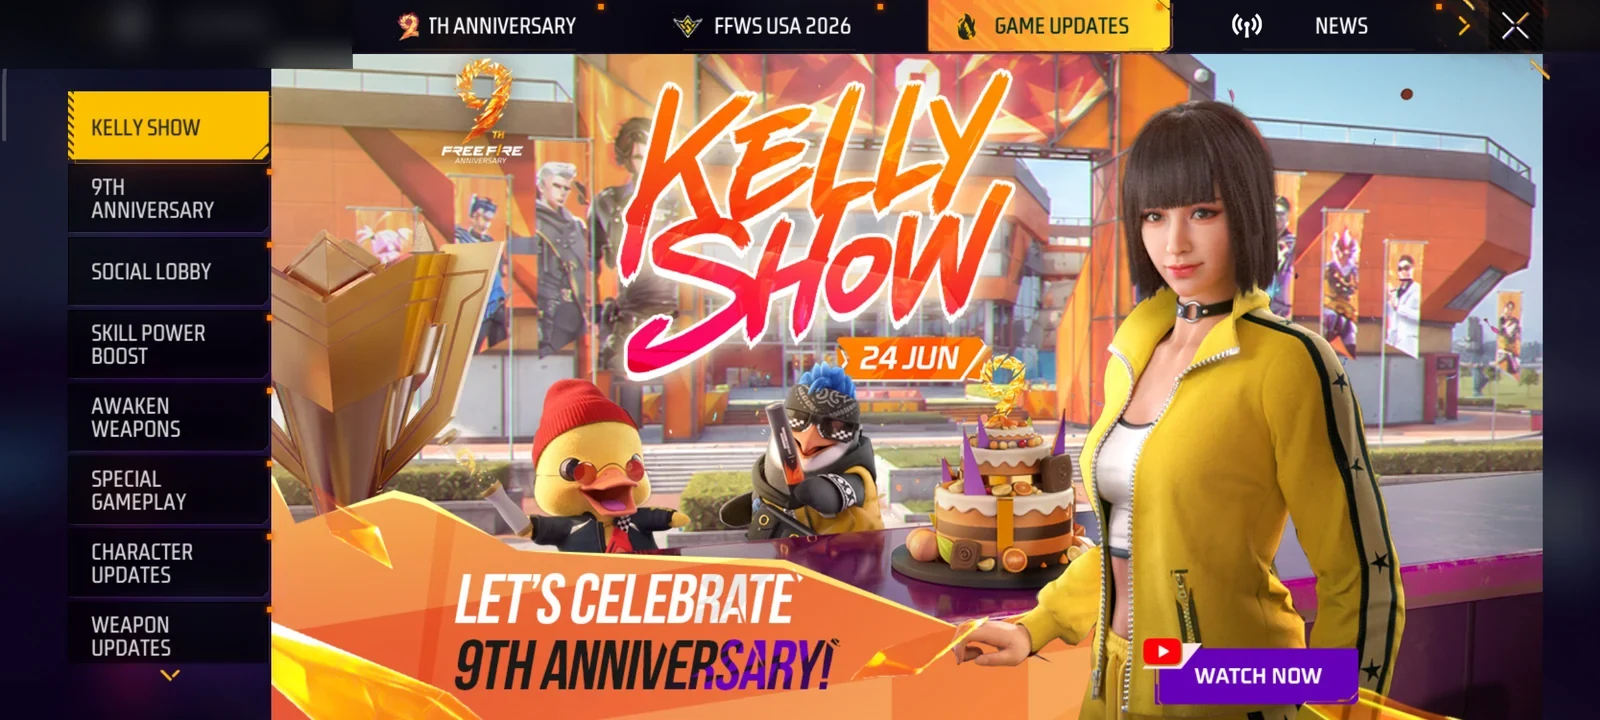
Diamonds should be assigned to a purpose before the event screen makes the decision for you. Direct top-up gives flexible currency. Memberships and packs can improve daily or staged value. Booyah Pass is usually about a planned reward track. Luck Royale and Rings are high-variance routes where stop-loss rules matter.
| Spend route | Best for | Check before spending |
|---|---|---|
| Direct Diamonds | Flexible purchases, small gaps, time-sensitive bundles | Account region, package amount and whether an event needs exact currency. |
| Booyah Pass | Players who will finish missions and want track rewards | Premium price, level plan, exclusive rewards and remaining season time. |
| Luck Royale | Players chasing a specific limited prize | Spin cost, guarantee text, exchange tokens and personal stop-loss. |
| Membership | Players who log in often | Daily claim discipline and whether delayed Diamonds fit the target event. |
Free Fire Priority Roadmap for Different Players
A hub page becomes useful only when it tells the reader what to do next. For Free Fire, the right next step depends on how stable the account already is. A new account should not chase every advanced combo immediately. A returning player should not spend Diamonds before checking the event route and current role needs. A ranked grinder should spend practice time on repeated decisions, not scattered settings changes.
| Player stage | First priority | Second priority | What to ignore for now |
|---|---|---|---|
| New player | Learn one BR landing pattern and one Clash Squad buy pattern. | Pick one forgiving character role and one matching pet. | Rare cosmetics, complex spin events and copied pro HUDs. |
| Returning player | Check current controls, character presets and event currencies. | Rebuild a Diamond budget around the next real reward target. | Old cost assumptions and outdated tier-list habits. |
| Ranked player | Separate BR, CS and training routines. | Track deaths by cause: rotation, wall timing, aim, greed or team spacing. | Random sensitivity changes after every bad match. |
| Collector | Decide which reward types matter: bundles, emotes, gun skins or pass items. | Use stop-loss rules for chance events and save for direct routes. | Small impulse draws that do not move you toward a target. |
How to Use This Hub After a Match
After each session, choose one problem and route to one guide. If you died while rotating, read ranked and map sections before changing weapons. If you lost close trades, review Gloo Wall, movement and weapon range. If the problem was spending regret, review Diamonds, Booyah Pass and Luck Royale before the next event. This keeps the hub from becoming a link dump and turns it into a post-match checklist.
A practical rhythm is simple: one gameplay fix, one account-planning fix and one event decision per week. That is enough to make progress without turning every login into homework.
What Most Free Fire Guides Miss
Many Free Fire guides cover modes, currencies, maps and characters separately. Top-up help usually explains UID entry, package selection and order checking. Character tier lists focus on ranked roles, counters and meta tiers. The useful hub version connects those pieces so the reader does not jump from one isolated answer to another.
Start with Battle Royale, Clash Squad and Lone Wolf differences, then choose one practice goal. BlueStacks-style beginner pages cover the basics well, but this hub turns them into next-click routes.
Move from UID/account checks to Diamond value, SKU package planning and event timing. This avoids a sales-first route where the reader buys before knowing what the Diamonds are for.
Read character and pet advice by role, not only by tier. A high-tier character still fails when the player ignores squad spacing, weapon range or pet timing.
Separate free tasks, mission chains, Faded Wheel, Ring events and Gold-based routes before spending. Event trackers should teach the format, not only list what is live today.
Free Fire Hub Decision Tree
Use this decision tree when you are unsure where to go next. If the problem is dying early, pick gameplay. If the problem is wasting Diamonds, pick value. If the problem is choosing a preset, pick meta. If the problem is a rotating banner, pick event tracking. The point is to diagnose the reader's intent before sending them to another article.
| If the reader says... | Send them to... | Article should answer before linking |
|---|---|---|
| I keep losing ranked games. | Ranked Push, Clash Squad, Gloo Wall and weapon guides. | Which mode, which death cause and which role habit should be fixed first. |
| I want to spend Diamonds. | Top-Up, Diamonds Value, Booyah Pass and Luck Royale guides. | Whether the purchase is direct, delayed, mission-based or chance-based. |
| I do not know which character or pet to use. | Characters and Pets Meta, character combo guide and pet guide. | Whether the reader needs entry, sustain, wall pressure, scan, rotation or support. |
| A new event appeared. | Events and Luck Royale Tracker. | Reward target, currency path, deadline and stop-loss rule. |
What Makes This a Pillar Page Instead of a Link List
A pillar page should reduce confusion before the reader clicks away. That means every major Free Fire system needs one decision rule, one common mistake and one next step. The hub now covers mode selection, account growth, role-based meta, Diamond planning and event tracking as separate boards. It also links laterally across the Free Fire cluster, so a reader can move from gameplay to spending only when that move makes sense.
Related ManaBuy Guides
Free Fire Complete Hub Guide FAQ
What should a beginner read first?
Start with mode basics, a simple ranked path and one character role. Do not begin with advanced sensitivity or high-cost events.
Are characters more important than pets?
Characters usually define the main job, while pets support that job. A strong pet cannot fix a character choice that does not match your playstyle.
Should I spend Diamonds on passes or Luck Royale first?
Choose passes when you can finish the route and like multiple rewards. Choose Luck Royale only when the prize is specific enough and you have a stop-loss.
Free Fire Hub Summary
Use this hub whenever you are unsure what to improve next. Pick the mode, define your role, match character and pet support, then make Diamond decisions only after the reward route is clear.



Copyright © FUTURE OUTLOOK TECHNOLOGY LIMITED.Company Registration No.: 77374965 All rights reserved.UNIT 135,1/F.,143 WAI YIP STREET,KWUN TONG HK