
Free Fire Beaston Guide: Helping Hand Throwables, Grenade Arcs and Utility Combos

Beaston is a utility pet for players who win fights with throwables. Helping Hand increases throwing distance for grenades, Gloo Walls, flashbangs, and smoke grenades, which lets you pressure cover, block lanes earlier, and set up pushes before enemies expect the utility.
If you are deciding whether to unlock or upgrade Beaston, start with the trigger: Throwing distance of Grenade, Gloo Wall, Flashbang, and Smoke Grenade increase by 30%. A pet is worth building only when that trigger appears in your real matches often enough to change a fight, a reset, or a rotation.
How Helping Hand Works in Real Matches
Longer throw distance is only valuable if you aim with a purpose. Beaston is not about throwing more items; it is about putting the right item where enemies cannot ignore it.
Use it to reach rooftops, back walls, revive corners, and bridge lanes that normal throws struggle to touch.
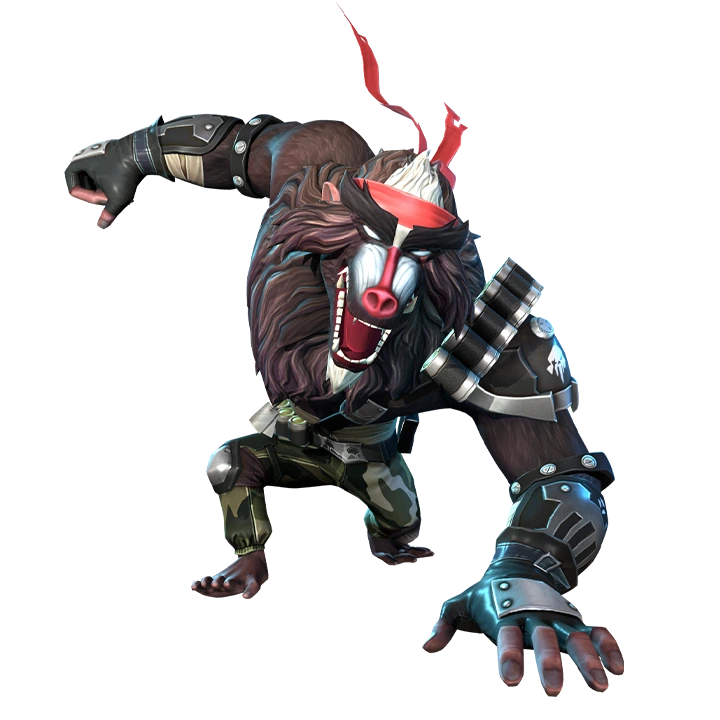

Watch: Free Fire New Pet Beaston Skill Test and Gameplay. This clip is included so readers can see Beaston timing in motion; use the current in-game skill text above for final numbers.
Best Ways to Play Beaston in Battle Royale
- In BR, Beaston is strongest on utility players who carry grenades, smoke, and spare Gloo Walls for the squad.
- Throw earlier in rotations to block a dangerous cross before the enemy holds it.
- Save at least one throwable for the final fight; Beaston gets more valuable when cover is limited.
For Beaston, start with the moment you usually lose value: rotation, first contact, trade recovery or building entry. Keep the pet only when its trigger changes that exact decision.
How Beaston Fits Clash Squad
Beaston can decide CS rounds when your team understands grenade arcs. A longer Gloo Wall or flashbang can create an entry lane before the enemy reaches the usual angle.
| CS question | Practical answer |
|---|---|
| Does the pet affect the first fight? | Use it aggressively only if the trigger appears before or during the first trade. |
| Does the pet help the second fight? | Cooldown, wall, heal, and rescue pets often win value after the first exchange. |
| Should every CS player use it? | No. The pet should match your role: entry, support, anchor, utility, or rescue cover. |
Best Free Fire Character Pairings for Beaston
| Character pairing | Why it works with Beaston |
|---|---|
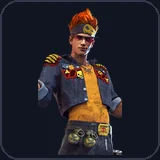 AlvaroSplit Blitz: 1s before detonating, grenade produces 3 extra grenades, which can cause 20% damage of their original. AlvaroSplit Blitz: 1s before detonating, grenade produces 3 extra grenades, which can cause 20% damage of their original. | Alvaro improves grenade pressure, making Beaston's long throw range more threatening. |
 SkylerRiptide Rhythm: Unleashes forward a sonic wave that deals great damage to Gloo Walls. SkylerRiptide Rhythm: Unleashes forward a sonic wave that deals great damage to Gloo Walls. | Skyler pressures Gloo Walls, while Beaston helps deliver utility to the wall line. |
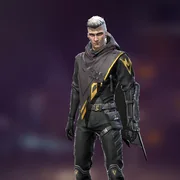 HomerSenses Shockwave: Releases an explosive drone that automatically targets enemies. HomerSenses Shockwave: Releases an explosive drone that automatically targets enemies. | Homer can slow or disrupt a target after Beaston utility forces movement. |
 SteffieGraffiti's Blessing: Creates an area that blocks throwables. Allies in the area will restore armor durability every second and ammo damage taken from ene... SteffieGraffiti's Blessing: Creates an area that blocks throwables. Allies in the area will restore armor durability every second and ammo damage taken from ene... | Steffie supports throwable defense, giving your squad both offensive range and defensive control. |
A useful Beaston test has a clear before-and-after result: less exposed rotation, a cleaner reset, earlier information or better resource control. If none appears, change the pet.
Weapons, Squad Role and Item Priorities for Beaston
Beaston is for the utility player. If you do not practice grenade arcs, long Gloo Wall throws, or smoke placement, its value will feel random.
| Choice | How to use it with Beaston |
|---|---|
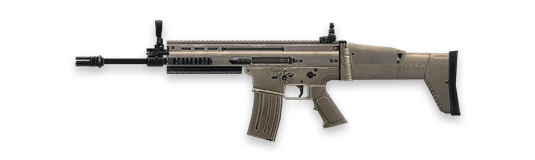 AR + grenade stack AR + grenade stack | Hold distance while your throwables force enemies out of cover. |
| Gloo Wall throws | Place forward cover before the squad crosses exposed lanes. |
| Flashbang or smoke | Longer utility range can open a push without exposing the entry player first. |
One Practice Drill for Beaston
Pick one common map spot and practice three throws: one grenade behind cover, one smoke for a cross, and one long Gloo Wall for entry. Beaston becomes publish-worthy advice only when the player can name the throw, not just the pet bonus.
Squad Callouts That Make Beaston Useful
Pet value is easier to convert when the squad hears a short call at the right moment. Do not only say the pet name. Say what changed, where the danger is, and what the next action should be. For Beaston, these callouts keep Helping Hand connected to the fight instead of becoming background value.
| Callout | Use it when | Team response |
|---|---|---|
| Helping Hand window | Rooftop enemy | Use Beaston to land a grenade or flash where a normal arc falls short. |
| Skip Beaston | Throwing long utility without a push plan. | Do not force the pet trigger; rotate, wall, heal, or wait for a cleaner fight. |
| Reset then fight | The pet has created value but the enemy can still trade | Reload, share the call, and move with at least one teammate instead of chasing alone. |
Beaston Match Plans You Can Actually Use
| Match situation | Best play |
|---|---|
| Rooftop enemy | Use Beaston to land a grenade or flash where a normal arc falls short. |
| Bridge or open lane | Throw a Gloo Wall farther forward to create a safer crossing step. |
| Revive behind cover | Place utility behind the revive angle instead of only at the front wall. |
How Beaston Compares With Similar Pets
| Alternative pet | When it may be better |
|---|---|
| Yeti | Yeti survives explosives; Beaston delivers throwables farther. |
| Mr.Waggor | Mr.Waggor supports Gloo Wall economy; Beaston improves throwable placement. |
| Night Panther | Night Panther helps carry more utility, while Beaston helps use it better. |
Common Beaston Mistakes
- Throwing long utility without a push plan.
- Wasting all grenades early because Beaston makes them fun to throw.
- Ignoring close-range utility where normal throws are already enough.
Test Beaston with one stable character preset. If the skill never changes your route, heal timing or cover choice across several matches, another pet will fit the role better.
Related Free Fire Guides
Compare Beaston with Yeti for a nearby pet role.
Compare Beaston with Mr.Waggor for a nearby pet role.
Compare Beaston with Night Panther for a nearby pet role.
Compare the full pet roster, roles, and upgrade priorities.
Build character skills around the pet role you want to play.
Free Fire Beaston FAQ
Which items benefit from Beaston?
Grenades, Gloo Walls, flashbangs, and smoke grenades are the main utility types to plan around.
Is Beaston good for beginners?
It is better after you learn grenade arcs and Gloo Wall timing.
Is Beaston good in CS?
Yes, if your team uses utility to open rounds instead of only raw peeking.
Who should use Beaston?
Utility players, shot callers, and squads that coordinate pushes around grenades and smoke.
Final Pick
Choose Beaston if Helping Hand solves a problem you see repeatedly in your Free Fire matches. Build the character combo around that problem, test it in the mode you actually play, and upgrade only after the pet feels useful without forcing awkward decisions. If the trigger feels rare, pick a more direct pet before spending resources.



Copyright © FUTURE OUTLOOK TECHNOLOGY LIMITED.Company Registration No.: 77374965 All rights reserved.UNIT 135,1/F.,143 WAI YIP STREET,KWUN TONG HK