
Delta Force S12 3x3 Safe Box Missions, Rewards & Fast Route

Delta Force S12 Glimmer has a four-phase route for the seasonal 3×3 Safe Box. You must clear the main line, earn enough stars from side branches, prepare seven required production items, and protect reset-sensitive progress during the later phases.

S12 Glimmer introduces a long seasonal mission tree. Use the phase diagrams below to match the main route and the side-branch families shown in your client.
What the S12 3x3 route actually asks you to do
The normal route has four phases: 7 main tasks in Phase 1, 8 in Phase 2, 8 in Phase 3, and 6 in the final phase. Side branches supply the stars needed to advance, so select branches that match your squad instead of forcing every PvP route.
S12 3x3 mission rewards at a glance
The 29 main tasks award a combined 51,550 XP and 9,127,777 Tekniq Alloy, before counting optional side branches. The most useful progression rewards are two 1-Day Ultimate Safe Box Access Cards in Phase 1 and the Seasonal Ultimate Safe Box Access Card from the final task. Side-branch totals vary because you only need enough stars to advance, so they are not included in the fixed main-line total.
| Route | Fixed main-line total | Notable progression rewards |
|---|---|---|
| Phase 1 | 10,700 XP · 1,450,000 Tekniq Alloy | 2× 1-Day Ultimate Safe Box Access Card, replica keycard packs, equipment vouchers |
| Phase 2 | 15,300 XP · 2,025,000 Tekniq Alloy | AN-94/PKM parts, Titan armor, GT5 Commander Helmet, equipment voucher |
| Phase 3 | 15,850 XP · 2,500,000 Tekniq Alloy | ammo-production parts, premium materials, equipment voucher |
| Final phase | 9,700 XP · 3,152,777 Tekniq Alloy | GT5 Commander Helmet, Titan armor, Secret Server, Seasonal Ultimate Safe Box Access Card |
The in-game mission screen lists each reward beside its objective. The phase tables below keep those rewards next to the matching task, so you can see whether the next step gives temporary access, equipment, materials, or only XP and currency.
If you plan to buy a pass or Delta Coins alongside the mission grind, compare the live options on the Delta Force top-up page before paying.
Strong Assurance: 7 Items You Need to Craft
The S12 Strong Assurance branch contains five production steps covering seven required items. Prepare the materials early, but wait until the matching objective is active before collecting the finished item.

| Task group | Item | What to do |
|---|---|---|
| Optics | 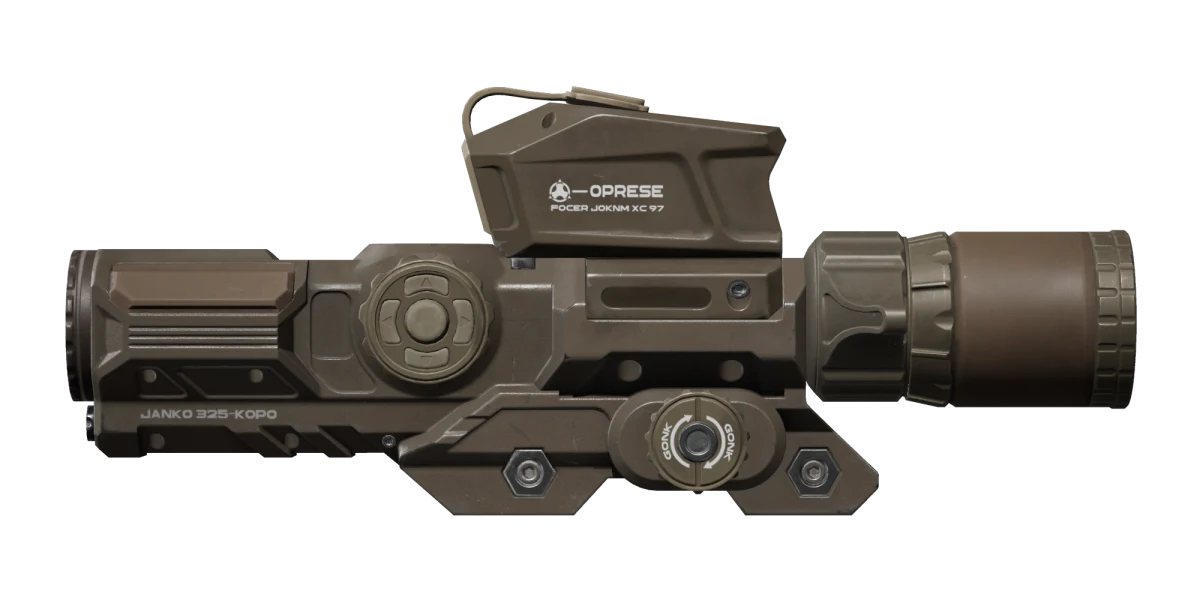 M157 Fire Control Scope |
produce once after the objective unlocks |
| Protection | 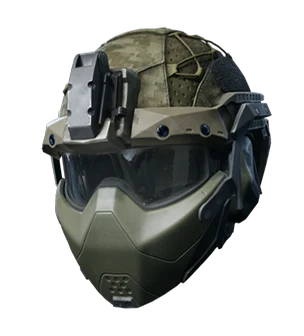 GN Heavy Helmet |
produce once |
| Protection | 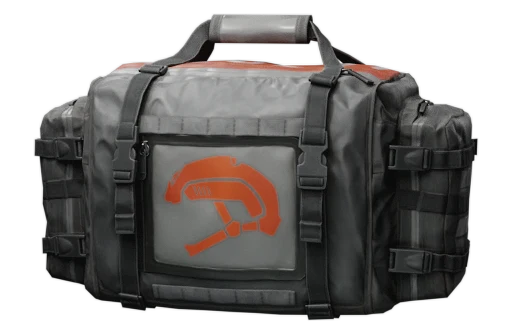 Precision Helmet Repair Kit |
produce once |
| Medical | 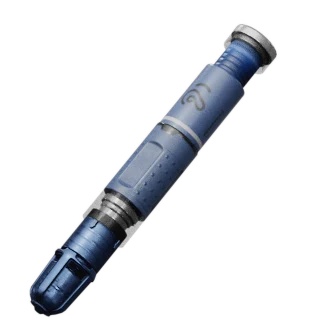 Perception Activator |
produce once |
| Medical | 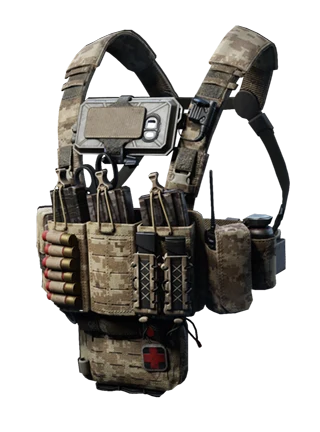 Black Hawk Field Chest Rig |
produce once |
| Firepower | 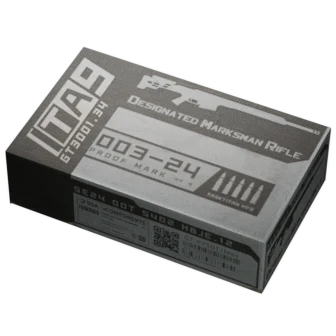 5.45x39mm BS |
produce one batch |
| Fortification | 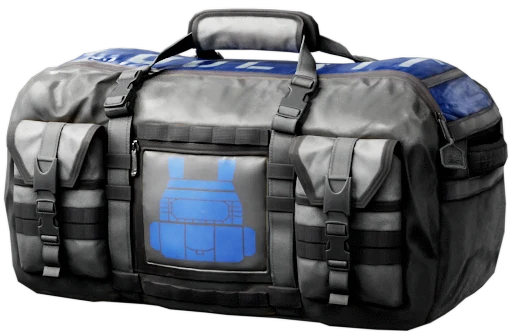 Premium Vest Repair Combo |
produce once |
Should you craft these items early?
Player testing suggests that queueing production early can save time, but a “produce” objective may only credit after the task is active. The safe method is to prepare the materials, leave the finished item uncollected if your queue allows it, and check the mission counter before collecting. If the counter does not move, start a fresh production cycle after the task unlocks.
Do not spend rare ingredients blindly. Check the active objective and recipe before committing expensive materials.
Phase 1: build the base and bank the right loot
Phase 1 teaches the route: extraction value, AI kills, carry-out categories, hand-ins, and three map objective chains. Finish all seven main tasks and use lower-risk side branches for the required stars.
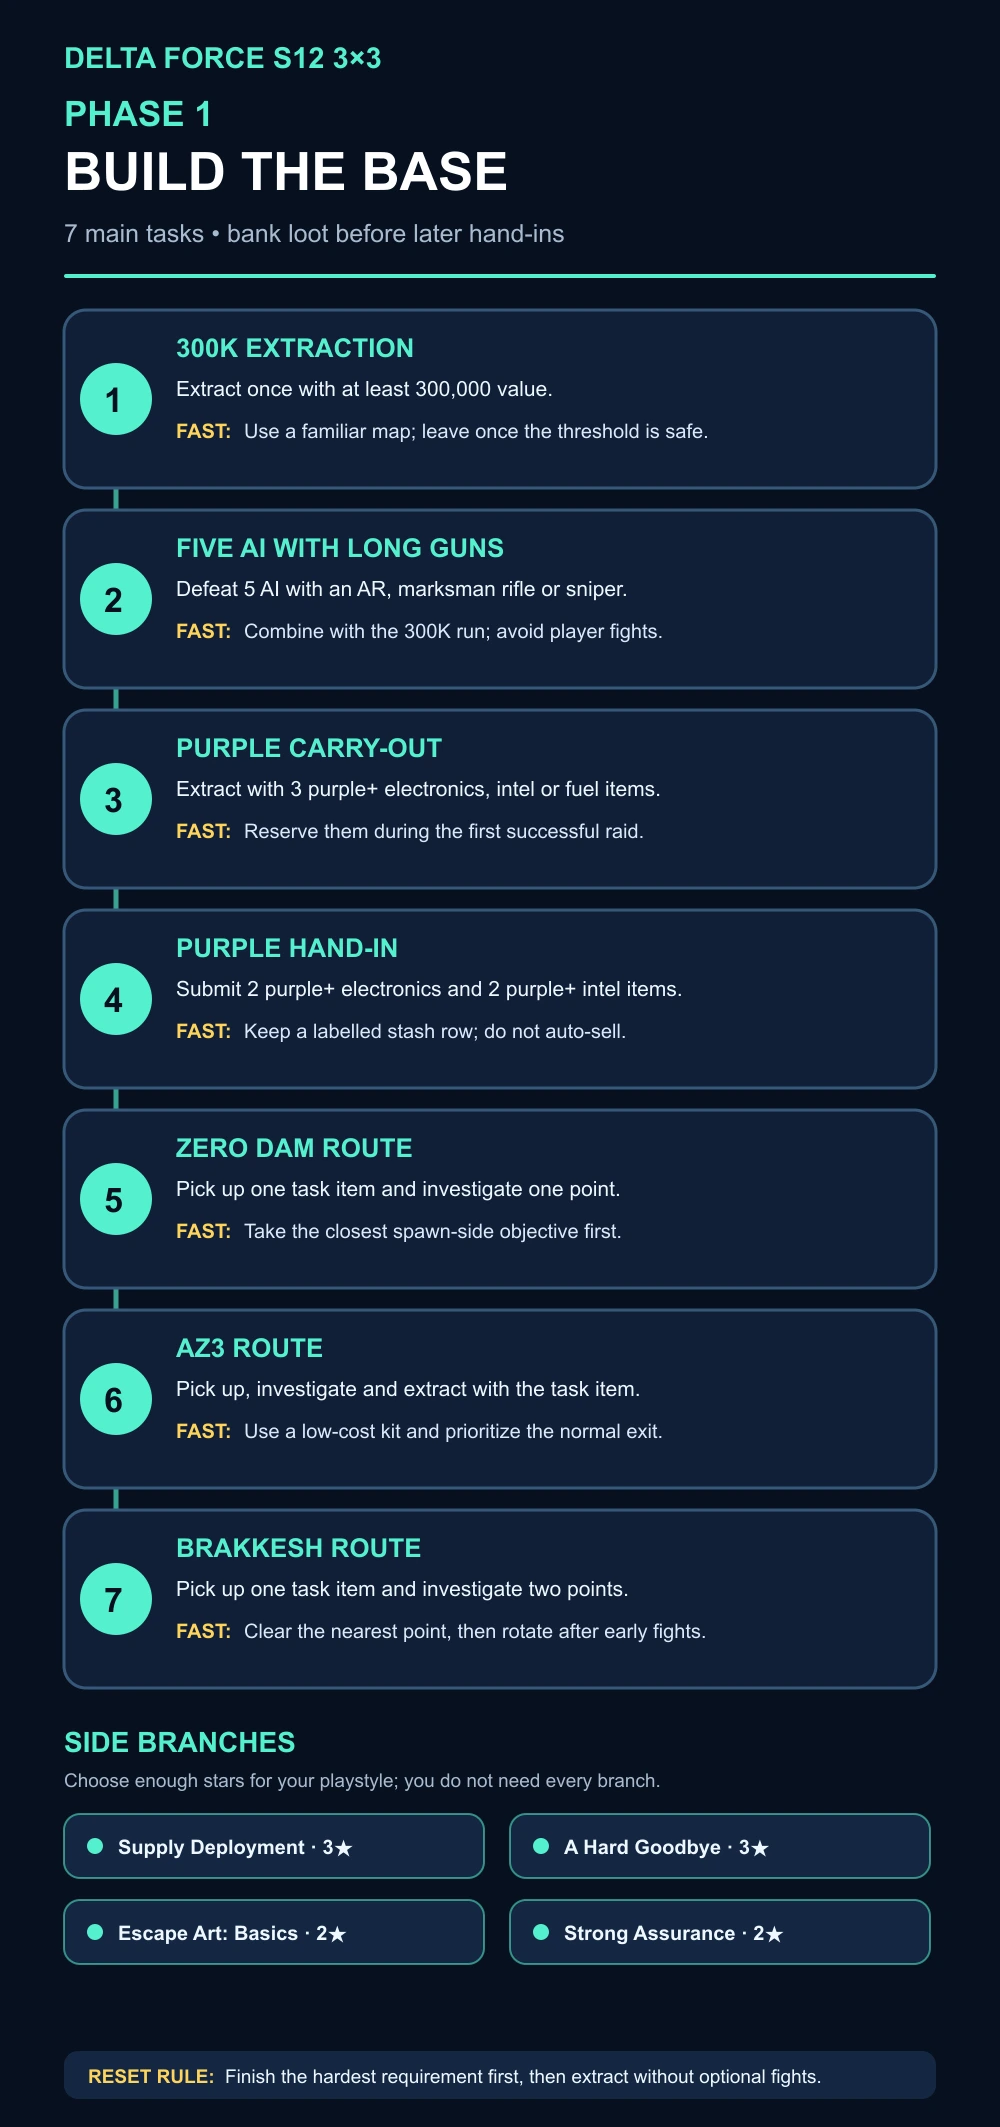
The Phase 1 tree offers four branch families: Supply Deployment, A Hard Goodbye, Escape Art: Basics, and Strong Assurance. Strong Assurance is the five-step crafting chain shown above; the other routes emphasize loadout preparation, repeated extraction, and survival. If crafting materials are already available, Strong Assurance is the most predictable source of early stars.
| # | Main objective | Reward | Fast completion plan |
|---|---|---|---|
| 1 | extract once with at least 300,000 value | 1,250 XP · 200,000 Alloy · 1-Day Ultimate Safe Box | use a familiar map and leave as soon as the value threshold is safe |
| 2 | defeat 5 AI soldiers with an assault rifle, marksman rifle, or sniper rifle | 1,500 XP · 200,000 Alloy · 2× Field Med Kit | combine with Task 1; do not chase players |
| 3 | extract with 3 purple+ electronics, intel, or energy/fuel collectibles | 1,500 XP · 200,000 Alloy · 2× Replica Keycard Supply Pack | reserve these during Task 1 instead of selling them |
| 4 | submit 2 purple+ electronics and 2 purple+ intel collectibles | 1,500 XP · 200,000 Alloy · Equipment Voucher | keep a labelled stash row so the items are not auto-sold |
| 5 | Zero Dam: pick up one task item and investigate one point | 1,550 XP · 200,000 Alloy · 5× Stamina Booster · 1-Day Ultimate Safe Box | hit the closest point at spawn; delay the core-area point if contested |
| 6 | AZ3: pick up, investigate, and extract with the task item | 1,800 XP · 200,000 Alloy · 2× Type-E Filter Canister | use a low-cost kit and prioritize the normal extraction |
| 7 | Brakkesh: pick up one task item and investigate two points | 1,600 XP · 250,000 Alloy · Equipment Voucher | complete the nearest point first, then rotate after the early fights move away |
Fast Phase 1 route
- Enter with an AR or marksman rifle and combine Tasks 1–3 in the same successful raid.
- Keep four suitable purple items for Task 4; do not rely on finding them again later.
- Run Zero Dam, AZ3, then Brakkesh. A Recon operator helps check contested interaction points, while smoke gives a safer exit from exposed pickups.
- If a mission does not require a single raid, take one nearby objective and survive rather than crossing the whole map immediately.
Phase 2: stack map objectives and prepare the hand-ins
Phase 2 has eight main tasks. Most are route or collection objectives; the danger comes from single-raid resets and crowded objective points.
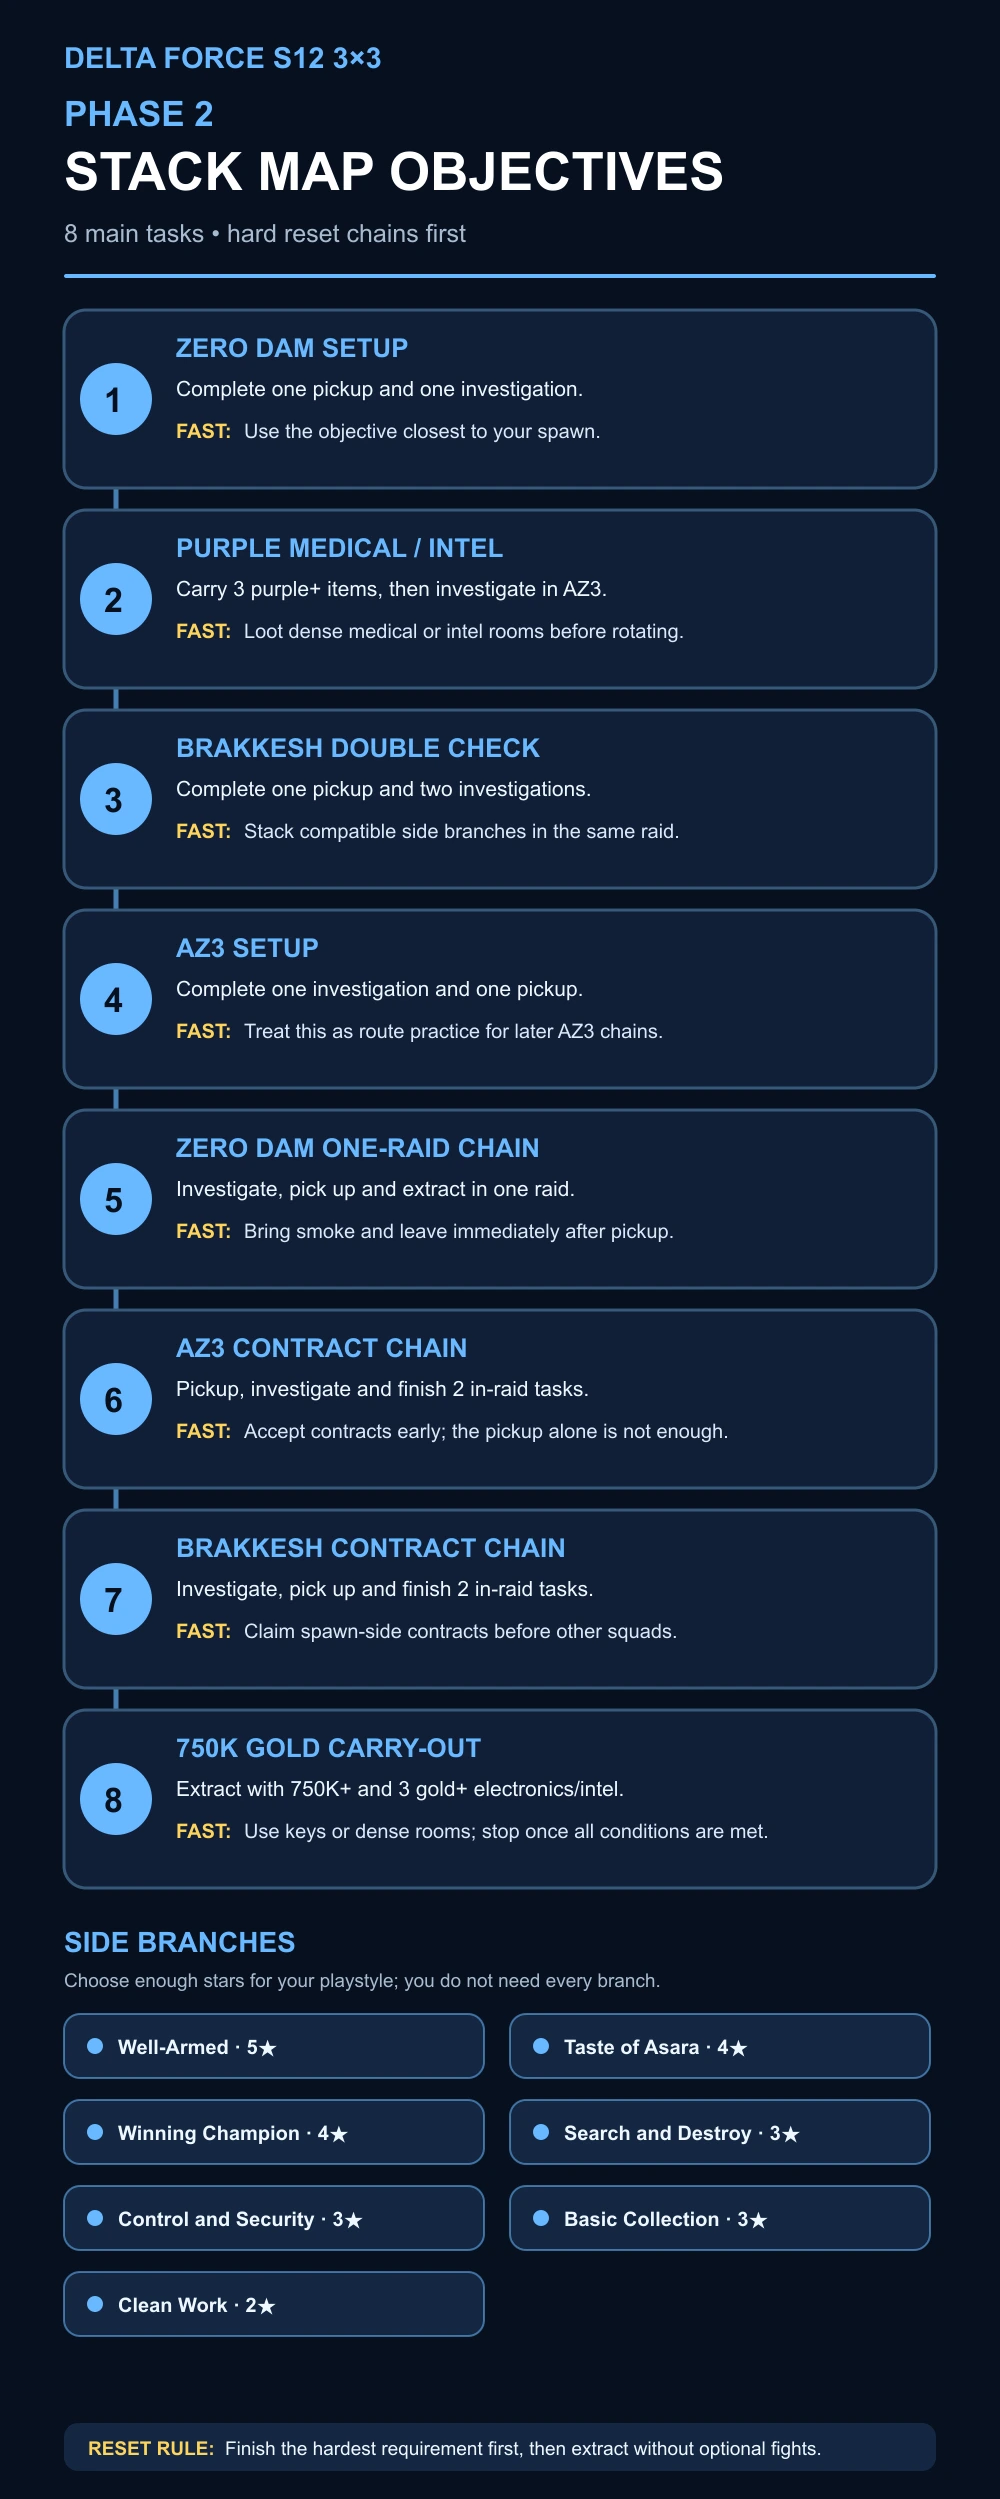
Phase 2 expands to seven branch families: Well-Armed, Taste of Asara, Winning Champion, Search and Destroy, Control and Security, Basic Collection, and Clean Work. Solo players should prioritize collection and equipment branches; coordinated squads can finish Search and Destroy or Control and Security faster if they already win contested interactions.
| # | Main objective | Reward | Fast completion plan |
|---|---|---|---|
| 1 | Zero Dam: one pickup and one investigation | 1,850 XP · 225,000 Alloy · AN-94 Quick-Release Short Barrel | take the closest spawn-side objective first |
| 2 | collect 3 purple+ medical/intel items, then investigate in AZ3 | 1,850 XP · 225,000 Alloy · AN-94 Heavy Buffer Long Barrel | search high-density medical/intel rooms before crossing the map |
| 3 | Brakkesh: one pickup and two investigations | 1,850 XP · 225,000 Alloy · PKM Bullpup Kit | pair with Brakkesh side branches to avoid a duplicate run |
| 4 | AZ3: one investigation and one pickup | 1,900 XP · 350,000 Alloy · 2× Programmable Processor | use this as a setup run for later AZ3 tasks |
| 5 | Zero Dam: investigate, pick up, and extract with the task item in one raid | 1,900 XP · 250,000 Alloy · Titan Ballistic Armor | bring smoke and leave immediately after the pickup |
| 6 | AZ3: pickup, investigate, and complete 2 in-raid tasks/contracts | 1,900 XP · 250,000 Alloy · GT5 Commander Helmet | claim a contract early; the pickup alone is not enough |
| 7 | Brakkesh: investigate, pick up, and complete 2 in-raid tasks/contracts | 2,150 XP · 250,000 Alloy · M250 Focused Feed Magazine | prioritize contracts at spawn before other teams take them |
| 8 | in one raid, extract with 750,000+ value and 3 gold+ electronics/intel | 1,900 XP · 250,000 Alloy · 2× Mechanical Bee Model · Equipment Voucher | use keys or high-density rooms; stop looting once all three categories are secured |
Phase 2 items to reserve
Side branches include hand-ins for Nuclear Battery + Evidence Disc and External Data Card + Evidence Disc. Community prep lists also mention Dancing Girl – Charm and Pocket Video Tape for later turn-ins. Keep these items when they appear, but do not buy them at inflated prices before confirming that your active branch requires them.
Fast Phase 2 route
- Do Zero Dam and AZ3 single-raid tasks before the map becomes crowded later in the session.
- For any sequence that resets after failure, clear Space City/Brakkesh-style difficult extracts first and save Zero Dam/AZ3 for last.
- Pick side branches by friction: AI kills and category carry-outs are slower but predictable; player-kill branches are faster only if you already win those fights.
- If an objective point is crowded, take the nearest safe interaction, wait for the mid-raid rotation, and return late. Do not repeatedly feed full kits into the same spawn fight.
Phase 3: choose the PvP or low-PvP branch
Phase 3 is where the route separates. The main line remains manageable, but the K437 / AN-94 / PKM branch can accelerate star progress for confident PvP players.
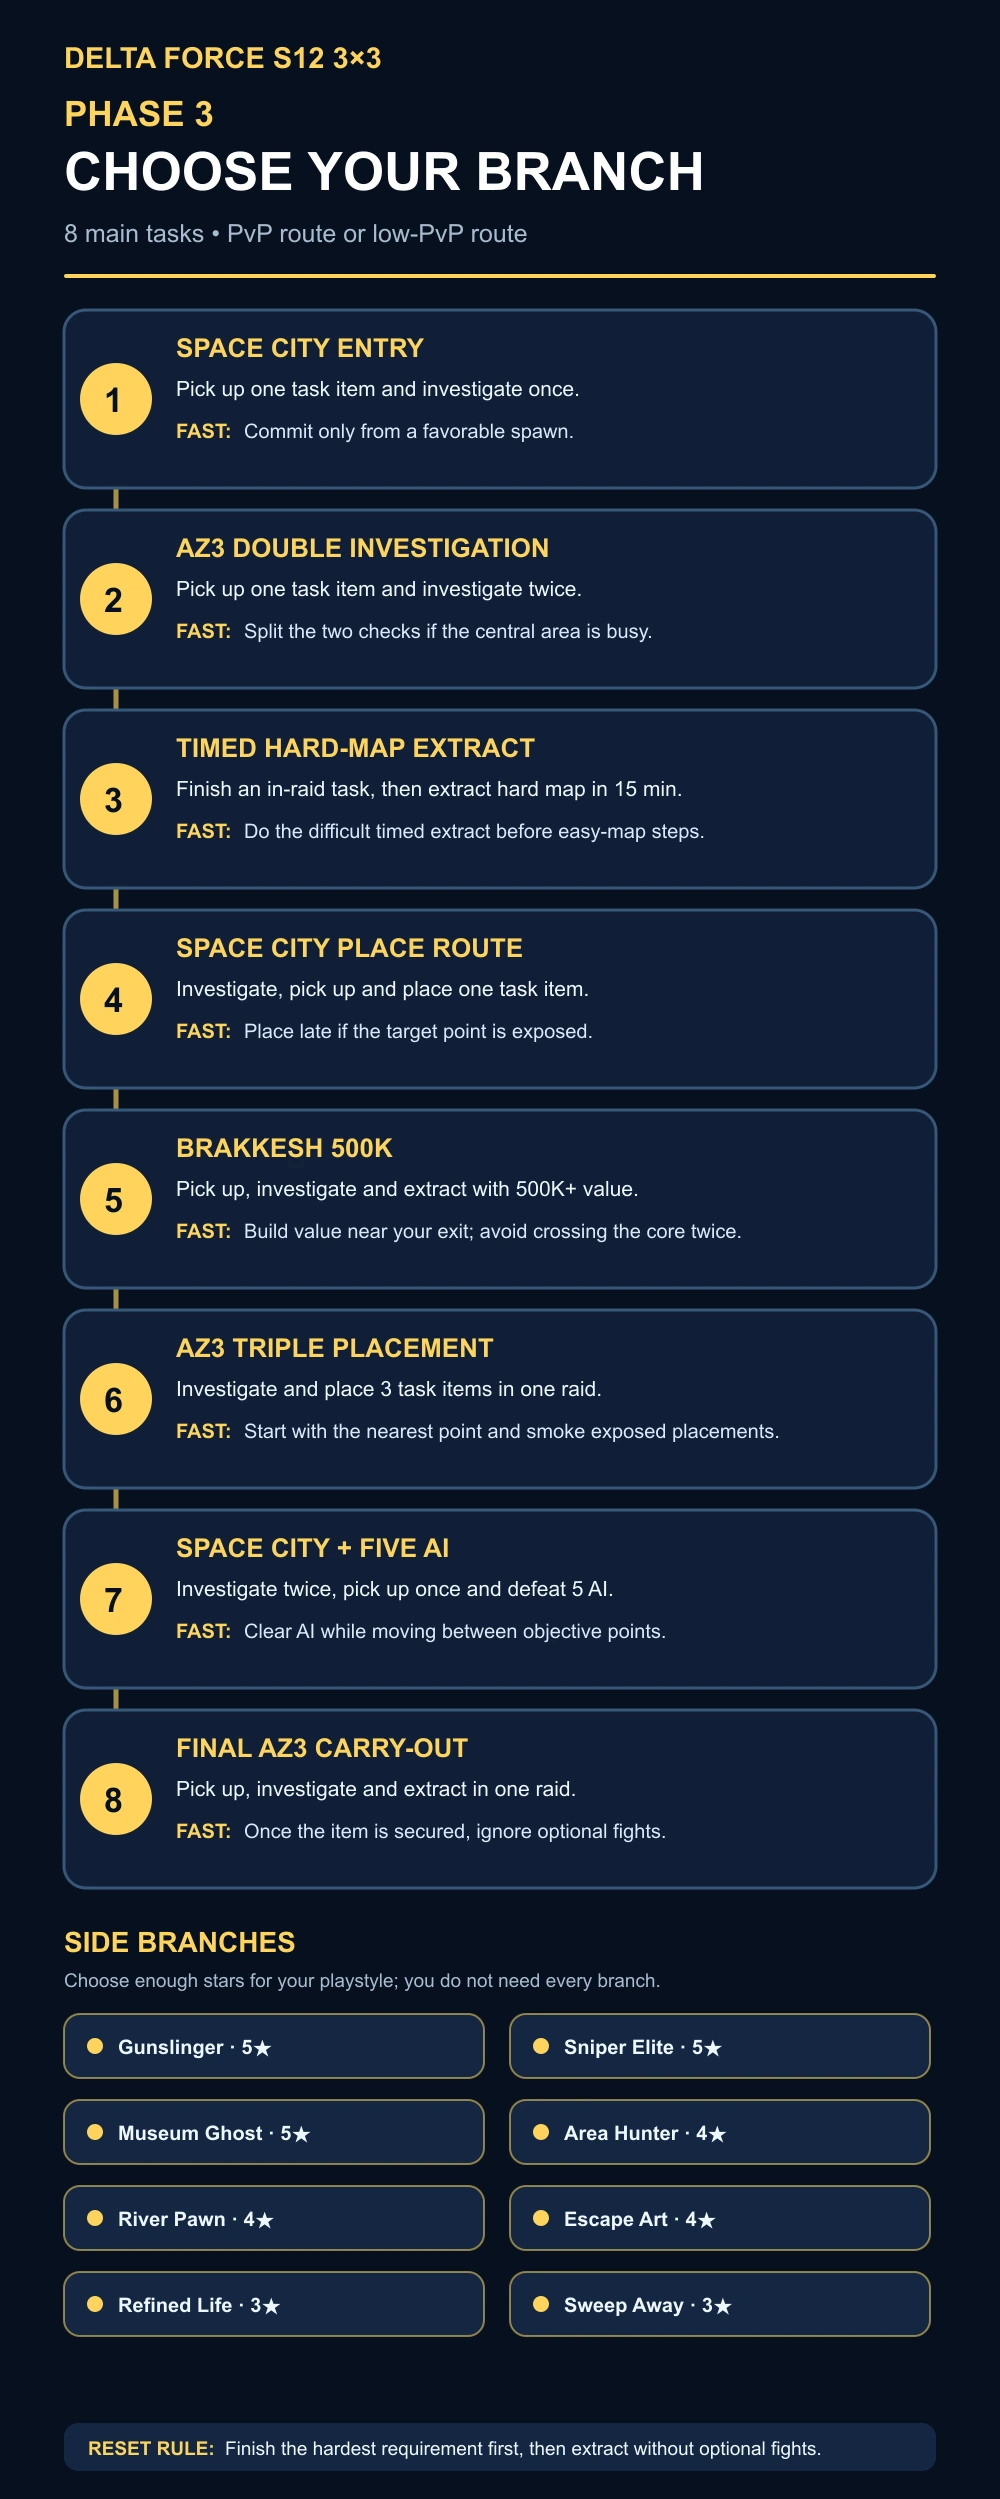
The eight branch families are Gunslinger, Sniper Elite, Museum Ghost, Area Hunter, River Pawn, Escape Art, Refined Life, and Sweep Away. Gunslinger is the K437/AN-94/PKM path. Museum Ghost, Area Hunter, and the collection branches generally suit players who prefer route knowledge over forced weapon kills.
| # | Main objective | Reward | Fast completion plan |
|---|---|---|---|
| 1 | Space City: pick up one task item and investigate once | 1,950 XP · 250,000 Alloy · 5× Stamina Booster | run the pickup immediately only if your spawn is favorable |
| 2 | AZ3: pick up one task item and investigate twice | 1,950 XP · 250,000 Alloy | treat the two investigations as separate rotations if the center is busy |
| 3 | complete one in-raid task on Layali Grove/Zero Dam/AZ3; extract from Space City/Brakkesh within 15 minutes | 1,950 XP · 250,000 Alloy · 2× Advanced Ammo Production Part | finish the hard timed extract first; the easy-map task can wait |
| 4 | Space City: investigate, pick up and place one task item | 2,250 XP · 375,000 Alloy · HVK Dual-Stock Kit | place late in the raid if the target is exposed |
| 5 | Brakkesh: pick up, investigate, then extract with 500,000+ value | 2,000 XP · 275,000 Alloy · 200× .300 BLK TIV · 80× .300 BLK TTV | build the value near your exit instead of crossing back through the core |
| 6 | AZ3: investigate and place 3 task items in one raid | 2,250 XP · 375,000 Alloy · Premium Coffee Beans | hit the nearest placement first; smoke the exposed points |
| 7 | Space City: investigate twice, pick up once, defeat 5 AI soldiers | 1,750 XP · 350,000 Alloy · 5× Titanium Alloy | clear AI while moving between the objective points |
| 8 | AZ3: pick up, investigate, and extract with the task item in one raid | 1,750 XP · 375,000 Alloy · Mobile Cable · Equipment Voucher | once the item is secured, ignore optional fights |
The Three Guns branch
The branch asks for the following weapons in order:
- submit a K437, then defeat 3 enemy operators with it;
- submit an AN-94, then defeat 3 enemy operators with it;
- submit a PKM, then defeat 3 enemy operators with it;
- in the reset-sensitive finale, score one operator defeat with each of the three weapons without losing the chain.
This is a fast branch for PvP specialists, but a bad branch for players who would have to force unfamiliar guns. Use a single weapon per raid until its counter is complete. For the final chain, start with the gun you trust least, finish with your strongest gun, and extract instead of continuing to loot.
Low-PvP alternative
Wait for map-running, extraction, crate-opening, AI, and carry-out branches. They take more raids but have lower failure variance. Stack them with the Phase 3 main line:
- open containers while completing map investigations;
- carry purple/gold category items during required extracts;
- complete AI kills while moving through Space City or AZ3;
- do multi-map extracts from the hardest map first.
Phase 4: protect the streak and finish the AZ3 chain
Phase 4 has only six main tasks, but several reset after a failed extraction. Treat mission completion—not loot value—as the win condition.
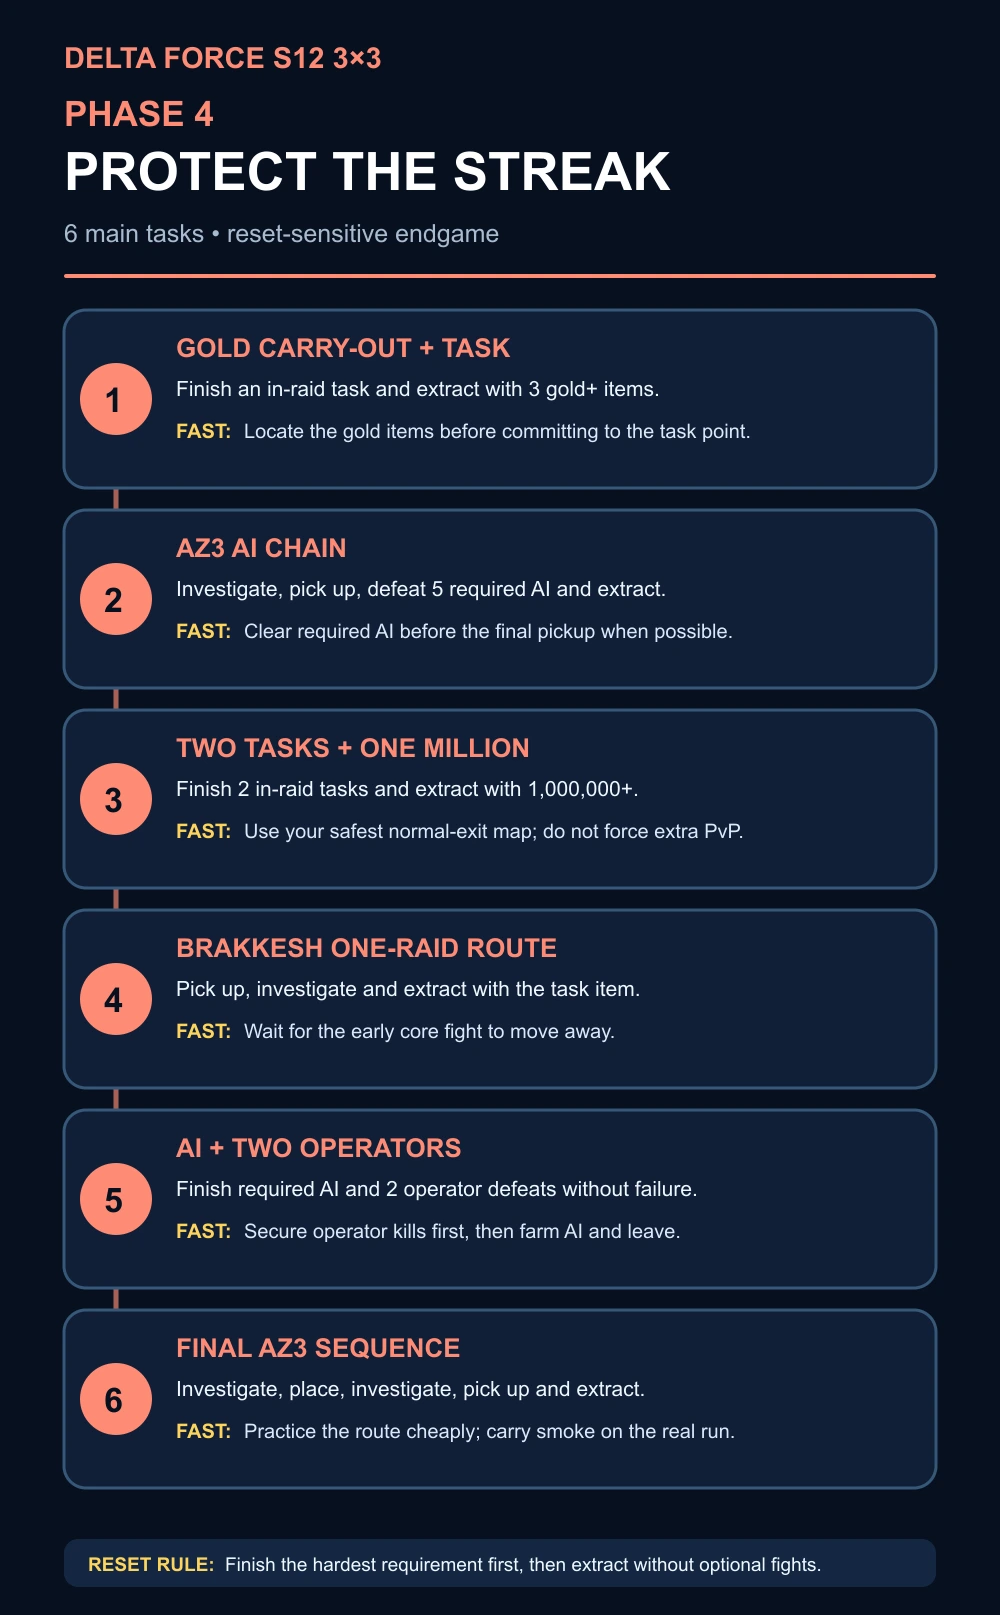
The final phase has no separate side-branch tree. All six objectives sit on one continuous route, so a failed extraction can waste much more time than it did during the earlier star-farming phases.
| # | Main objective | Reward | Fast completion plan |
|---|---|---|---|
| 1 | complete one in-raid task on Space City/AZ3 and extract with 3 gold+ electronics, crafts, or intel in the same raid | 1,750 XP · 375,000 Alloy · Premium Coffee Beans | bring or locate the three gold items before committing to the task point |
| 2 | AZ3: investigate, pick up, defeat 5 required AI soldiers, and extract | 1,750 XP · 500,000 Alloy | clear the required AI before the final pickup if the route allows it |
| 3 | complete 2 in-raid tasks, then extract once with 1,000,000+ value without breaking the chain | 2,050 XP · 500,000 Alloy · GT5 Commander Helmet | use AZ3 if you need a normal exit; Space City is faster only for a practiced squad |
| 4 | Brakkesh: pick up, investigate, and extract with the task item in one raid | 2,050 XP · 500,000 Alloy · Titan Ballistic Armor | wait for the early core fight to move, then run the objective chain |
| 5 | across the listed map groups, defeat normal/special AI and 2 enemy operators without a failed extraction | 2,100 XP · 500,000 Alloy · Secret Server | secure the operator defeats first, then farm AI on the safest map and leave |
| 6 | final AZ3 task: investigate, place, investigate again, pick up, and extract with the item | 777,777 Alloy · Seasonal Ultimate Safe Box Access Card | use a route-planning run first; on the real attempt, carry smoke and stop looting |
How to finish Phase 4 faster
- Split the hard objective into safe segments. If progress persists between successful raids, do the two operator defeats first and the AI categories later.
- Use the easiest valid map for value. AZ3 has a normal extraction, so it is safer for the 1,000,000-value requirement than forcing an unfamiliar high-risk map.
- Protect completed progress. Once a reset-sensitive objective is complete, move directly to extraction. A late optional fight can erase several raids of work.
- Route the final AZ3 mission before the attempt. Learn the investigate/place/pickup order with a cheap kit, then return with smoke and enough healing for the real run.
Which side branches should you choose?
| Player type | Best branches | Avoid unless necessary |
|---|---|---|
| Low-PvP / solo | AI kills, collection, crate opening, map investigation, standard extracts | weapon-specific operator kills; long reset chains |
| Coordinated squad | map objectives, high-value extracts, in-raid contracts | splitting across different maps without a shared plan |
| Strong PvP player | Three Guns, sniper/operator-kill branches, multi-objective raids | waiting for late time-gated collection branches |
| Limited playtime | crafts, hand-ins, one-map route branches | branches that require many different maps or repeated container RNG |
The fastest route is not the branch with the fewest written steps. It is the branch with the highest completion rate for your squad.
Optional Fate Contracts
S12 also has a separate Fate Contract set. These contracts include multi-map completions, boss/AI clears, high-value extracts, operator kills, class-gadget use, and a MandelBrick extraction condition. They are not a substitute for the four main phases.
If your only goal is the normal 3×3 Safe Box permission, finish the main route first. Players chasing the additional contract reward should favor the predictable multi-map and boss-clear contracts; the reset-on-fail high-value and multi-map operator-kill contracts have much higher variance.
Common S12 mistakes
- Selling purple and gold category items too early. Phase 1 and Phase 2 repeatedly ask for carry-outs and hand-ins.
- Collecting a Strong Assurance item before its task is active. Prepare materials, then verify the counter before claiming.
- Choosing every PvP branch. You only need enough branch stars to advance.
- Doing easy maps first on a reset chain. A later failure on the hardest map can erase the whole sequence.
- Continuing to loot after a reset-sensitive task is complete. Extracting is the objective.
- Searching only by a translated item label. If wording differs, match the item icon, category, and mission requirement before buying.
Delta Force S12 3x3 FAQ
How many main tasks are in the S12 3x3 route?
There are 29 main tasks: 7 in Phase 1, 8 in Phase 2, 8 in Phase 3, and 6 in the final phase. The first three phases also use side branches for the stars needed to advance.
Do pre-crafted items automatically count?
Do not assume they will. The safest method is to leave a completed craft uncollected until the objective is active, check the counter, and start a new cycle if collection does not credit it.
Do I have to complete the K437, AN-94 and PKM branch?
No. It is one route for Phase 3 stars. Low-PvP players can wait for collection, map, AI, crate, and extraction branches instead.
What does “reset on failed extraction” mean?
Progress in that named chain can return to zero after a failed extraction. Clear the hardest map first, stop looting after the requirement is complete, and avoid optional fights.
Which map is safest for the high-value extract tasks?
Use the map you can extract from consistently. The current player route favors AZ3 for several late tasks because it has a normal extraction, while practiced squads may prefer Space City for faster objective density.
Can a solo player finish the normal 3x3 route?
Yes, but solos should favor AI, collection, investigation and standard-extract branches. A squad mainly reduces risk on exposed interactions, high-value extracts, and operator-kill objectives.
Related Delta Force guides
Summary
Delta Force S12 uses a four-phase 3×3 Safe Box route: 7 main tasks in Phase 1, 8 in Phase 2, 8 in Phase 3, and 6 in the final phase. Bank purple and gold category loot early, prepare the seven Strong Assurance crafts, choose side branches that fit your PvP ability, and always complete the hardest part of a reset chain first. Once a reset-sensitive requirement is complete, stop looting and extract—the saved progress is worth more than one additional fight.



Copyright © FUTURE OUTLOOK TECHNOLOGY LIMITED.Company Registration No.: 77374965 All rights reserved.UNIT 135,1/F.,143 WAI YIP STREET,KWUN TONG HK