PUBG MOBILE Maps and Landing Spots Guide: Routes, Vehicles and Secret Spots

PUBG MOBILE maps are not only backgrounds. They decide your first fight, loot speed, vehicle needs, secret-room choices, third-party danger and how early you must move toward the safe zone. A strong landing spot is not always the place with the most loot. It is the place where your squad can land together, find usable gear, choose a fight or avoid one, and still leave before the next circle traps you.
Beyond the big named towns, PUBG MOBILE map planning becomes much easier when you read the utility layer: guaranteed vehicles, gas stations, gliders, loot trucks, key rooms, bunkers, garages and special locations. A community-maintained PUBG map resource is useful for checking these route and spawn ideas, but the final decision should always come from your current plane path, circle, mode and squad gear.
How to Read Map Markers
Map markers are most useful when you read them in layers. Named towns show where early fights are likely. Roads, vehicles and gas stations show how squads leave. Secret rooms, bunkers, lab camps, bear caves and loot truck routes show where extra rewards or extra danger can appear. Good squads do not chase every marker. They choose the marker that fits the plane path, circle and team gear.
| Map | Route/resource focus | How to use it in PUBG MOBILE |
|---|---|---|
| Erangel | Boats, gliders, 100% vehicle spawns, gas stations and basement secret rooms that require a key | Plan bridge, island and long-circle rotations before you loot. A marked guaranteed vehicle matters more than a slightly richer house when the zone pulls away. |
| Miramar | 100% vehicle and glider spawns, gas stations and key-required secret rooms | Treat vehicles and refuel points as survival tools. Desert ridges are powerful only if you can reach them before other squads. |
| Taego | 100% vehicle and glider spawns, garage, gas station and secret room locations requiring a key | Build routes around garages and roads. If you find a secret key, choose whether the room is worth delaying your rotation. |
| Rondo | Glider, vehicle and 100% vehicle spawns plus garages, gas stations and key-required secret rooms | Use the route network to decide whether to play river crossings, city edges or a fast reposition toward center. |
| Vikendi | 100% vehicle and glider spawns, gas stations, garages, keycard rooms, crowbar locked buildings, Lab Camps and Bear Caves | This is a utility-heavy map. Keys, crowbars, labs and bear caves create route decisions, not just loot stops. |
| Deston | Vehicle, glider and gas station planning, with older Pillar access details treated carefully because some version-specific access changed | Use the current vehicle and gas layer for route planning, and be careful with outdated Pillar access notes from older versions. |
| Paramo | Secret location spots that require a special key | If you land near a marked secret spot, decide quickly whether the key route is worth the fight and the time cost. |
| Sanhok | Loot Truck routes and spawn times | The colored routes and minute labels matter. Intercept trucks when your squad is ready, not while split or under-geared. |
| Karakin | Secret bunker locations that require blasting the passage | Bring explosives or avoid planning around bunkers. The bunker mark is only useful if you can open it safely. |
Safe Landing, Hot Drop and Utility Routes
Before choosing a map point, decide what kind of match you are playing. A rank-push squad should not use the same first drop as a team warming up mechanics. If you want consistent top finishes, land where you can rotate. If you want improvement, land half-hot. If you want pure combat, hot drop and accept the reset.
| Landing plan | Use it when | What to check before jumping |
|---|---|---|
| Safe edge | You want rank stability, quiet loot and a clean first rotation | Road access, guaranteed vehicle markers, nearby gas station or a second compound if loot is weak. |
| Half-hot | You want one controlled fight without turning the match into a coin flip | A nearby third-party route, squad landing distance, first cover and the exit path after the fight. |
| Hot drop | You want mechanics practice or your squad is ready for a fast reset | Whether everyone can land together, reach a weapon quickly and trade knocks inside the first minute. |
| Utility route | You found or expect a key, crowbar, secret-room path, loot truck route or vehicle chain | Whether the special point is worth the time. Utility is valuable only if it improves your next circle or squad gear. |
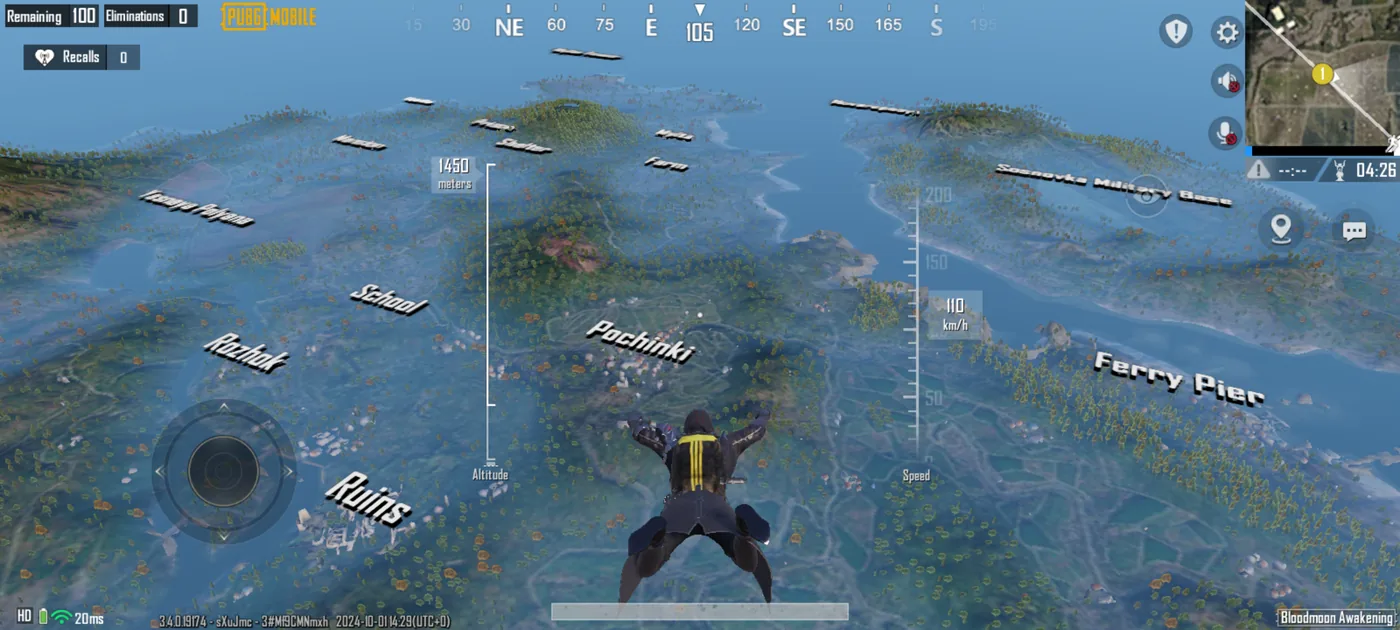
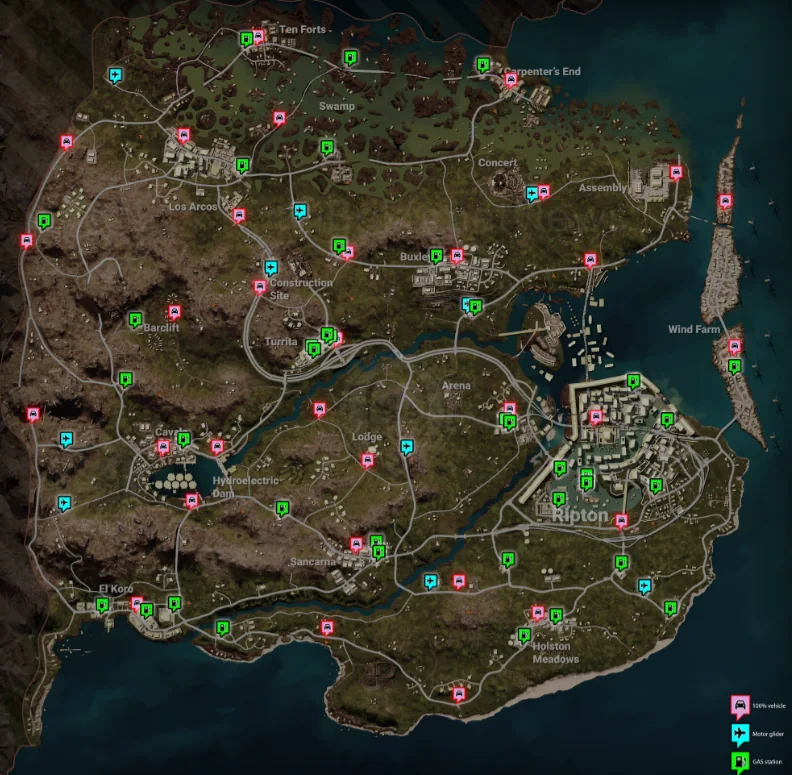
Erangel Map Strategy: Vehicles, Basements and Bridge Timing
Erangel is the best all-round map for learning ranked fundamentals because it combines cities, open fields, bridges, shorelines and vehicle rotations. For Erangel, the useful planning layer is guaranteed vehicle spawns, boats, gliders, gas stations and basement-style secret rooms that require a key. That means the important question is not only where to loot, but how you will leave.

If your squad lands near Georgopol, Pochinki, Yasnaya Polyana, Mylta Power, Sosnovka Military Base or Novorepnoye, expect pressure. Use nearby vehicle markers to avoid being locked by the first circle. If the zone pulls south, the bridges become the match. Cross early if your gear is weak; hold or scout bridges only when you have scopes, smokes and a fallback. Basement key rooms are worth checking when they are on your route, but they should not delay a long island rotation.
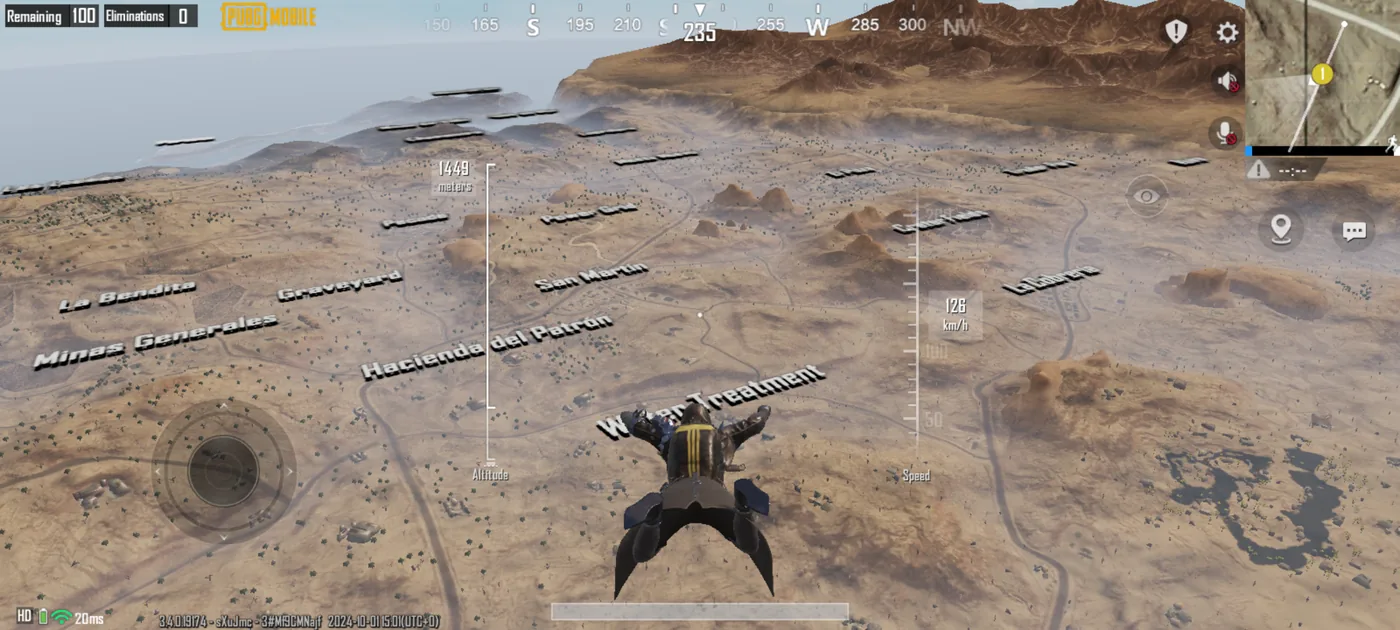
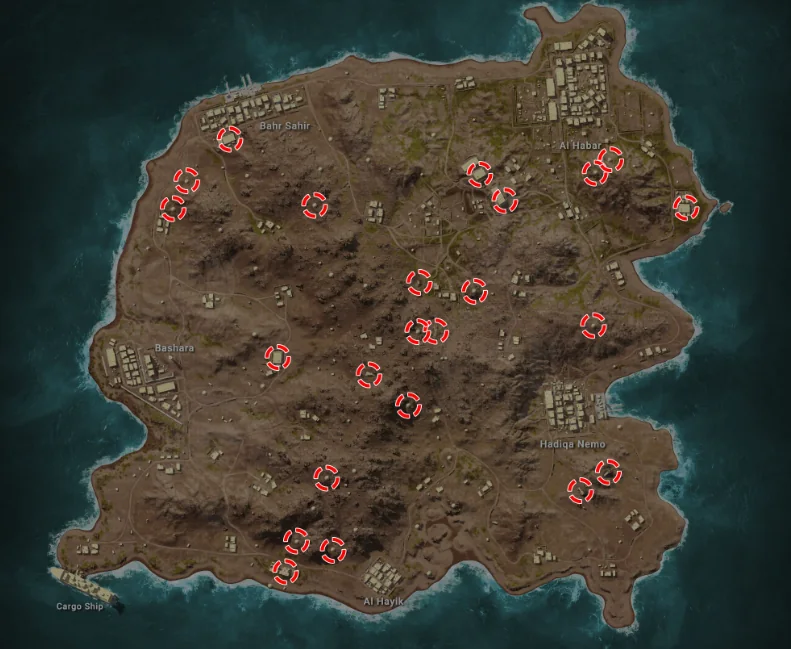
Miramar Map Strategy: Vehicles, Gliders and Gas Stations
Miramar punishes late movement harder than most maps. For Miramar, vehicle and glider spawns, gas stations and key-required secret rooms matter because open terrain makes every late rotation expensive. In practice, your first route should be planned before you finish looting. A desert ridge is powerful only if your squad reaches it before everyone else watches the same road.

El Pozo, Pecado, Los Leones, Campo Militar and other big locations can produce strong loot, but the safest ranked plan often starts near a road, vehicle marker or gas station. If you find a key, compare the secret-room detour against the circle. On Miramar, a full backpack cannot save a squad that has no car, no fuel and no cover across open ground.
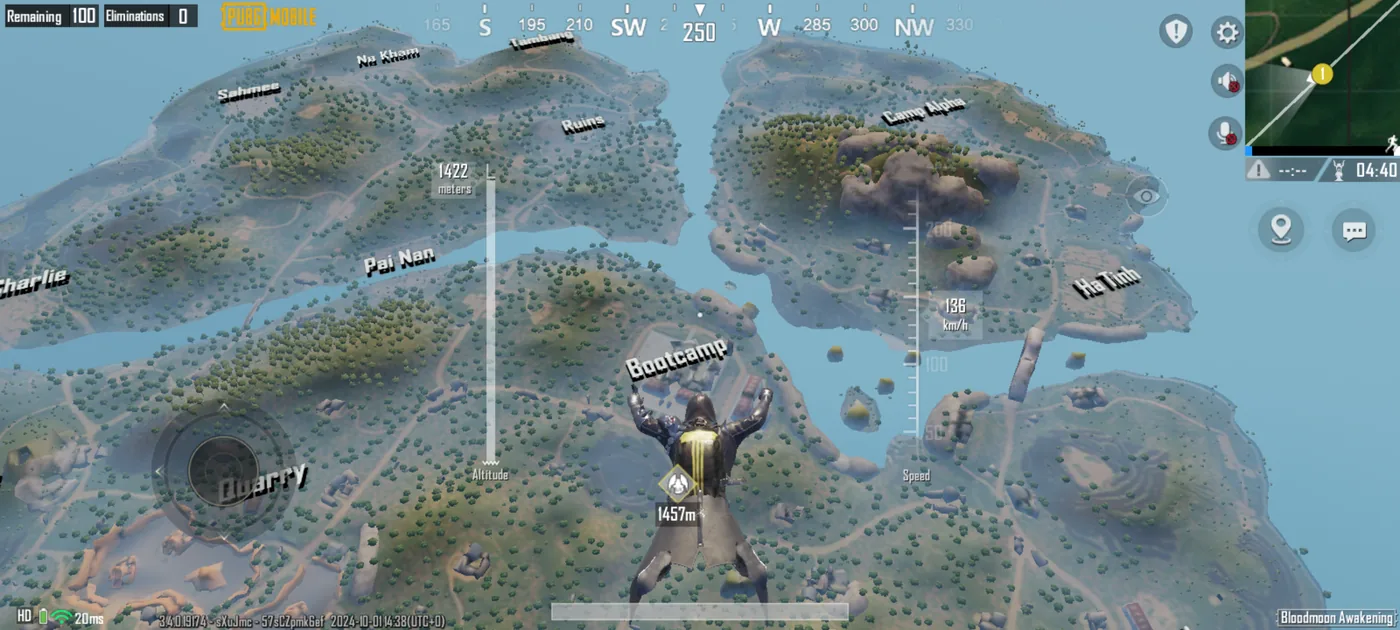
Sanhok Map Strategy: Loot Truck Routes and Timing
Sanhok is not only a dense jungle map. Its loot truck routes add a moving objective layer: the colored paths and minute labels show where a truck can move and roughly when a squad can intercept it. That turns the map from simple hot-drop chaos into a timing decision.
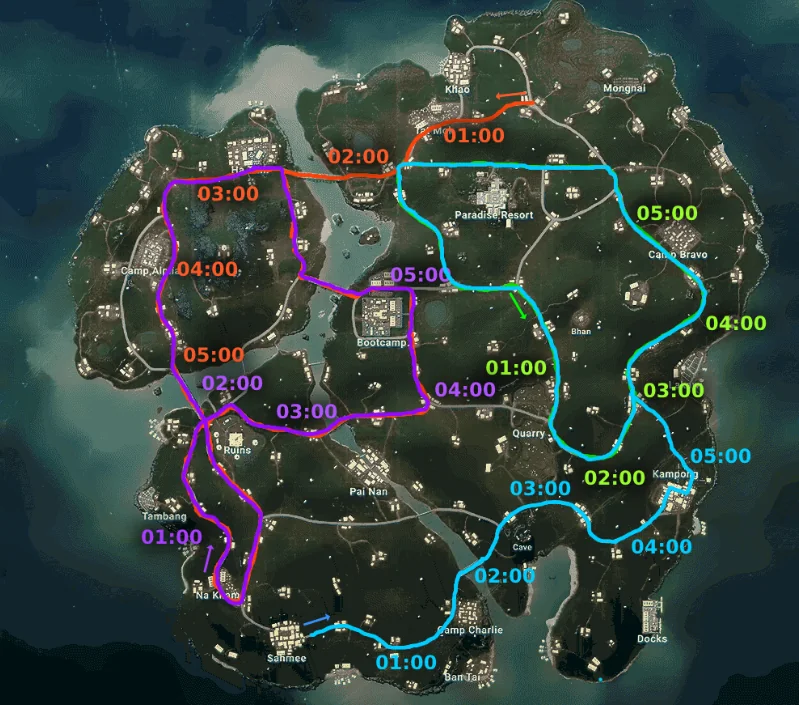
Do not chase a loot truck while your squad is split or under-geared. Use the route timing to choose a nearby compound, loot quickly, then intercept from cover. Bootcamp, Paradise Resort, Ruins and the river crossings can become dangerous because truck routes overlap with common rotations. If the truck path pulls away from your circle route, let it go. A late truck chase often gives other squads your position for free.
Taego Map Strategy: Garages, Secret Rooms and Road Control
Taego is a large map where road control matters. Vehicle and glider spawns, garages, gas stations and key-required secret rooms should shape your first route. For landing, that makes garages and roads part of the loot plan, not just background scenery.
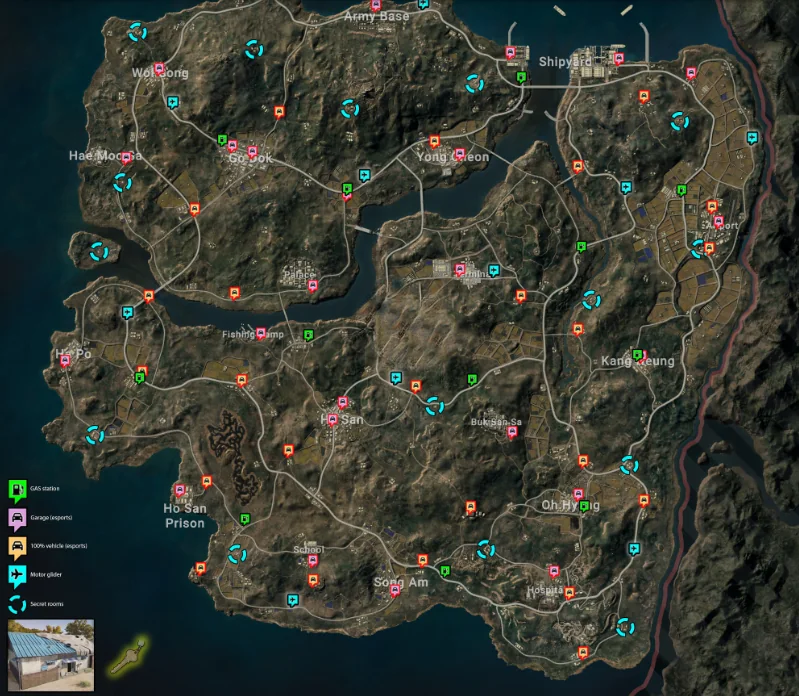
If you land near a secret-room route, decide early whether the key play is realistic. A key room is attractive when your squad already has weapons, a vehicle and circle time. It is risky when the team is split or the marker sits outside the next move. On Taego, the better habit is to loot a playable town, secure transport, then use utility points only when they support the next rotation.
Rondo Map Strategy: Vehicle Network and Secret Room Routes
Rondo has a wide spread of vehicle, glider, garage, gas station and secret-room markers. Use the image as a route map. The dense marker network means squads can reposition quickly, so a quiet landing can turn into a mid-game fight once teams start crossing roads and rivers.
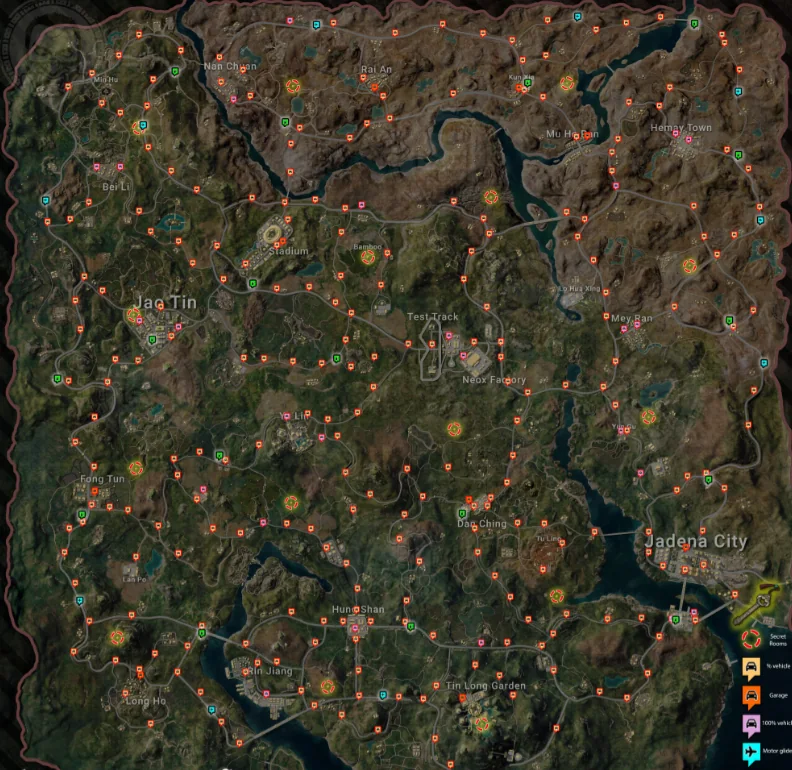
Pick landing spots that connect to two exits: one toward center and one away from pressure. If your route crosses a major river or city edge, scout first instead of driving straight through. Secret rooms are worth planning around only when they sit near your path; otherwise, use vehicle and gas information to stay ahead of late rotations.
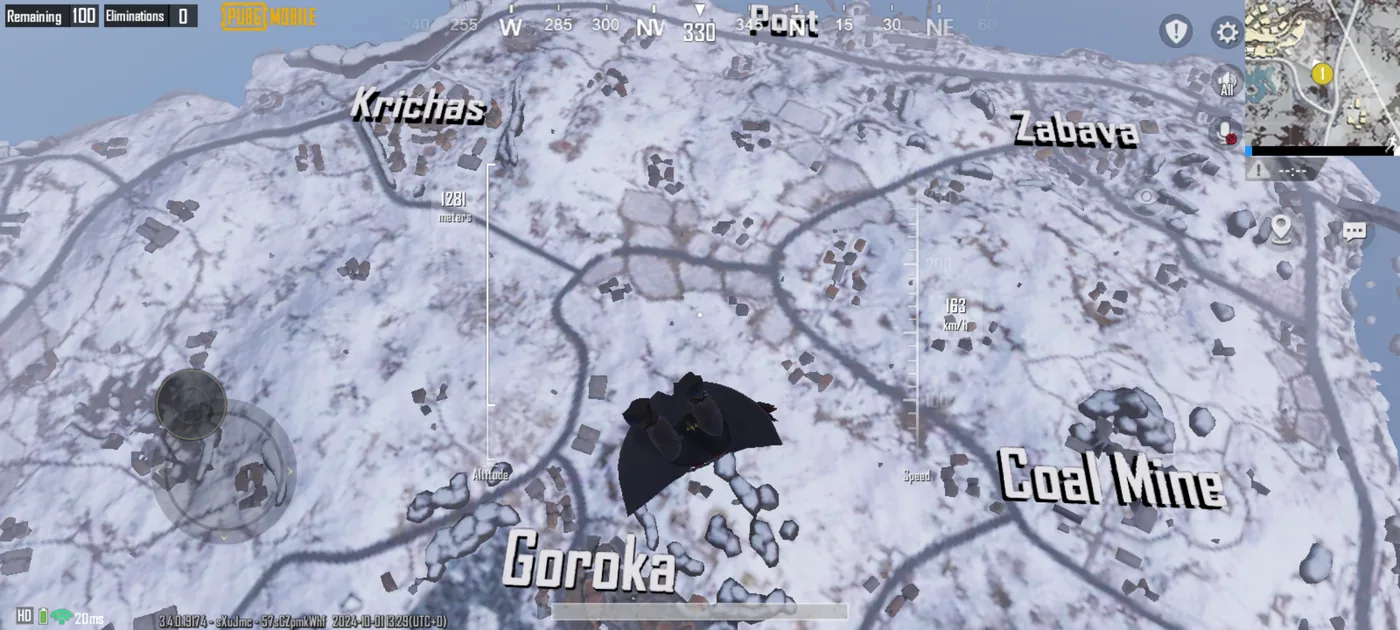
Vikendi Map Strategy: Security Keys, Locked Buildings and Bear Caves
Vikendi has the richest utility layer in this set. The annotation covers 100% vehicle and glider spawns, gas stations, garages, secret rooms requiring a keycard, locked buildings requiring a crowbar, Lab Camps and Bear Cave locations. That makes Vikendi a map where special access items can change your route.

If your squad finds a keycard or crowbar, do not automatically abandon the circle plan. Ask whether the locked building, lab camp or bear cave is close enough, whether another squad can arrive first, and whether you still have transport afterward. Snow terrain and long sightlines make late rotations expensive, so the best Vikendi route often combines one utility stop with an early vehicle move.
Deston Map Strategy: Gas Stations, Gliders and Version Notes
Deston is best approached through transport and refuel planning: vehicle routes, motor glider options and gas stations decide whether a squad can leave large points safely. Be careful with old Pillar trailer or room notes from older versions, because some access details changed after drone-related mechanics were removed. For ranked planning, treat Deston as a rotation and refuel map first.
Deston routes should start with transport. If your squad lands near Ripton, Construction Site, Arena or another large point, the exit route matters as much as the loot. Gas stations can support longer rotations, and glider markers can create fast repositioning, but both are high-information points: other squads may check them too.
Paramo Map Strategy: Secret Location Spots
Paramo rewards squads that treat secret locations as optional bonuses rather than the whole match plan. Special-key spots can upgrade a route, but the map is small enough that a slow detour can quickly become a fight you did not choose.

If you land near a marked secret spot, loot first, listen for nearby squads, then decide whether the key route is worth the time. Secret spots are strongest when they sit between your landing area and the next circle. If they pull you away from the zone or into an obvious ambush, skip them and take position.
Karakin Map Strategy: Bunkers and Explosive Entry
Karakin bunker routes work differently from ordinary loot stops. Secret bunkers require blasting an entrance, so a bunker is an objective point, not a free reward. You need the right tool, timing and cover before the marker becomes useful.
A bunker plan works when your squad lands close, finds explosives quickly and controls the surrounding ridge or buildings. It fails when one player tunnels on the bunker while the rest of the squad is still fighting for basic gear. On Karakin, rotate fast after the bunker decision. The small desert layout leaves little room for slow looting.
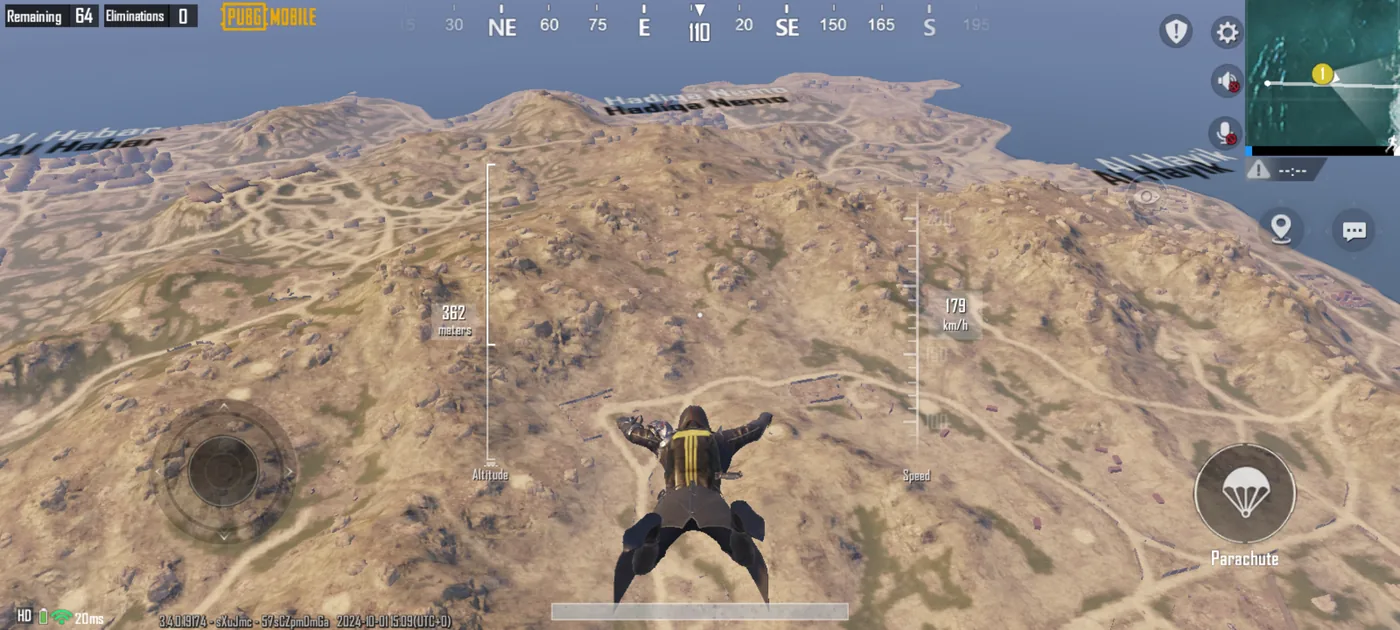
Livik and Nusa Jump Examples: Fast Maps Need Faster Decisions
Livik and Nusa are useful as fast-map examples even when the main utility discussion focuses on larger route maps. On compact maps, the landing decision matters more quickly because another squad can arrive before your team finishes looting. Treat these screenshots as jump and pace examples, not secret-room maps.
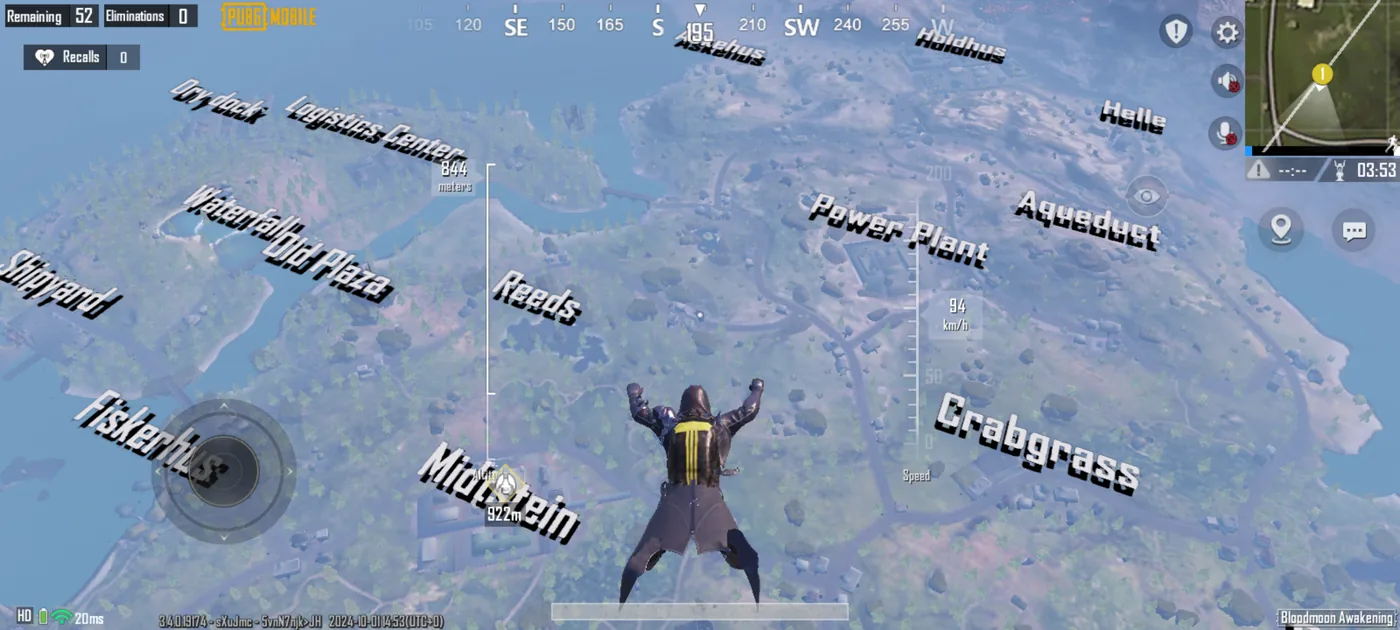
On Livik, Midstein, Power Plant and Iceborg style drops can become fights immediately. Rotate after you have a usable kit instead of chasing perfect attachments. On Nusa, the match pace is even faster, so a safe drop still needs a quick regroup and a clear next move.
Rotation, Vehicles and Zone Control
The common thread across these maps is simple: a marked resource is only valuable if it helps the next phase. Guaranteed vehicles help long rotations. Gas stations support longer routes and recovery. Gliders can bypass difficult terrain. Secret rooms and bunkers can upgrade loot but cost time. Loot trucks can be valuable, but they also broadcast a route that other squads can contest.
| Phase | Priority | Common map mistake |
|---|---|---|
| Drop to first fight | Secure a weapon, armor, healing and a shared squad position | Landing on separate buildings or chasing a marker before the squad can fight. |
| First circle | Choose vehicle, road, bridge, glider or secret-room route | Looting until the circle forces a late open-field run. |
| Mid game | Take a compound, ridge, gas station route or third-party angle | Driving straight through marked hot zones without scouting. |
| Late game | Use terrain, smoke, vehicles as cover and throwables | Leaving a strong position for a low-value kill or late loot stop. |
Loadout and Resource Timing
Your landing plan should match your weapons. On Erangel and Sanhok, a stable AR plus SMG or shotgun can carry early compounds. On Miramar, Taego and Rondo, an AR plus DMR or sniper is usually easier to convert into mid-game pressure. If you are still deciding which guns to prioritize, use the PUBG MOBILE Weapon Tier List 2026 with this map guide. If aim control is the bigger problem, pair it with the PUBG MOBILE Sensitivity and Recoil Guide.
Loot timing also matters. A perfect gun found too late is not better than a good gun that lets you rotate now. Leave when your squad has armor, healing, one close-range answer, one mid-range answer and enough throwables to cross danger. Greedy looting is one of the easiest ways to lose a playable circle.
Related ManaBuy PUBG MOBILE Guides
Use these guides together when building a complete PUBG MOBILE ranked plan:
- PUBG MOBILE Chicken Dinner Beginner Guide - improve survival, cover use and final-circle choices.
- PUBG MOBILE Weapon Tier List 2026 - match your landing plan with reliable ranked weapons.
- PUBG MOBILE Sensitivity and Recoil Guide - tune camera, ADS and gyro for the fights each map creates.
- PUBG MOBILE UC Package Guide - plan UC for passes and cosmetics without mixing spending with gameplay decisions.
PUBG MOBILE Maps and Landing Spots FAQ
Final Takeaway
PUBG MOBILE map skill starts before you touch the ground. Read the plane path, choose a landing style, then decide whether your squad needs a guaranteed vehicle, gas station, glider, loot truck route, key room, bunker or simple road exit. The best teams do not chase every objective. They take the route that solves the next circle, then move before a good drop turns into a bad fight.


Copyright © FUTURE OUTLOOK TECHNOLOGY LIMITED. All rights reserved.UNIT 135,1/F.,143 WAI YIP STREET,KWUN TONG HK