
Genshin Impact Arlecchino Build Guide: Best Artifacts, Weapons, Teams, And Pull Value

Arlecchino is strongest when the player respects Bond of Life instead of treating her like a normal Pyro carry. Her best teams give her a clean setup, a protected attack window, and enough reaction or buff value without forcing awkward healing assumptions.
Quick answer: Arlecchino is a high-damage Pyro carry whose best builds focus on Bond of Life uptime, Normal Attack damage, Pyro damage, CRIT, and teams that do not force awkward healing. Build her with 4-piece Fragment of Harmonic Whimsy, ATK/Pyro/CRIT stats, and a team that supports Vaporize, Overload, or strong mono-Pyro pressure.


Arlecchino Character Profile
For element, weapon type, rarity, region, ascension stat, materials, talent icons, and constellation names, this guide references the HoYoLAB Wiki character entry for Arlecchino.
 ElementPyro
 WeaponPolearm
Arlecchino Motion Reference
Arlecchino's motion clips give visual context for field presence, readability, and the kind of combat window the build is trying to support.
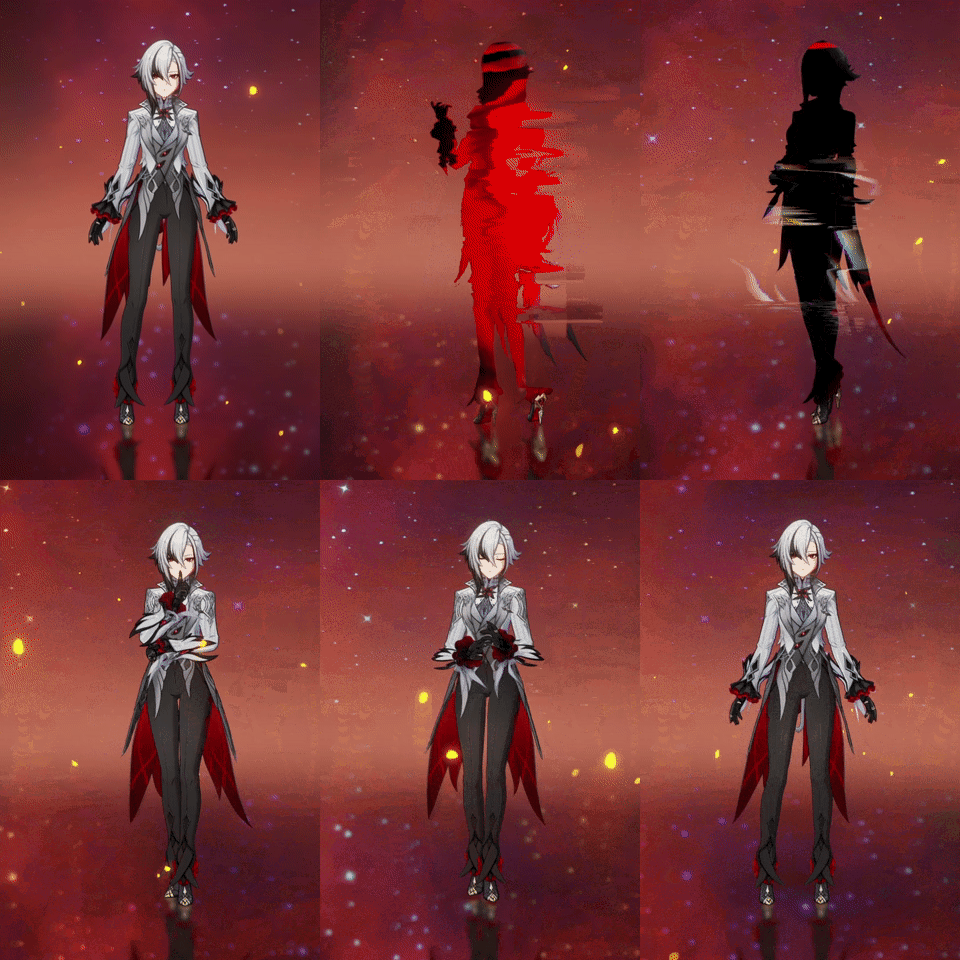
Animation reference for stance, timing, and character readability.
Idle Animation 1The stance reference helps explain why her gameplay feels sharp and forward-leaning rather than defensive.
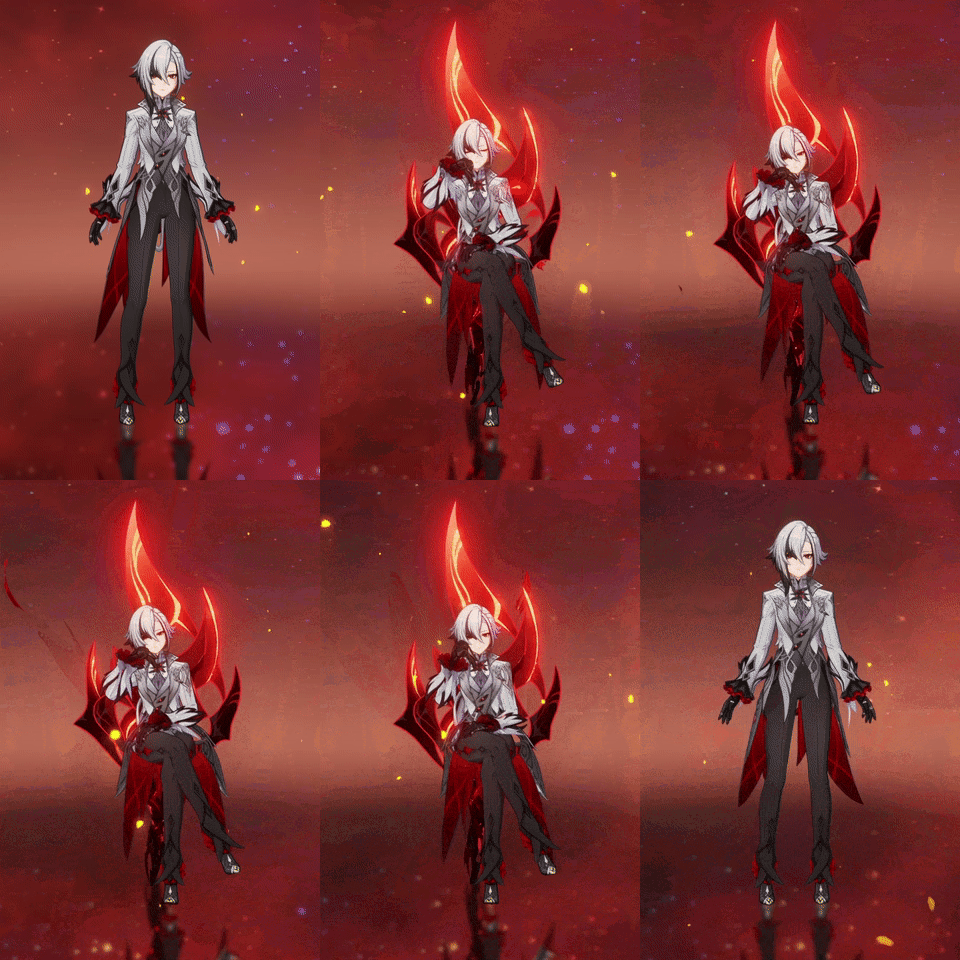
Animation reference for stance, timing, and character readability.
Idle Animation 2The second motion clip is useful for reading how quickly she wants to return to attacking after setup.
Arlecchino Best Build Snapshot
Start here before farming artifacts. For Arlecchino, the build snapshot should answer one question: can she enter the field, convert Bond of Life into Pyro Normal Attack pressure, and finish the window without losing control?
| Best role | On-field Pyro DPS |
| Artifact set | 4pc Fragment of Harmonic Whimsy; Gladiator as a strong fallback |
| Main stats | ATK Sands / Pyro DMG Goblet / CRIT Circlet |
| Substats | CRIT Rate/DMG, ATK%, EM for Vaporize, modest ER if Burst comfort matters |
| Talent priority | Normal Attack first, then Skill and Burst based on team use |
| Recommended baseline | Main DPS / 4pc Fragment of Harmonic Whimsy / Crimson Moon's Semblance |
Arlecchino Bond Of Life Checklist
Her empowered Pyro hits are the reason to build her, so Normal Attack talent levels are the first serious investment.
Shields and clean rotations matter because ordinary healing logic does not solve every mistake in her Bond of Life loop.
Vaporize needs stable Hydro; Overload needs enemy control; mono Pyro needs strong buff uptime. Pick the team that your account can execute.
How Arlecchino's Kit Works
Arlecchino converts Bond of Life into Pyro-infused Normal Attack pressure. Her damage is tied to staying on-field during the empowered state, so Normal Attack talent levels and clean combo timing matter.
Her Skill applies Blood-Debt Directive and sets up the Bond of Life economy. The player-facing decision is when to collect, when to attack, and when to use Burst for survival or reset value.
Because her healing rules differ from ordinary carries, team building should not assume any healer automatically fixes mistakes. Shields, interruption resistance, and controlled rotations often feel more valuable than panic healing.
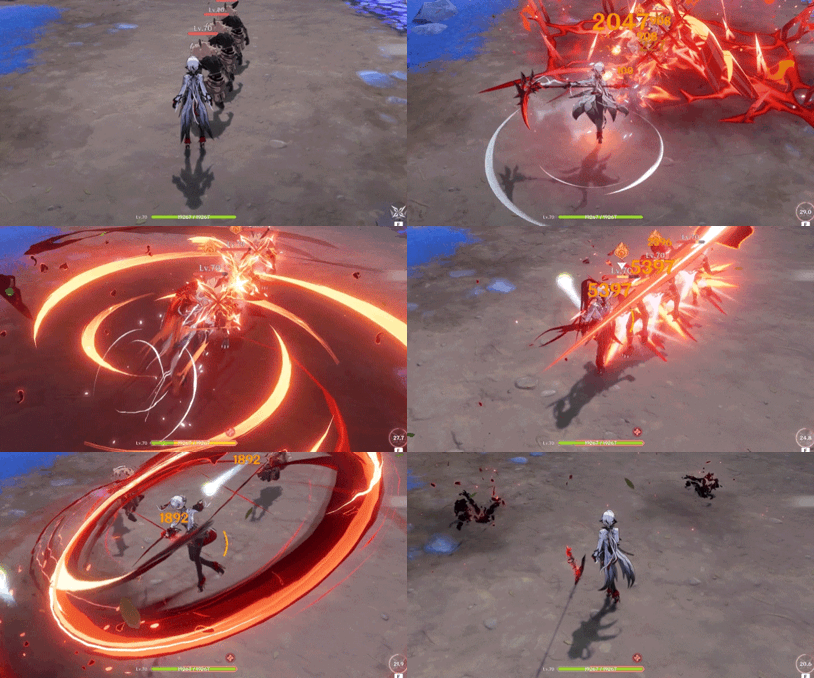
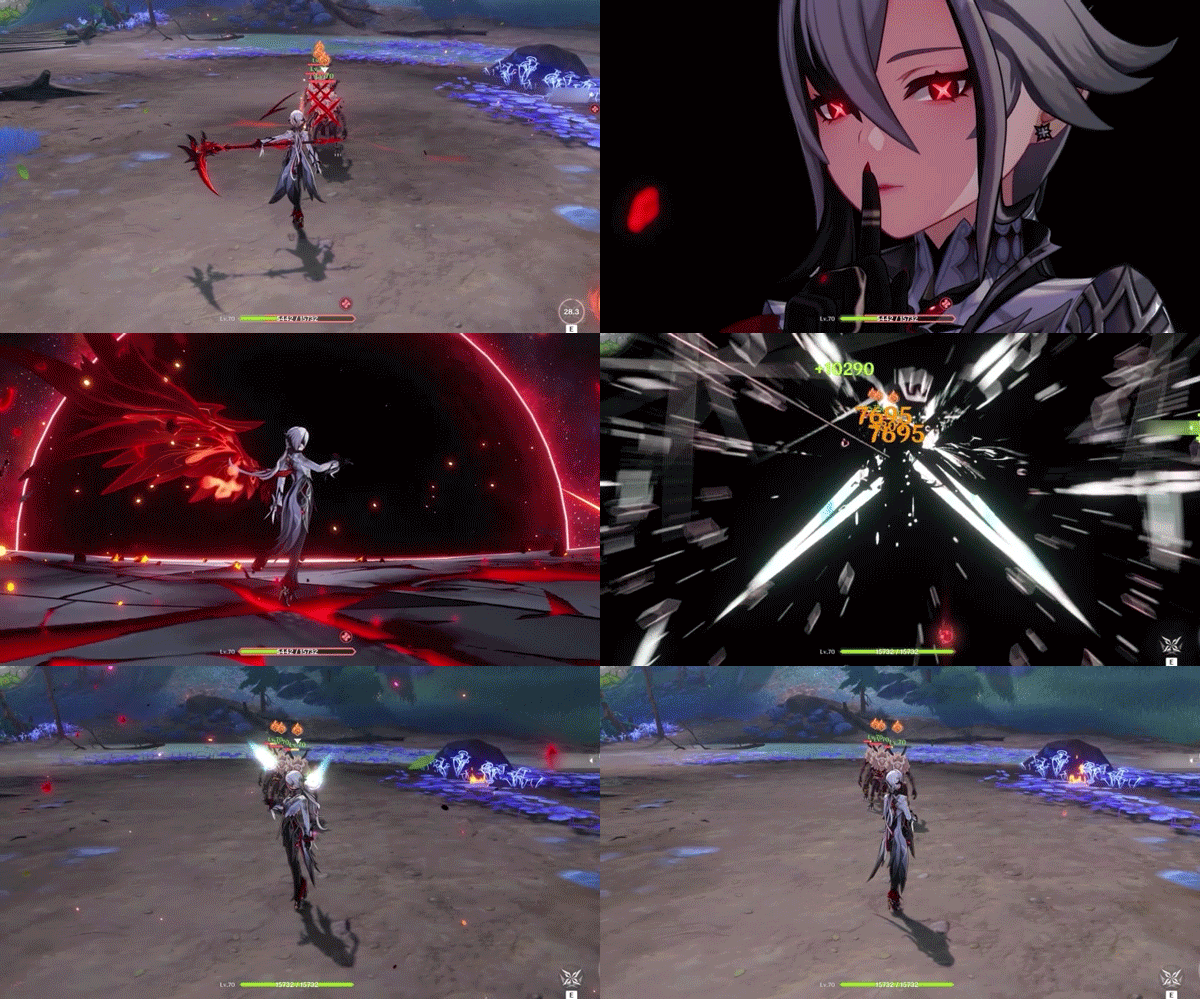
Arlecchino Talent Icons And Animation Notes
For Arlecchino, the talent visuals should be read beside the role checklist above because the important animation detail changes how you plan rotation, field time, or talent priority.
 |  Animation reference for the talent timing, range, and field-time requirement. | Invitation to a Beheading Invitation to a Beheading represents the attack track. For Arlecchino, compare this animation with the talent-priority line: Normal Attack first, then Skill and Burst based on team use. If Arlecchino's repeated damage loop uses attacks, this is the talent that most directly changes output. |
 |  Animation reference for the talent timing, range, and field-time requirement. | All Is Ash All Is Ash is the setup or rotation button. For Arlecchino, watch this animation for cooldown timing, target position, and whether the character needs to stay on-field after pressing Skill. |
 |  Animation reference for the talent timing, range, and field-time requirement. | Balemoon Rising Balemoon Rising is the third combat reference for Arlecchino. Compare this animation with Arlecchino's talent-priority line before investing books, because this slot can represent a Burst, special movement, infusion setup, or another character-specific mechanic. |
Best Artifacts For Arlecchino
Arlecchino wants artifacts that reward her Bond of Life window or strengthen Normal Attacks directly. A weaker dedicated set can lose to excellent Gladiator pieces, so judge real substats before refarming everything.
| 4pc Fragment of Harmonic Whimsy | Best dedicated set because it rewards Bond of Life changes and directly supports her core mechanic. |
| 4pc Gladiator's Finale | Excellent fallback if you already have strong ATK/CRIT pieces; especially stable for Normal Attack damage. |
| 4pc Crimson Witch of Flames | Can work in reaction-focused Vaporize teams, but usually requires strong pieces to beat her dedicated set. |
Arlecchino Artifact Visual Reference
These artifact icons match the sets discussed above and explain why each set is used.
 | Fragment of Harmonic Whimsy | Fragment of Harmonic Whimsy is Arlecchino's dedicated artifact set because its bonus tracks Bond of Life changes during her damage window. |
 | Gladiator's Finale | Gladiator's Finale is Arlecchino's efficient general set: it boosts polearm Normal Attacks and is often easier to assemble from long-term farming. |
 | Crimson Witch of Flames | Crimson Witch of Flames strengthens Pyro reaction damage, making it most valuable for Vaporize, Melt, or teams that still use Burst comfortably. |
Arlecchino Main Stats And Substats
Default main stats: ATK Sands / Pyro DMG Goblet / CRIT Circlet. Substats: CRIT Rate/DMG, ATK%, EM for Vaporize, modest ER if Burst comfort matters. ATK, CRIT, and Pyro damage are the default. Add EM only when the team reliably Vaporizes the important hits; otherwise it becomes a pretty stat that does not show up often enough.
Best Weapons For Arlecchino
Her signature fits the mechanic perfectly, but she is not signature-locked. Strong CRIT polearms and even accessible Normal Attack options can carry an account while the support core catches up.
| Crimson Moon's Semblance | Signature polearm and best fit for her Bond of Life gameplay. |
| Primordial Jade Winged-Spear | Strong CRIT Rate option that rewards on-field stacking. |
| Staff of Homa | Premium CRIT DMG stat stick with strong damage value. |
| Deathmatch | Reliable Battle Pass CRIT Rate option for accounts without 5-star polearms. |
| White Tassel | Accessible F2P option for Normal Attack-focused early builds. |
Arlecchino Weapon Visual Reference
These weapon icons help identify the recommended weapons while the notes explain when each one is actually useful.
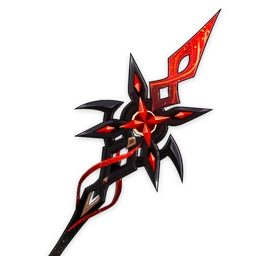 | Crimson Moon’s Semblance | Crimson Moon's Semblance supports Arlecchino's Bond of Life gameplay and is the cleanest premium weapon when you want her best personal damage. |
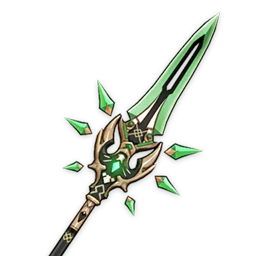 | Primordial Jade Winged-Spear | Strong CRIT Rate option that rewards on-field stacking. |
 | Staff of Homa | Premium CRIT DMG stat stick with strong damage value. |
 | Deathmatch | Reliable Battle Pass CRIT Rate option for accounts without 5-star polearms. |
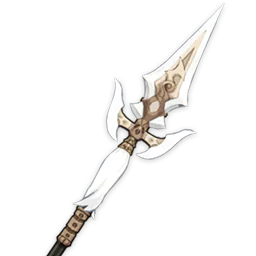 | White Tassel | Accessible F2P option for Normal Attack-focused early builds. |
Arlecchino Talent Priority
Normal Attack first, then Skill and Burst based on team use. For Arlecchino, talent books and weekly materials should go into the action that actually defines the rotation before you spend resources on secondary damage.
Arlecchino Ascension Material Checklist
Use these material icons as a farming checklist before spending resin or converting drops.
 | Mora | 420000 |
 | Agnidus Agate Sliver | 1 |
 | Rainbow Rose | 168 |
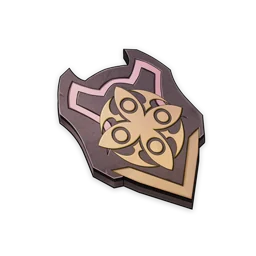 | Recruit's Insignia | 18 |
 | Agnidus Agate Fragment | 9 |
 | Fragment of a Golden Melody | 46 |
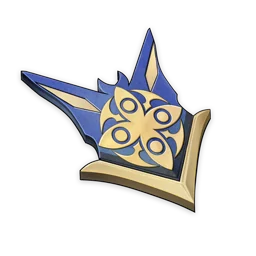 | Sergeant's Insignia | 30 |
 | Agnidus Agate Chunk | 9 |
 | Lieutenant's Insignia | 36 |
 | Agnidus Agate Gemstone | 6 |
Arlecchino Talent Material Checklist
Use these talent material icons to plan books, enemy drops, weekly boss drops, Mora, and Crown usage.
 | Mora | 1652500 |
 | Teachings of Order | 3 |
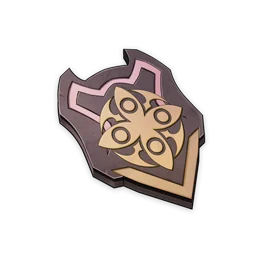 | Recruit's Insignia | 6 |
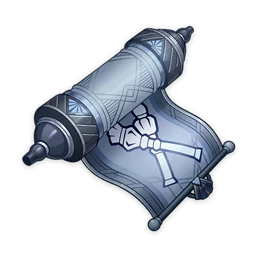 | Guide to Order | 21 |
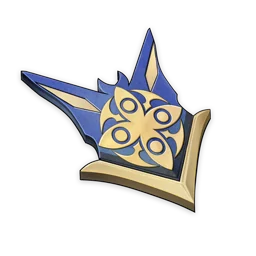 | Sergeant's Insignia | 22 |
 | Philosophies of Order | 38 |
 | Lieutenant's Insignia | 31 |
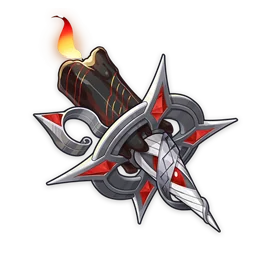 | Fading Candle | 6 |
 | Crown of Insight | 1 |
Arlecchino Rotation And Gameplay Loop
Arlecchino rotations should feel deliberate: mark enemies, set buffs, return to collect value, then spend the Pyro attack window. Rushing the setup is the usual reason her damage feels inconsistent.
- Set up shields, buffs, Hydro/Electro aura, or resistance shred first.
- Use Arlecchino Skill to apply her mark and prepare Bond of Life.
- Swap through supports if the mark timing allows, then return to Arlecchino to collect and attack.
- Use Normal Attack strings during the empowered window; use Burst when survival, reset, or rotation timing demands it.
Best Arlecchino Teams
Arlecchino does not need one universal team. Vaporize rewards Hydro discipline, Chevreuse teams reward Pyro/Electro commitment, and mono Pyro rewards strong buff layering.
| Vaporize carry | Arlecchino + Xingqiu/Yelan + Bennett/Kazuha + Zhongli/flex. Keep Hydro application consistent and avoid losing field time. |
| Mono Pyro | Arlecchino + Bennett + Xiangling + Kazuha/Xilonen. Strong when buffs and Pyro resonance matter more than reactions. |
| Overload Chevreuse | Arlecchino + Chevreuse + Fischl/Raiden/Yae + Bennett/Thoma. Use this when enemy movement and Overload knockback are manageable. |
| Shield comfort | Arlecchino + Zhongli/Layla + Hydro or Pyro support + Anemo/Xilonen. Best for players learning her HP and Bond rhythm. |

















Is Arlecchino Worth Building Or Pulling?
Arlecchino is a strong C0 carry, but she asks for more attention than self-healing DPS units. C1 and signature weapon are luxury upgrades, not entry requirements. Pull her if you want a Pyro on-field carry with a distinctive Bond of Life loop; delay if your account lacks Hydro, shield, Anemo, or Bennett-style support pieces.
Pull planning note: If Arlecchino becomes your pull target and you choose to top up before a rerun, confirm your UID, server, product, and order details before payment.








Arlecchino Constellation Value
Constellations should be judged after the C0 team works. For Arlecchino, the advice below focuses on account value rather than collection pressure.
 | C1: "All Reprisals and Arrears, Mine to Bear..." | C1 is a luxury upgrade; judge it by whether it improves Arlecchino's main role before spending Primogems. |
 | C2: "All Rewards and Retribution, Mine to Bestow..." | C2 is a luxury upgrade; judge it by whether it improves Arlecchino's main role before spending Primogems. |
 | C3: "You Shall Become a New Member of Our Family..." | C3 is a luxury upgrade; judge it by whether it improves Arlecchino's main role before spending Primogems. |
 | C4: "You Shall Love and Protect Each Other Henceforth..." | C4 is a luxury upgrade; judge it by whether it improves Arlecchino's main role before spending Primogems. |
 | C5: "For Alone, We Are as Good as Dead..." | C5 is a luxury upgrade; judge it by whether it improves Arlecchino's main role before spending Primogems. |
 | C6: "From This Day On, We Shall Delight in New Life Together." | C6 is a luxury upgrade; judge it by whether it improves Arlecchino's main role before spending Primogems. |
Common Arlecchino Build Mistakes
- Treating Arlecchino like a normal healer-supported carry and ignoring her Bond of Life rules.
- Leveling Skill or Burst before Normal Attack for the main DPS build.
- Running Vaporize teams without enough Hydro consistency.
- Skipping defensive comfort while learning the rotation.
- Using a version-specific Mono Pyro article as the complete build plan instead of checking artifacts, weapons, and talent priority.
Arlecchino Account Planning Tips
Invest in Arlecchino when you want a high-agency Pyro carry and already have the supports to protect her field time. If your roster lacks Hydro, shield, or buff pieces, build those before chasing her luxury upgrades.
Arlecchino Related ManaBuy Guides
Use these links when you want to compare Arlecchino with the broader roster or check older version-specific context without treating it as the evergreen main guide.
Arlecchino Build Guide FAQ
Is Arlecchino good without her signature weapon?
Yes. Her signature is excellent, but strong CRIT polearms and even White Tassel can work depending on investment level.
Does Arlecchino need Bennett?
No, but Bennett is a powerful teammate in many ATK-scaling Pyro teams. Some players prefer shield or reaction comfort instead.
What talent should Arlecchino level first?
Normal Attack first for the main carry build, because her empowered Pyro attacks are the core damage source.
Is Arlecchino hard to play?
She is not mechanically impossible, but Bond of Life and healing limits punish careless rotations more than many standard carries.
Should I pull C1?
C1 is valuable comfort and damage, but C0 is already complete. Prioritize teammates first if your Pyro team core is weak.
Arlecchino Build Conclusion
Final take: Arlecchino rewards clean setup more than brute force. Build around Bond of Life, Normal Attack talent, and a team you can execute repeatedly; the premium upgrades matter most after that base loop is already reliable.



Copyright © FUTURE OUTLOOK TECHNOLOGY LIMITED.Company Registration No.: 77374965 All rights reserved.UNIT 135,1/F.,143 WAI YIP STREET,KWUN TONG HK