
Genshin Impact Raiden Shogun Build Guide: Best Artifacts, Weapons, Teams, And Pull Value

Raiden Shogun is a 5-star Electro Polearm character in Genshin Impact whose best value comes from their role as on-field Burst DPS, universal battery, off-field Electro applier, and Hyperbloom trigger. Raiden Shogun has two major build paths: Emblem Burst DPS or full-EM Hyperbloom trigger. For DPS Raiden, build 4-piece Emblem with ER, Electro damage or ATK, and CRIT. For Hyperbloom Raiden, build level 90 with full EM and do not mix the two goals. This evergreen guide focuses on practical account decisions: how the kit works, which stats to prioritize, what teams actually use the character well, and when a weapon, constellation, or banner pull is worth your Primogems.
Quick answer: Raiden Shogun has two major build paths: Emblem Burst DPS or full-EM Hyperbloom trigger. For DPS Raiden, build 4-piece Emblem with ER, Electro damage or ATK, and CRIT. For Hyperbloom Raiden, build level 90 with full EM and do not mix the two goals.

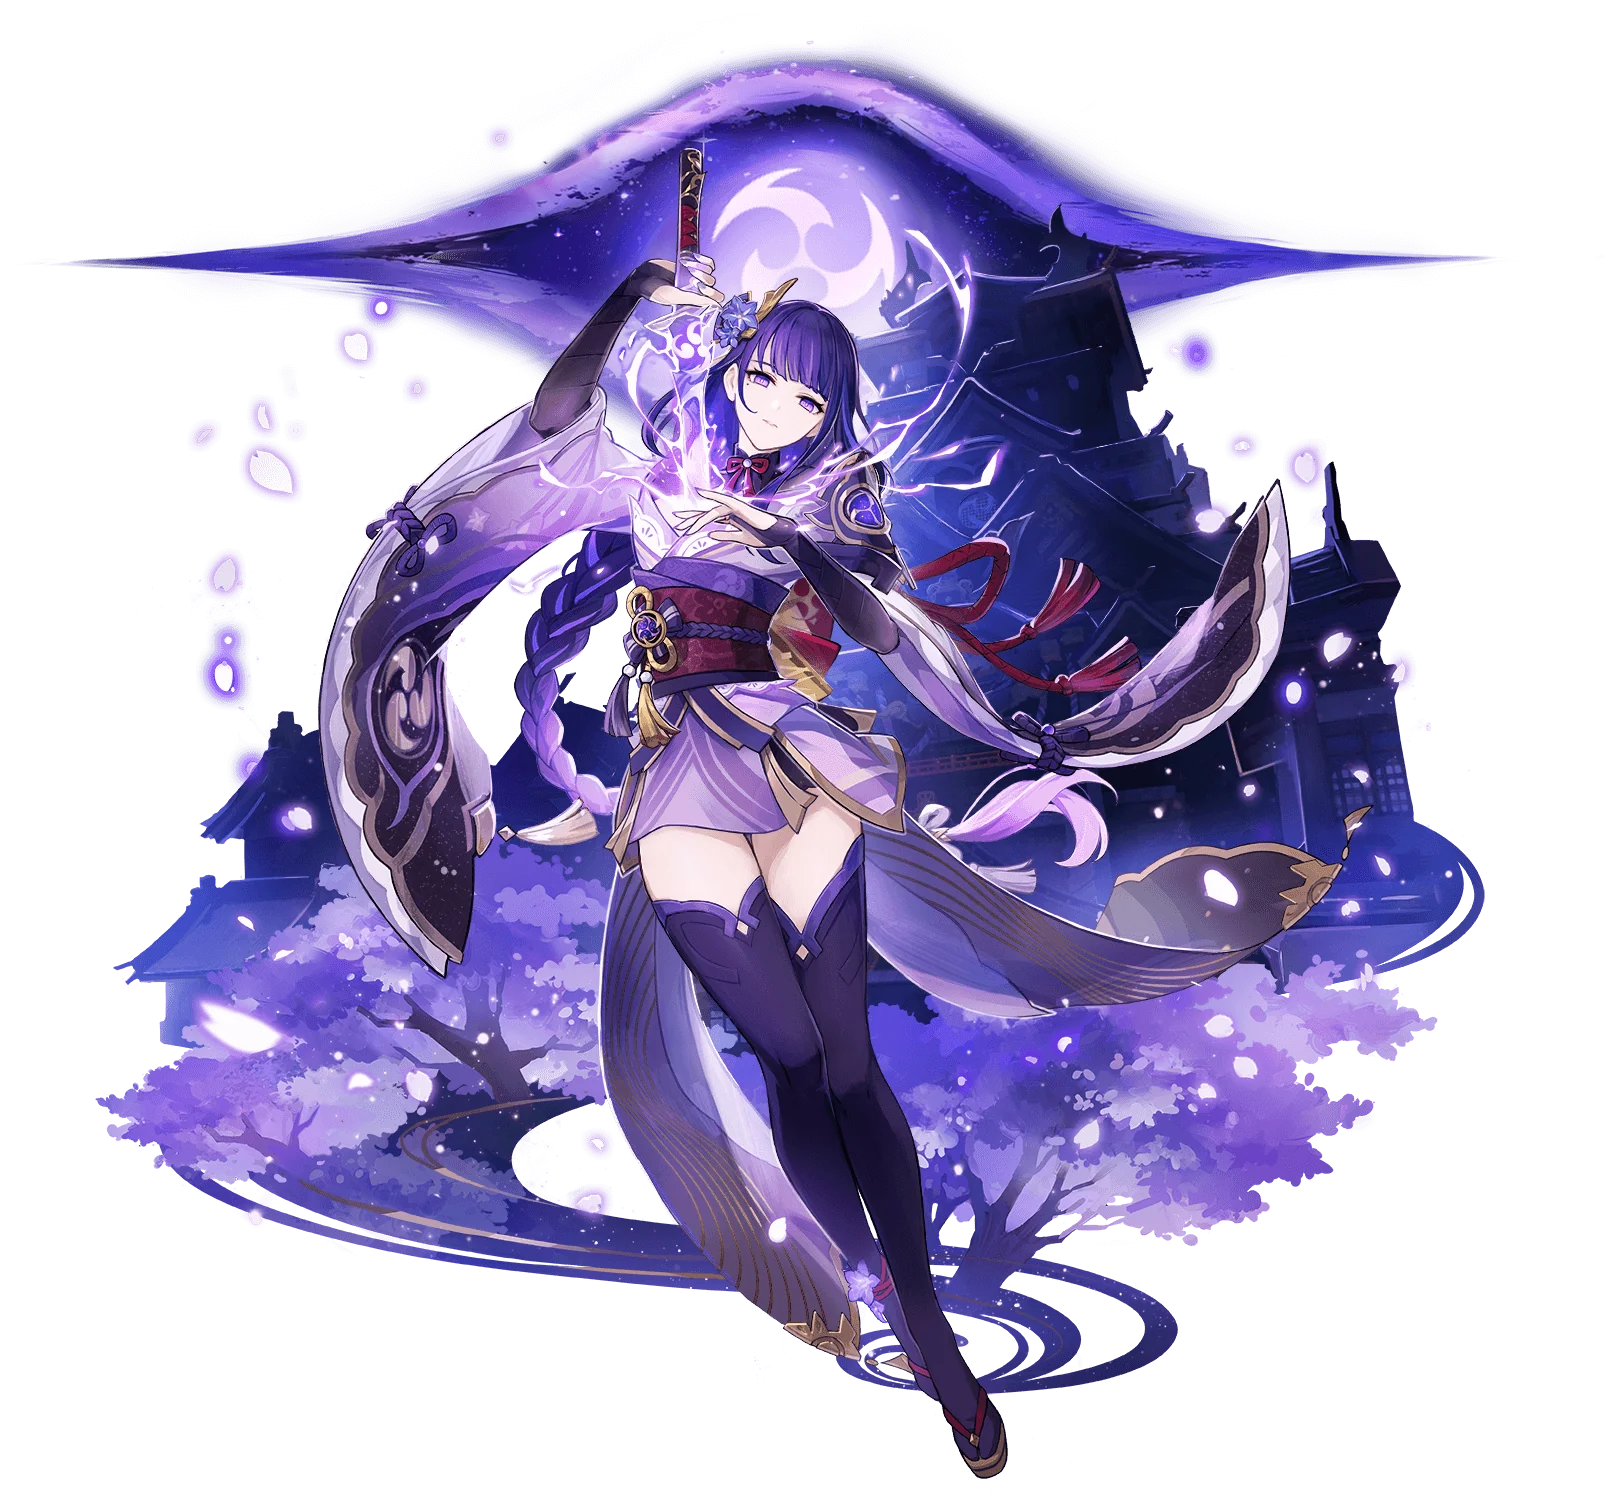
Raiden Shogun Character Profile
Use this profile block to quickly confirm the character's element, weapon type, region, rarity, and ascension direction before reading the build advice.
 ElementElectro
 WeaponPolearm
Raiden Shogun Gallery And Motion Reference
These Gallery animations help readers recognize the character's presentation and motion style without relying only on a small portrait.
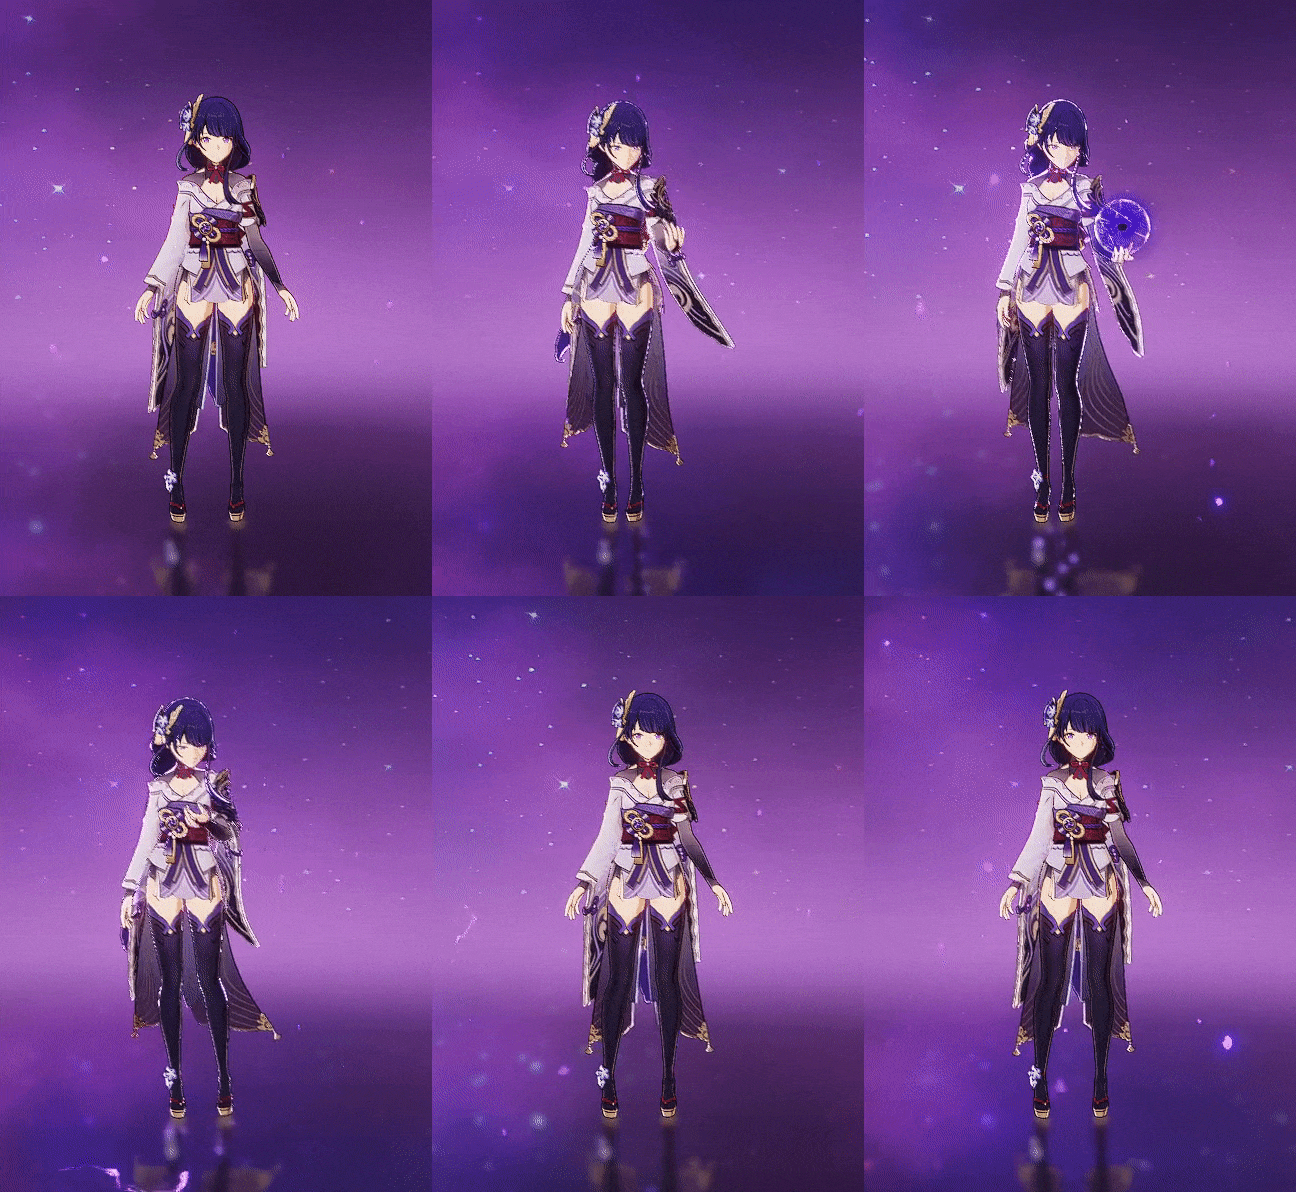 Idle Animation 1
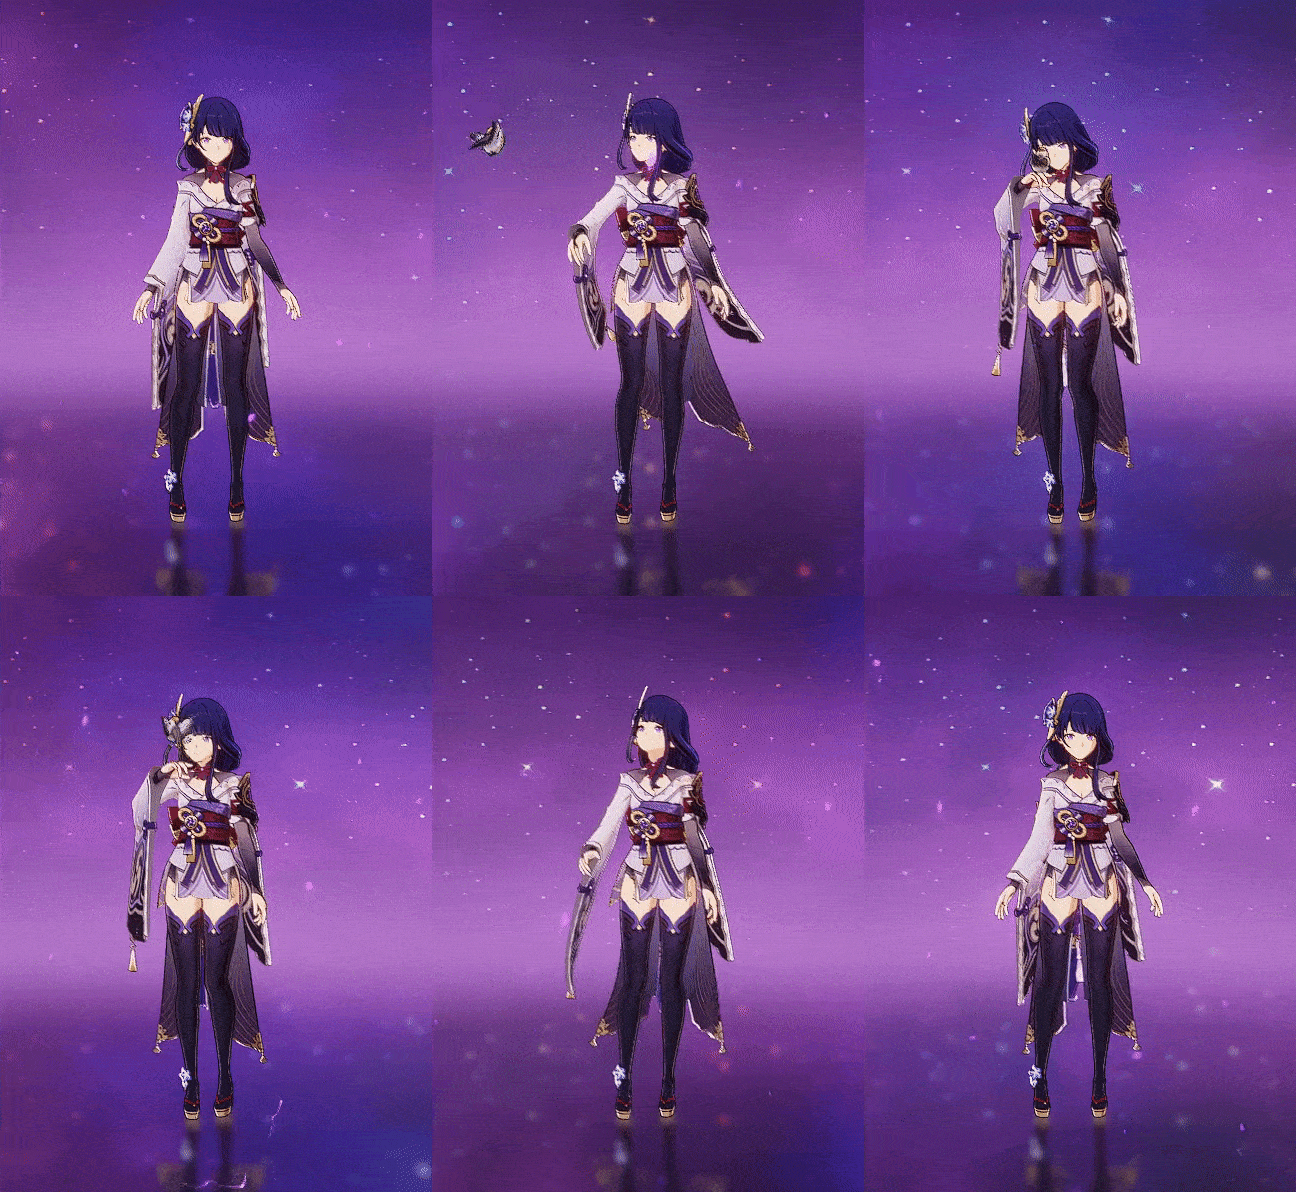 Idle Animation 2
Raiden Shogun Best Build Snapshot
Build focus: Start with this snapshot, then tune the final pieces around your actual Energy needs, available weapons, and teammates. A build that keeps the rotation stable usually beats a prettier stat screen that fails in repeated Abyss chambers.
| Best role | Burst DPS and battery, or dedicated Hyperbloom trigger |
| Artifact set | 4pc Emblem of Severed Fate for DPS; 4pc Gilded Dreams or Flower of Paradise Lost for Hyperbloom |
| Main stats | DPS: ER/ATK Sands, Electro/ATK Goblet, CRIT Circlet. Hyperbloom: EM/EM/EM |
| Substats | DPS: ER, CRIT, ATK. Hyperbloom: EM, then comfort stats |
| Talent priority | DPS: Burst first, Skill second. Hyperbloom: talents are low value compared with level and EM |
How Raiden Shogun's Kit Works
Raiden's Skill provides off-field Electro application and increases teammates' Burst damage based on their Burst cost. It is useful utility but not her main DPS talent.
Her Burst converts her field time into Electro damage and restores Energy to the team. Resolve stacks reward teammates using Bursts before Raiden takes the field.
In Hyperbloom, Raiden's Skill can trigger Dendro Cores from off-field. That build cares about character level and EM, not CRIT or Electro damage.
Raiden Shogun Talent Visual Reference
Use these talent icons to connect the build advice with the character's actual kit buttons. The upgrade priority still follows the role explained below.
 | Origin | Raiden's normal polearm attacks are not the main priority unless she is outside Burst stance for a niche setup. |
 | Transcendence: Baleful Omen | Baleful Omen places the Eye, adding coordinated Electro and increasing Burst damage for the team. |
 | Secret Art: Musou Shinsetsu | Musou Shinsetsu is Raiden's Burst stance, converting field time into team Energy refund and Electro damage. |
Raiden Shogun Talent GIF Reference
Talent animations are useful for build guides because they show whether an ability is a quick swap button, a field-time commitment, a summon, or a Burst window.
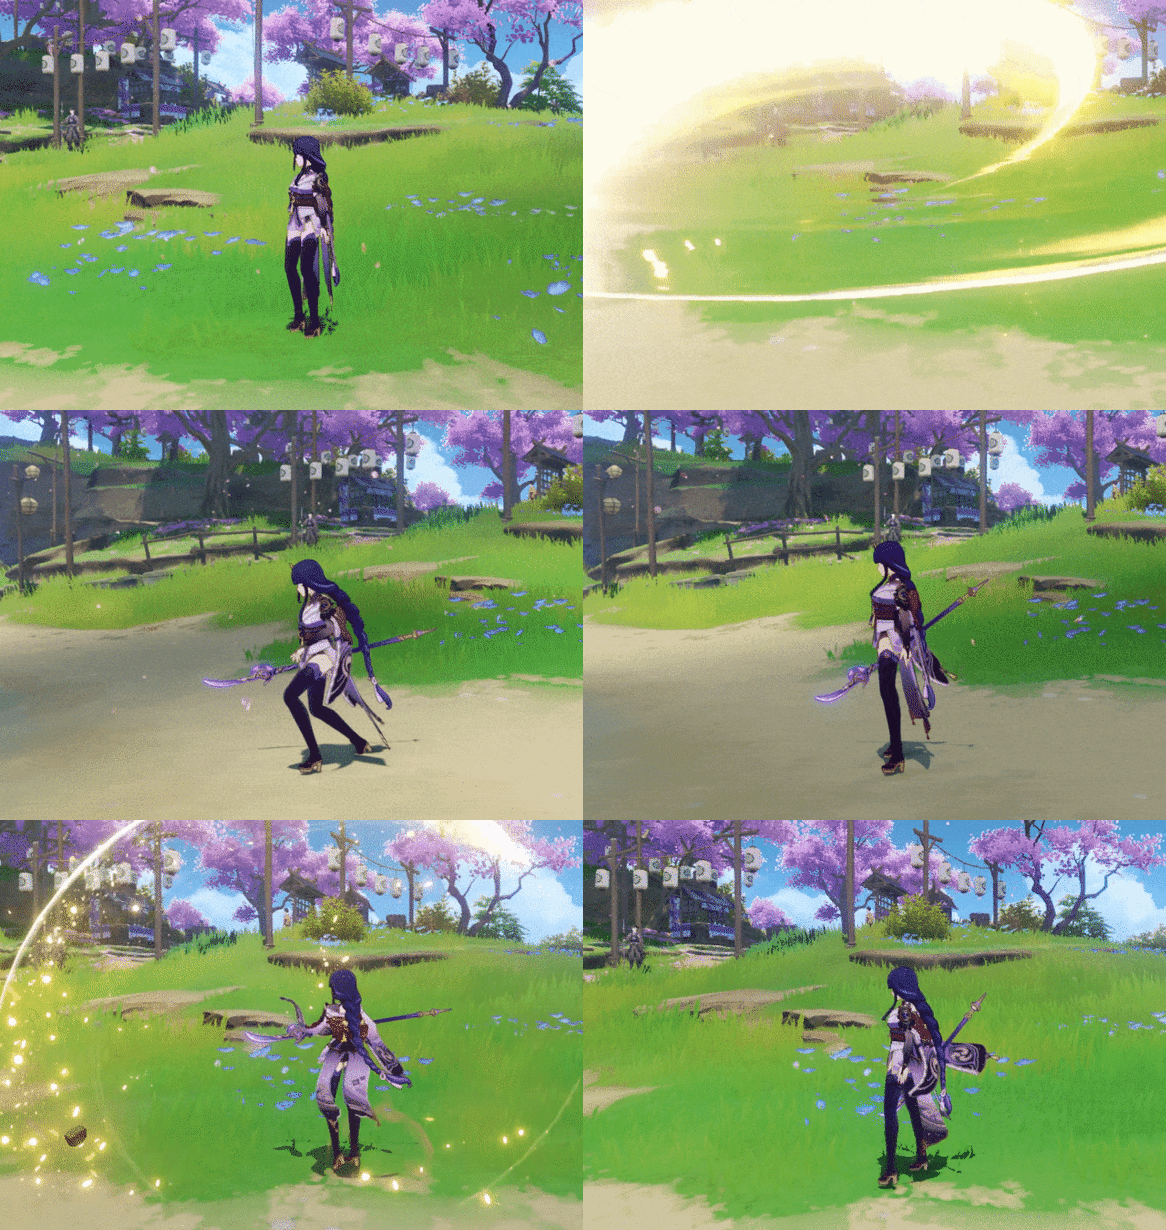 | Origin | The GIF shows standard polearm motion; her real field-time value comes after Burst transforms her attacks. |
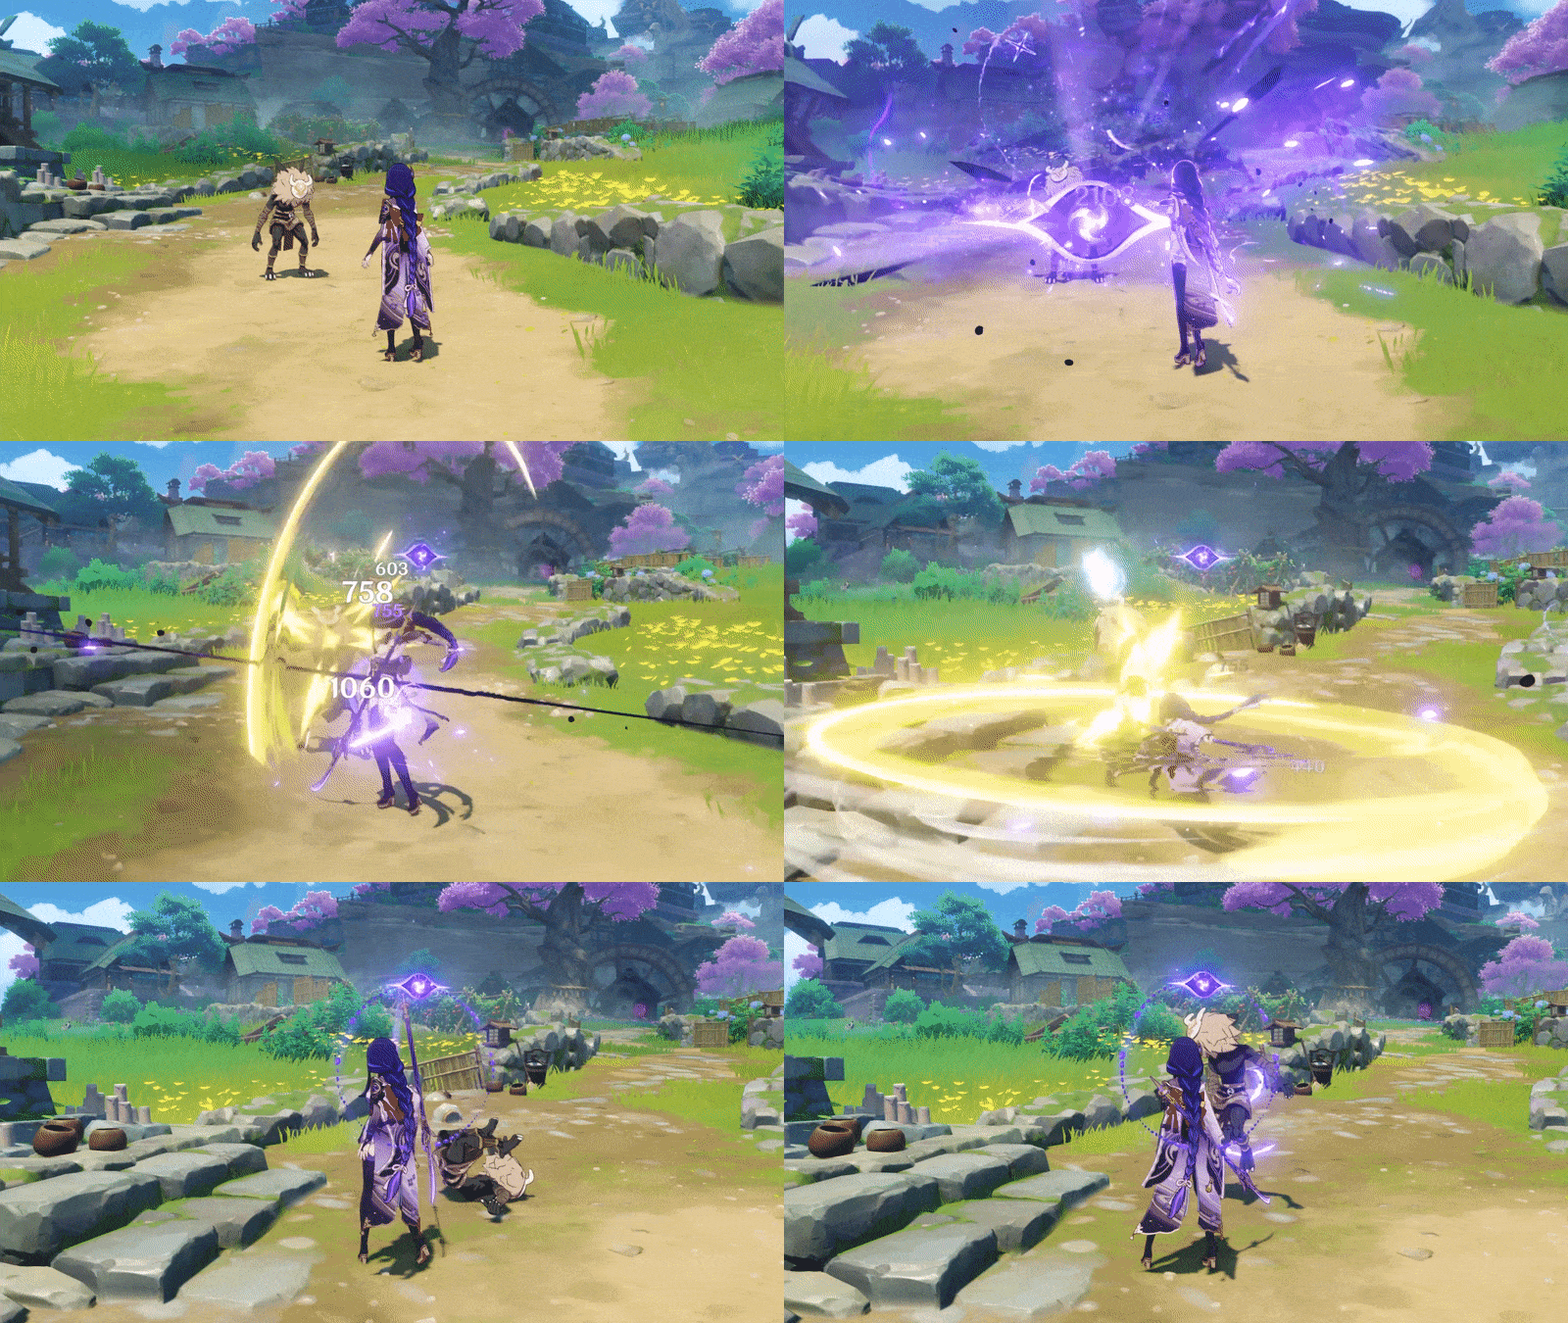 | Transcendence: Baleful Omen | The animation shows the Eye setup; keep it active before teammate Bursts so Raiden builds and spends Resolve properly. |
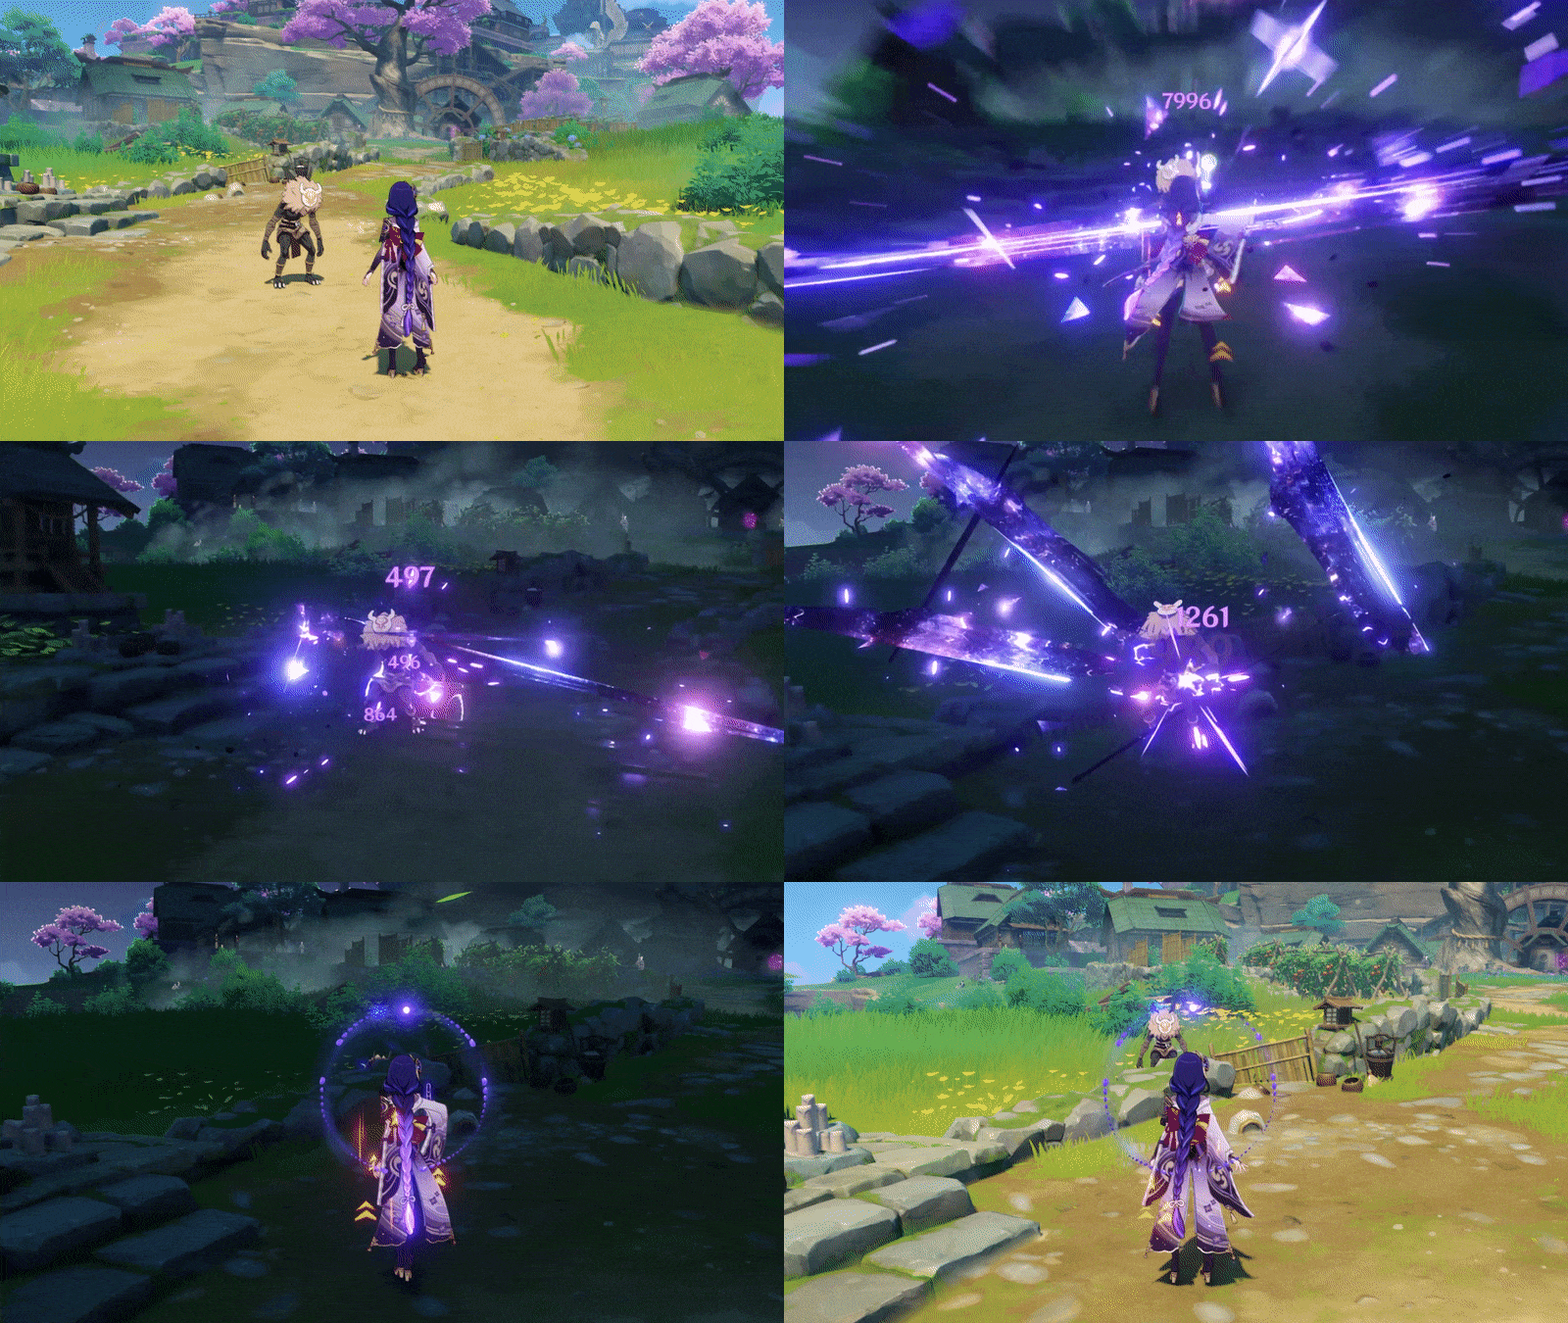 | Secret Art: Musou Shinsetsu | The GIF shows the sword-state window; plan supports before it so Raiden can attack uninterrupted during the Burst. |
Best Artifacts For Raiden Shogun
Artifact rule: Artifact choice should follow role first. The correct set is the one that improves the team's real damage window, defensive comfort, or reaction ownership without breaking Burst uptime.
| 4pc Emblem of Severed Fate | Default DPS set because Raiden converts ER into damage and needs Burst uptime. |
| 4pc Gilded Dreams | Strong Hyperbloom set for full-EM Raiden. |
| 4pc Flower of Paradise Lost | Higher Hyperbloom ceiling, but less resin-efficient for many accounts than Gilded. |
Raiden Shogun Artifact Visual Reference
These icons help readers recognize the artifact sets mentioned in the build table before they start farming domains or strongbox pieces.
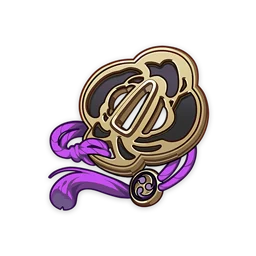 | Emblem of Severed Fate | Emblem converts Energy Recharge into Burst damage, making it ideal for Burst-reliant off-field units. |
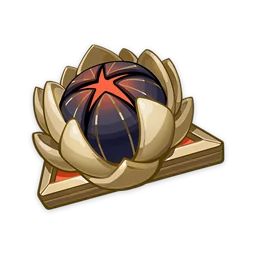 | Gilded Dreams | Gilded Dreams gives EM and ATK based on team elements, supporting reaction triggers and Spread damage. |
 | Flower of Paradise Lost | Flower of Paradise Lost boosts Bloom, Hyperbloom, and Burgeon trigger damage for full-EM builds. |
Raiden Shogun Main Stats And Substats
DPS: ER/ATK Sands, Electro/ATK Goblet, CRIT Circlet. Hyperbloom: EM/EM/EM is the default main-stat direction. For substats, prioritize DPS: ER, CRIT, ATK. Hyperbloom: EM, then comfort stats. If the character cannot repeat the intended rotation, add Energy Recharge or utility stats before chasing more CRIT value.
For reaction teams, check who actually triggers the reaction. Hyperbloom and Burgeon damage belongs to the trigger, Vaporize and Melt depend on aura order, and Swirl value depends heavily on character level and Elemental Mastery. This is the difference between copying a build and building the team correctly.
Best Weapons For Raiden Shogun
Weapon rule: Weapon ranking changes with Energy, team buffs, and artifact quality. Use the list below as a decision table rather than a strict rarity ladder.
| Engulfing Lightning | Signature DPS weapon that rewards ER stacking. |
| The Catch | Best F2P DPS option and strong enough for endgame. |
| Staff of Homa / Primordial Jade Winged-Spear | Good CRIT DPS options if ER is balanced. |
| Favonius Lance | Comfort support option when team Energy matters more than Raiden's damage. |
| Dragon's Bane / Moonpiercer / Kitain Cross Spear | EM options for Hyperbloom Raiden. |
Raiden Shogun Weapon Visual Reference
Use these weapon icons to identify recommended weapons quickly, then follow the notes above for when each weapon actually fits.
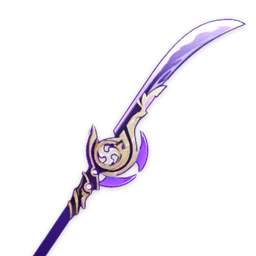 | Engulfing Lightning | Engulfing Lightning converts Energy Recharge into ATK, making it the premium polearm for Raiden and strong Burst builds. |
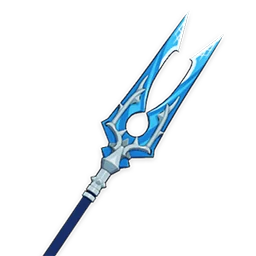 | "The Catch" | The Catch is the classic free Burst polearm, giving ER plus Burst CRIT and damage for Pyronado or Raiden teams. |
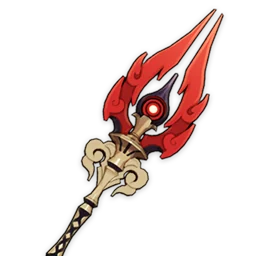 | Staff of Homa | Staff of Homa adds CRIT damage and HP-scaling offense, strong for personal damage polearm builds. |
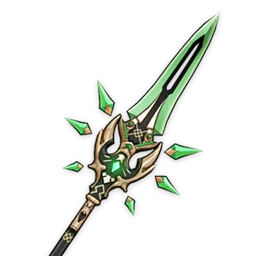 | Primordial Jade Winged-Spear | Primordial Jade Winged-Spear is a CRIT polearm for personal damage, stronger when field time can build stacks. |
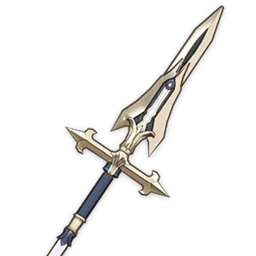 | Favonius Lance | Favonius Lance adds ER and team particles, helping expensive Burst rotations feel consistent. |
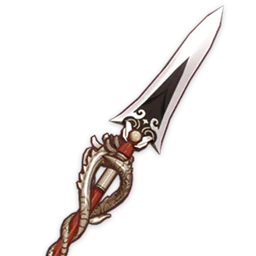 | Dragon's Bane | Dragon's Bane supplies EM and damage against Hydro or Pyro-affected enemies, useful for Vaporize or Hyperbloom trigger contexts. |
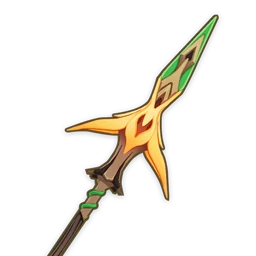 | Moonpiercer | Moonpiercer is a craftable EM polearm for Dendro reaction teams, trading damage consistency for utility. |
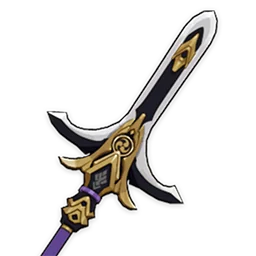 | Kitain Cross Spear | Kitain Cross Spear gives EM and Energy help after Skill use, fitting reaction-focused polearm builds. |
Raiden Shogun Talent Priority
DPS: Burst first, Skill second. Hyperbloom: talents are low value compared with level and EM. Talent books and weekly materials are expensive, so level the part of the kit that changes real team output first. If the character is only an off-field support, Normal Attack levels are usually the lowest priority unless a specific on-field build is planned.
Raiden Shogun Ascension Material Checklist
Use these ascension material types as a farming checklist before you spend resin, convert drops, or plan weekly boss runs.
 | Mora | 420000 |
 | Vajrada Amethyst Sliver | 1 |
 | Amakumo Fruit | 168 |
 | Old Handguard | 18 |
 | Vajrada Amethyst Fragment | 9 |
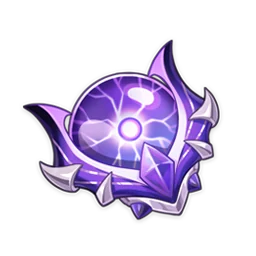 | Storm Beads | 46 |
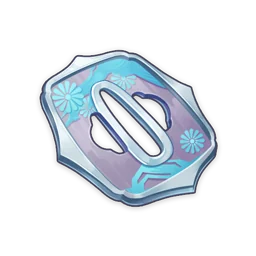 | Kageuchi Handguard | 30 |
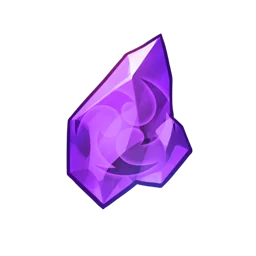 | Vajrada Amethyst Chunk | 9 |
 | Famed Handguard | 36 |
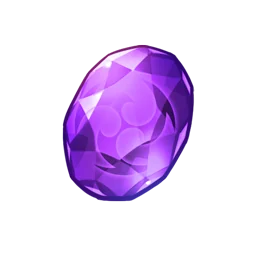 | Vajrada Amethyst Gemstone | 6 |
Raiden Shogun Talent Material Checklist
Use these talent material types to plan books, enemy drops, weekly boss drops, Mora, and Crown usage.
 | Mora | 1652500 |
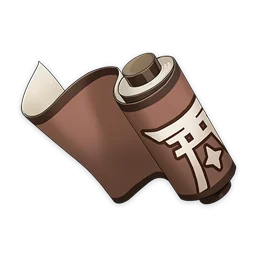 | Teachings of Light | 3 |
 | Old Handguard | 6 |
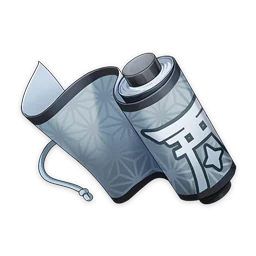 | Guide to Light | 21 |
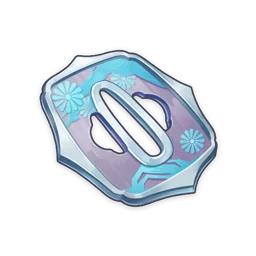 | Kageuchi Handguard | 22 |
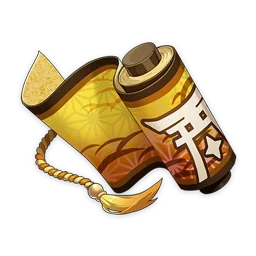 | Philosophies of Light | 38 |
 | Famed Handguard | 31 |
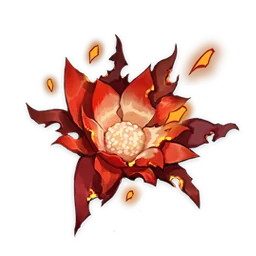 | Molten Moment | 6 |
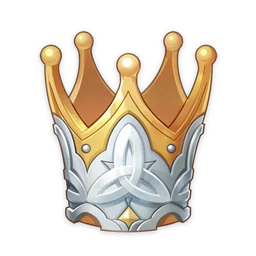 | Crown of Insight | 1 |
Raiden Shogun Rotation And Gameplay Loop
A good rotation makes the character's strongest window line up with buffs, reactions, and Energy generation. Use this as the baseline loop, then shorten or extend it based on enemy waves and cooldowns.
- Use Raiden Skill first so teammates gain Burst damage support.
- Cast teammate Bursts to build Resolve and set up buffs.
- Use Raiden Burst during the main damage window, then perform her combo until the Burst state ends.
- For Hyperbloom, keep Skill active and let Dendro/Hydro create seeds; Raiden does not need field time.
Best Raiden Shogun Teams
The best team is not just four strong characters. It needs the right aura order, enough Energy, a clear field-time plan, and enough survivability to repeat the rotation under pressure.
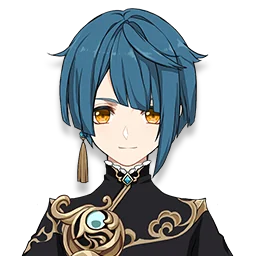
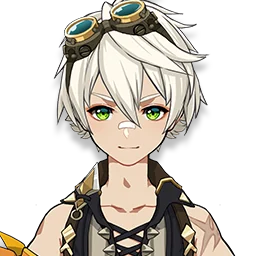
| Raiden National | Raiden + Xiangling + Bennett + Xingqiu/Yelan. Raiden batteries the team and drives after supports set up. |
| Raiden Hypercarry | Raiden + Bennett + Sara/Lisa + Kazuha. High investment and buff timing matter. |
| Hyperbloom | Nahida/Dendro + Hydro + full-EM Raiden + sustain/flex. Raiden triggers seeds from off-field. |
| Energy support | Eula or Burst-heavy teams + Raiden + buffers/sustain. Use when Energy restoration improves the whole rotation. |






Is Raiden Shogun Worth Building Or Pulling?
Raiden is a flexible 5-star but her value depends on whether you want a Burst DPS, team battery, or Hyperbloom trigger. C0 is strong. C2 is a famous DPS spike, but Hyperbloom and National-style teams do not require it. Do not chase constellations before choosing her role.
Top-up check: before spending Primogems or Genesis Crystals, confirm whether this character solves a real account problem, then verify UID, server, product, and order details before payment.




Raiden Shogun Constellation Visual Reference
This visual reference helps readers match constellation names with the pull-value discussion. The icons are useful for recognition, but the upgrade decision should still be based on team impact, budget, and whether the character already performs their core role at C0.
 | C1: Ominous Inscription | C1 is the first duplicate checkpoint; compare this icon with the guide's C0 comfort notes before spending pulls. The name to match in-game is Ominous Inscription. |
 | C2: Steelbreaker | C2 is often the first high-impact investment tier, so this row should be weighed against weapons and teammates. The name to match in-game is Steelbreaker. |
 | C3: Shinkage Bygones | C3 usually raises one key talent level; value depends on whether that talent is central to the build. The name to match in-game is Shinkage Bygones. |
 | C4: Pledge of Propriety | C4 is a mid-constellation utility or damage node, worth checking only after the lower breakpoints make sense. The name to match in-game is Pledge of Propriety. |
 | C5: Shogun's Descent | C5 usually improves another talent level, so its value follows how much the build actually uses that talent. The name to match in-game is Shogun's Descent. |
 | C6: Wishbearer | C6 is the luxury endpoint; read this row as a major playstyle or ceiling check, not a baseline requirement. The name to match in-game is Wishbearer. |
Common Raiden Shogun Build Mistakes
- Mixing EM Hyperbloom pieces with CRIT DPS expectations.
- Ignoring ER on DPS Raiden because CRIT looks more exciting.
- Using Burst before teammates spend their Bursts and build Resolve.
- Building talent levels for Hyperbloom Raiden instead of level 90 and EM.
- Assuming Raiden fits every team just because she restores Energy.
Raiden Shogun Account Planning Tips
Build Raiden Shogun after you know which team slot they own. A support usually needs level, weapon, Energy, and set bonus before perfect artifacts. A reaction trigger may need level 90 and Elemental Mastery before talent levels. A carry needs more complete investment because teammates, CRIT balance, and field-time execution all affect the result.
For long-term resin planning, stop farming when the build clears its job consistently. Move resin to teammates if they are missing talents, weapon levels, artifact sets, or Energy Recharge. Most strong Genshin teams improve faster from four functional builds than from one character with slightly better substats.
Raiden Shogun Related Genshin Impact Guides On ManaBuy
- Genshin Impact characters list and build hub for comparing roles, elements, and future character-guide links.
- Genshin Impact top-up support - Genesis Crystals and Welkin Moon product page.
- Core support build guides to compare next: Bennett, Xingqiu, Xiangling, Fischl, Kazuha, Nahida, Furina, Zhongli, Yelan, Raiden, Kuki Shinobu, and Sucrose.
Raiden Shogun Build Guide FAQ
Should Raiden use ER Sands or ATK Sands?
For DPS, use the option that balances your weapon, buffs, and ER needs. Engulfing Lightning often favors ER; The Catch builds may compare ER and ATK pieces by substats.
Is The Catch good for Raiden?
Yes. It is her best F2P DPS weapon and remains highly competitive.
How do I build Hyperbloom Raiden?
Level her to 90, use full EM main stats, and choose Gilded Dreams or Flower of Paradise Lost. CRIT and Burst talent levels are not the focus.
Does Raiden need C2?
No. C2 is a large DPS upgrade, but C0 already works in National, Hyperbloom, and battery teams.
Can Raiden battery every character?
She helps many Burst-heavy teams, but she does not automatically fix bad rotations or teams that need different elemental application.
Raiden Shogun Build Conclusion
Raiden Shogun is worth building when the guide's role, stats, weapon, artifacts, and team plan all point in the same direction. Start with rotation reliability, choose artifacts and weapons that solve the character's actual job, and treat constellations or signature weapons as upgrades only after the team already works. That approach keeps this guide useful across banners, reruns, and future artifact farming.


Copyright © FUTURE OUTLOOK TECHNOLOGY LIMITED.Company Registration No.: 77374965 All rights reserved.UNIT 135,1/F.,143 WAI YIP STREET,KWUN TONG HK