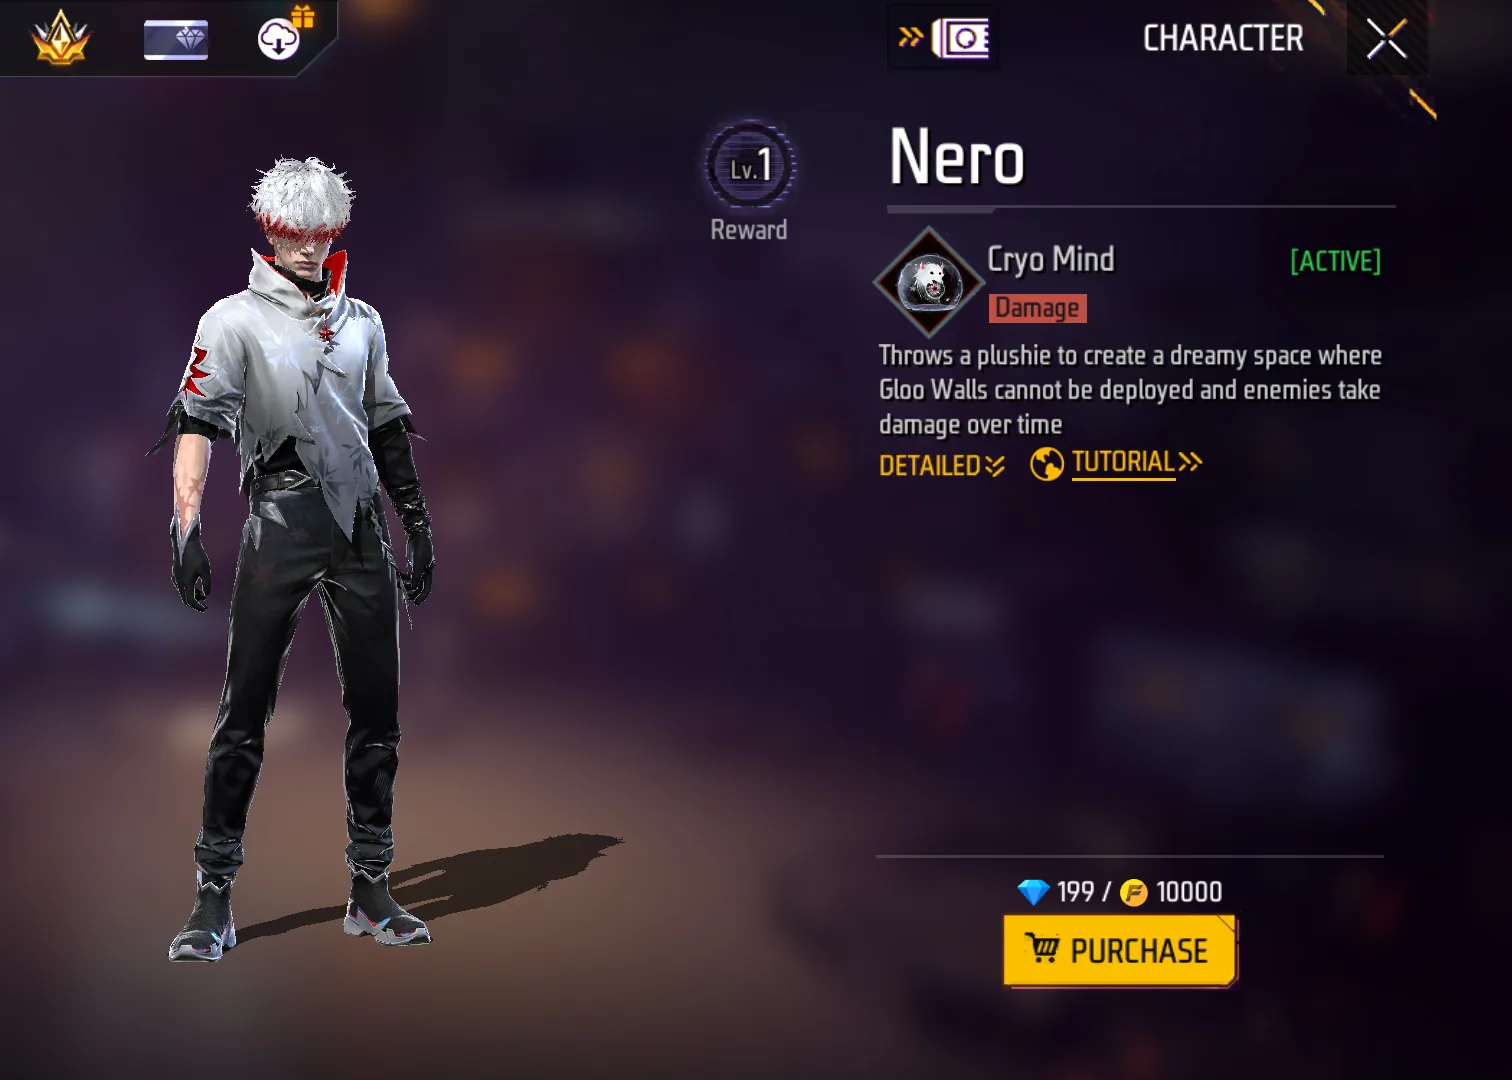
Free Fire Nero Guide: Cryo Mind Skill, Best Combos, Weapons and Gloo Wall Control Tips

Nero is a Free Fire control character. He does not simply chase or heal; he changes the rules inside a small area and makes cover-dependent enemies uncomfortable.
Use Nero when opponents repeatedly reset with Gloo Walls, revive behind cover, or hold tight buildings. Cryo Mind gives you a way to make that safe space unsafe for a short window.
How Nero's Cryo Mind Skill Works
Cryo Mind throws a 150-HP plushie that lasts up to 12 seconds. It can fly up to 50m, or 100m in Battle Royale, and can track the nearest enemy in sight within 8m before exploding into an 8m dreamy space.
Inside that space, players cannot place Gloo Walls and enemies lose HP over time. If someone destroys the plushie, the space disappears and the destroyer is marked briefly. That means Nero's value depends on placement, timing and immediate squad pressure.
Watch where the plushie lands and when the push begins, then use Cryo Mind as a squad signal rather than a background effect.
Send the plushie toward the fight before both squads settle behind Gloo Walls.
The area blocks new Gloo Wall placement and pressures enemies with damage over time.
Enemies must break the plushie, leave the area, or fight without their usual wall rhythm.
Nero skill timing plan
A good Nero round starts before the skill button. Use this timing plan to decide when to commit, when to wait, and when to stop chasing.
| Moment | What to do | Why it matters |
|---|---|---|
| Before throw | Aim at the place enemies want to hold next, not the open ground they already left. | Cryo Mind is area control, so placement matters more than raw distance. |
| Plushie flight | Protect the 150-HP plushie with pressure or throw it when enemies are busy fighting. | If the plushie is destroyed early, the dreamy space disappears and the push loses its trigger. |
| Dreamy space | Push the edge of the 8m area and punish enemies who cannot place fresh Gloo Walls. | Nero is strongest when the squad moves during the control window. |
| After expiry | Reset behind cover and avoid fighting as if the anti-wall zone still exists. | Once the space ends, enemies can rebuild wall rhythm and turn the fight back around. |
Is Nero Worth Using?
Nero is worth using when the match problem fits the skill. Nero needs setup and timing; if the plushie is destroyed early or thrown into the wrong area, the control window disappears. The safest way to evaluate the character is to ask what happens after the skill button is pressed: do you get a knock, force cover, escape pressure, or create information your team can use?
Nero is a control pick for wall-heavy fights. The dreamy space should tell your squad, "push now," because the enemy's normal Gloo Wall reset is disabled. If nobody moves during that window, Nero becomes a weak damage tool instead of a round-control character.
For ranked play, avoid treating any single character as a miracle fix. Nero should support your weapon range, squad role and active-skill plan. If the skill solves the first decision in the fight but leaves you exposed afterward, pair it with teammates or passives that cover the gap.
| Mode or role | Nero value | How to use the skill |
|---|---|---|
| BR squad push | High | Throw Cryo Mind into cover before the push so enemies cannot rebuild walls freely. |
| Clash Squad wall line | High | Use the dreamy space to deny Gloo Wall placement during a revive or close-range trade. |
| Solo BR | Medium | Nero can force movement, but he still needs a clean weapon follow-up after the area is created. |
| Open-field long range | Low to medium | The skill is less valuable if enemies are not relying on walls or tight cover. |
Best Nero Skill Combos
Nero's Cryo Mind is active, so his own loadout should lean on passive damage, movement, reload and information skills. Wall breakers and healers can still support him as teammates, but Nero's personal job is to throw the plushie, call the anti-Gloo Wall window, and punish enemies who move out of it.
| Combo core | Best for | Why it works | Watch out for |
|---|---|---|---|
| Control plus tracking | Moco helps track enemies who leave the dreamy space, while Maro supports longer pressure after they abandon cover. | Do not throw too early before anyone can shoot the escape route. | |
| Close-zone punish | Jota and Hayato help Nero survive and finish when Cryo Mind forces a room or wall-line fight. | Needs immediate pressure; waiting wastes the zone. | |
| Edge push | Movement and movement-shooting support help Nero play the edge of the dreamy space without standing in the middle. | Do not sprint into the zone alone. | |
| Controlled AR setup | Laura and Nikita help Nero punish enemies who leave cover at mid range and survive the first burst. | Less effective if the fight turns into a point-blank shotgun scramble. | |
| Post-zone clear | Tracking and post-elimination information help the squad find the next enemy after Cryo Mind forces movement. | Information matters only if teammates follow the call. |
Best Weapons and Fight Ranges for Nero
Nero does not force one weapon, but he rewards weapons that can punish enemies who leave cover. ARs and SMGs are the safest choices. Shotguns become strong when the dreamy space forces a room or wall-line fight. For a wider weapon reference, use the Free Fire weapon tier list after you decide whether this character fits your role.
| Range | Best weapon style | How Nero helps | Simple habit |
|---|---|---|---|
| 0-10m |  M1887 M1887 M1014 M1014 | If Cryo Mind blocks wall placement inside a room or corner, shotgun pressure can end the fight quickly. | Enter only when the area is active and teammates can trade. |
| 10-30m |  MP40 MP40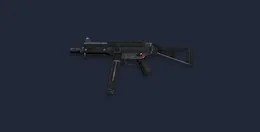 UMP UMP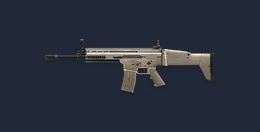 SCAR SCAR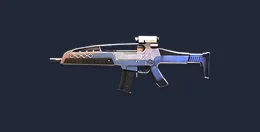 XM8 XM8 | This is Nero's most reliable range because you can shoot enemies forced out of cover without overcommitting. | Hold the edge of the dreamy space, not the center. |
| 30m+ | SCARXM8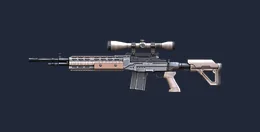 Woodpecker Woodpecker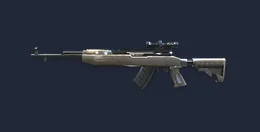 SKS SKS | Use long pressure when enemies must leave a wall line or revive spot. | Do not throw the plushie too early if nobody can capitalize. |
How to Play Nero in Battle Royale and Clash Squad
Battle Royale: Throw Cryo Mind into the place enemies want to hold, then push the edge of the zone with cover. Nero is especially useful against building entrances, revive walls and final-zone Gloo Wall stacks.
Clash Squad: Save the skill for the wall line that decides the round. If the enemy starts a revive, heal reset or tight corner hold, Cryo Mind can deny fresh Gloo Walls and force them into a bad trade.
Throw Cryo Mind at stairwells, doors, revive corners, or wall stacks before your squad crosses the last open gap.
Use the plushie to break the enemy's wall rhythm, then hold the edge of the dreamy space with AR or SMG pressure.
Save Nero for the moment enemies commit to a revive or heal reset behind walls. The anti-placement window is the push signal.
If enemies are the ones pushing, throw Cryo Mind into their entry lane to make their wall chain uncomfortable.
Nero vs Other Free Fire Characters
Use this comparison to decide whether Nero is the right slot or whether another character solves the same fight more directly. The goal is not to stack similar effects; it is to cover the weakness your team actually has.
| Character | Main value | Use instead of Nero when... |
|---|---|---|
| Anti-Gloo Wall zone and damage pressure | you need to control a small area and stop wall resets. | |
| Gloo Wall damage from a wave | you need to break walls from safer range without an area-control setup. | |
| Dash entry through walls | you want to physically breach the lane and start the close fight. | |
| Targeted drone pressure | you want a seeker-style opener rather than area denial. |
How to counter Nero
Knowing the counterplay also makes you better at using Nero. If opponents start doing these things, adjust the skill timing before the next round.
| Counterplay | Why it hurts | Nero adjustment |
|---|---|---|
| Plushie focus fire | Enemies destroy the 150-HP plushie before it creates value. | Throw while they are shooting, healing, or pinned, not while everyone is staring at the lane. |
| Leaving the zone | Enemies step out of the 8m area and reset elsewhere. | Use Nero to force movement, then punish the exit route with AR/SMG angles. |
| Late throw | The fight is already over before Cryo Mind activates. | Throw before the revive, push, or wall stack is fully secured. |
| Team hesitation | The anti-Gloo Wall zone expires while your squad watches. | Call the throw as the push signal and move with the edge of the dreamy space. |
Nero Unlock Cost, Gold and Diamonds
Nero's currency value comes from whether your squad needs Cryo Mind's anti-Gloo Wall control. Check the live character page for the current unlock option, then use Gold first if it appears. Spend Diamonds only when the control role solves a real problem in your matches.
Confirm whether Nero is available through the standard character page, event route, Gold option or Diamond purchase in your account.
If your store shows a Gold unlock, use that route first. Diamonds should be reserved for characters you cannot unlock with Gold or for later event needs.
If your team already has enough wall pressure or zone control, Nero can wait. Spend Diamonds only when Cryo Mind fits your plan.
Weekly or Monthly membership can make sense for regular players, but a single character unlock usually needs only the current price gap.
Character availability, Gold options, Diamond prices and event routes can change by account, region and update. Use 199 Diamonds or 10000 Gold only as a budget check when those options appear in your own store. The final number to trust is always the price shown on the current character page.
| Currency route | What to check | Best use |
|---|---|---|
| Direct Diamonds | Example USD ladder: 100, 465, 1145, 2650, 4900 or 11200 Diamonds. | Use this only after you know Nero is the character you want to unlock or build around. |
| Membership | Weekly Lite, Weekly and Monthly membership options may appear in the recharge area. | Better for players who prefer steady Diamond income instead of one large pack. |
| Character unlocks | Check the current Nero character page before spending. Treat 199 Diamonds or 10000 Gold as a budget check only when that option appears in your store. | Use Gold when available; save Diamonds for Nero only if the character fits your main build. |
| Event routes | Character availability, discounts and reward routes can change during events. | Check the current route first so you do not top up more Diamonds than the unlock needs. |
Plan the character first, then top up only when you know the exact unlock route or event cost you actually need.
Top Up Free Fire DiamondsCommon Nero Mistakes
- Throwing Cryo Mind too early before teammates are close enough to push.
- Targeting open ground where enemies do not need Gloo Walls.
- Standing inside the controlled area instead of holding the edge.
- Ignoring the plushie's HP and letting enemies destroy it for free.
- Using Nero as a damage-only pick instead of a cover-control tool.
Nero FAQ
Is Nero an active character?
Yes. Cryo Mind is an active skill, so Nero uses the active slot in your Free Fire build.
Does Nero stop Gloo Walls?
Nero creates an area where Gloo Walls cannot be placed. This makes him valuable against enemies who rely on wall resets, revives and tight cover.
Does Cryo Mind deal damage?
Yes. Enemies inside the dreamy space lose HP over time. The damage is most useful when your team pushes while the enemy cannot rebuild cover normally.
Is Nero good for Clash Squad?
Yes, especially in rounds where both teams fight around Gloo Wall lines. Nero can deny new walls and force a close-range trade.
Should I use Nero or Skyler?
Use Nero when you want area control and anti-placement pressure. Use Skyler when you want a simpler Gloo Wall damage tool from safer range.
Final recommendation: Nero is strongest when you pick a clear job for Cryo Mind before the round starts.
- Use Nero when enemies rely on Gloo Wall resets, revives or tight cover.
- Throw Cryo Mind where the next fight will happen, not where the last fight already ended.
- Pair him with a squad that pushes during the dreamy space instead of waiting for it to expire.


Copyright © FUTURE OUTLOOK TECHNOLOGY LIMITED. All rights reserved.UNIT 135,1/F.,143 WAI YIP STREET,KWUN TONG HK