
Free Fire Gloo Wall and Movement Guide: Placement, Rush, Defense and Ranked Tips

Gloo Walls decide many Free Fire fights before the final shot is fired. Good aim matters, but the player who places cover first, breaks the enemy angle and moves before getting trapped usually controls the fight. A Gloo Wall is not only an emergency shield. It is a way to cross open ground, split a two-player angle, reset a shotgun duel, protect a revive and force the opponent to waste time.
This Free Fire Gloo Wall and movement guide focuses on habits that work in ranked Battle Royale, Clash Squad and close-range 1v1 fights. It uses the current Free Fire direction around wall pressure, including characters such as Skyler, Nairi, Oscar, Rin and Nero, plus weapon choices that punish poor wall timing.
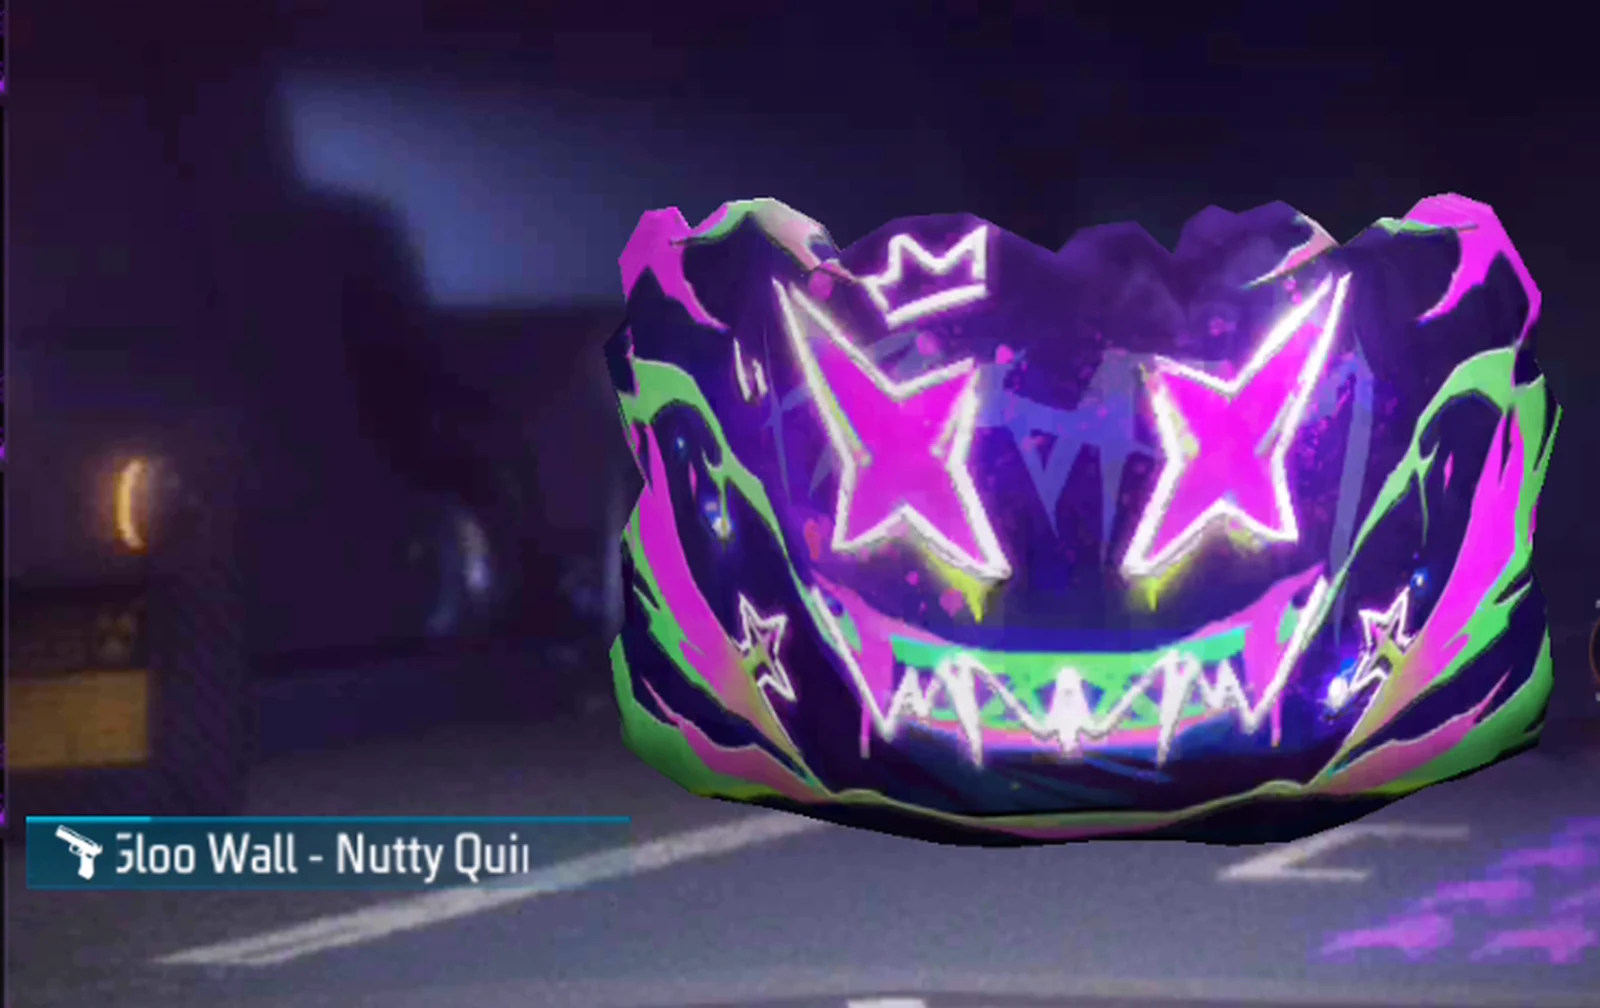
What Gloo Walls Actually Solve
Most players think of Gloo Walls as panic buttons. That is only the first layer. A good wall changes the fight geometry. It turns a long exposed lane into a short peek, turns a two-enemy crossfire into one isolated angle, and buys enough time for reloads, heals or teammate movement.
| Situation | Best wall use | Movement follow-up | Common mistake |
|---|---|---|---|
| Open-ground rotation | Place one wall before crossing the widest lane. | Move diagonally to the next natural cover. | Running straight after one wall and getting shot from the side. |
| Shotgun duel | Wall after the first missed or traded shot. | Step to the wall edge, then re-peek with crosshair at head height. | Standing still behind the center of the wall. |
| Revive attempt | Use a wall between the downed teammate and the enemy angle. | Add a second wall only if the enemy can swing wide. | Reviving without checking grenades or wall-break skills. |
| Squad push | Wall forward in pairs so the entry player is not isolated. | Second player watches the side angle while entry reloads. | All four players stacking behind one wall. |
| Final zone | Save walls for forced movement and last cover gaps. | Use short peeks, then reposition before the zone closes. | Burning every wall before the last safe lane appears. |
Placement Patterns That Win More Fights
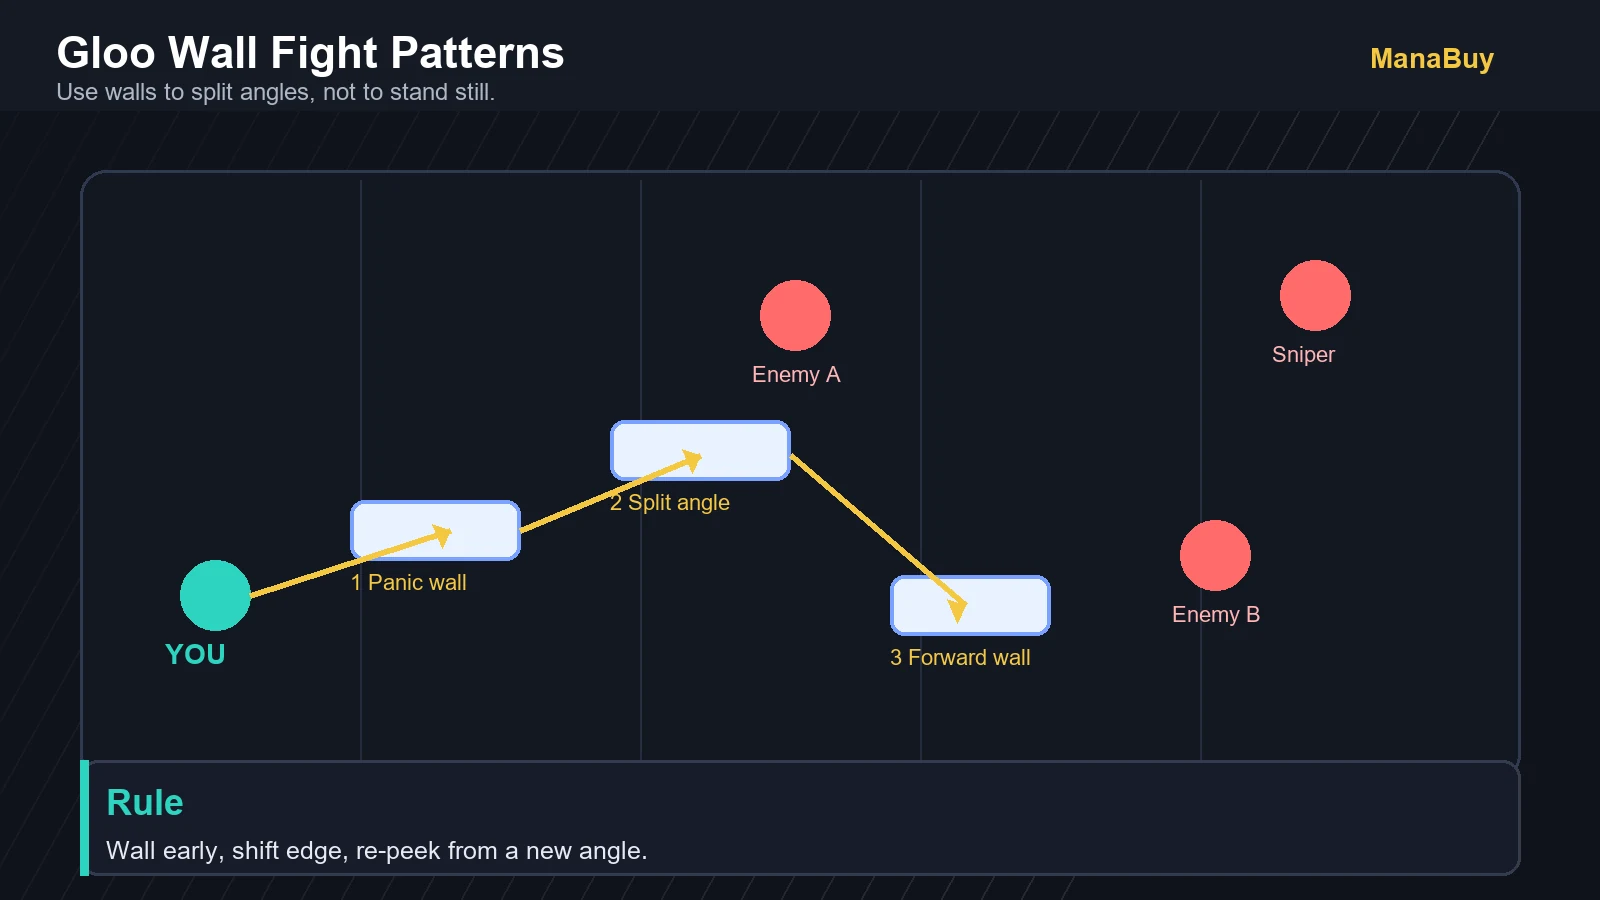
The safest Gloo Wall habit is to place it slightly ahead of your body, then move to one edge. If you place it directly on top of yourself and stay still, the opponent knows exactly where your head will appear. If you place it too far forward, you create cover the enemy can steal.
Panic wall
Use it when you are tagged first. Place the wall, crouch only for a moment, then move to the edge. The goal is to stop damage and reset aim, not to hide forever.
Angle-split wall
When two enemies shoot from different directions, block the wider or more dangerous angle first. Fight the isolated player before the second one can swing.
Forward chain
In a rush, chain short walls toward hard cover. Do not spend every wall in one straight line. Leave one for the retreat or revive.
Revive pocket
Place the wall to block the known shooter, then check the flank before reviving. If the enemy has Skyler, Oscar or Rin, assume the wall may disappear quickly.
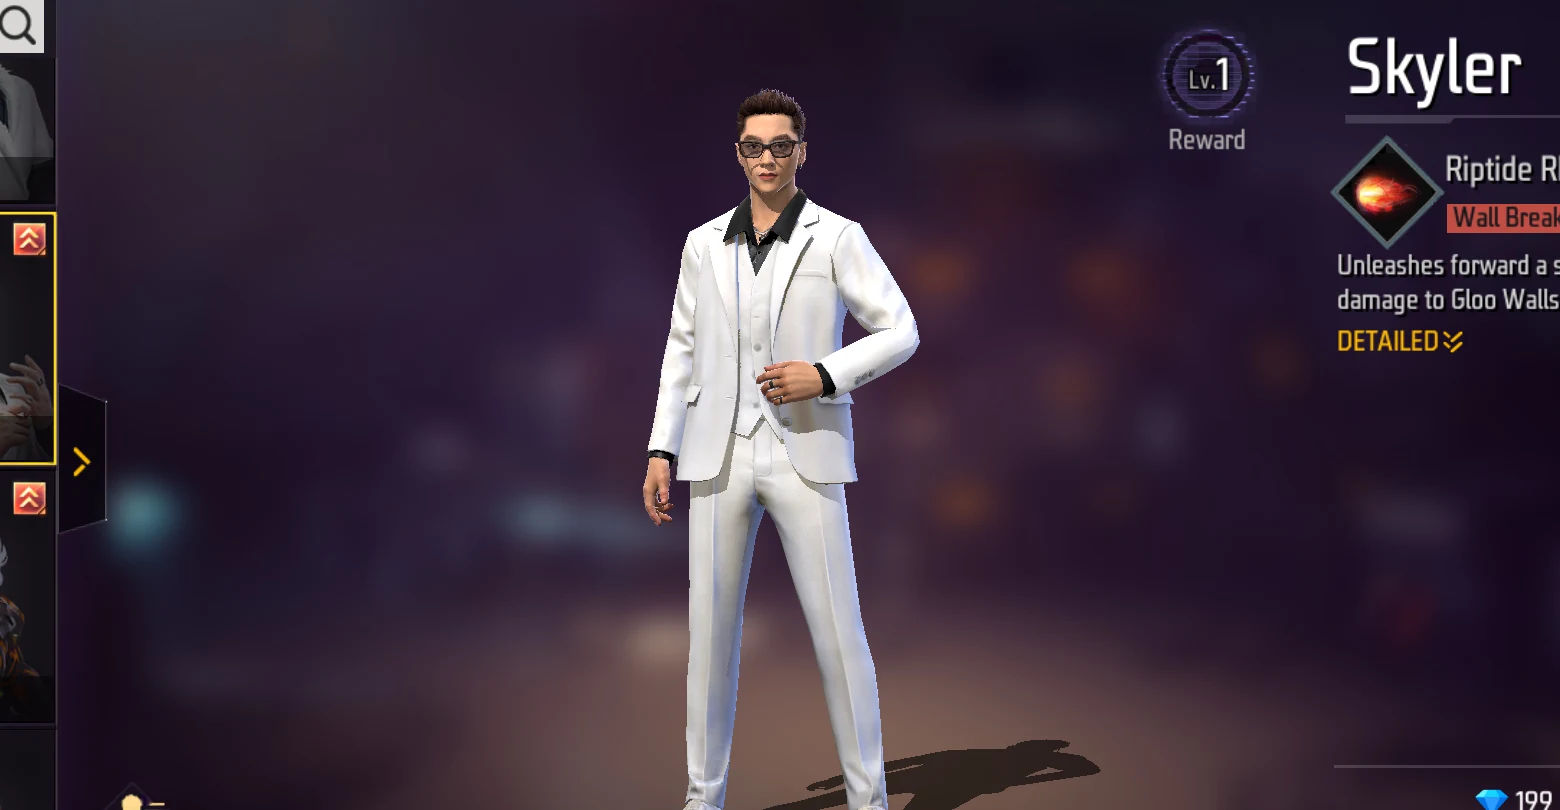
Characters That Change Gloo Wall Fights
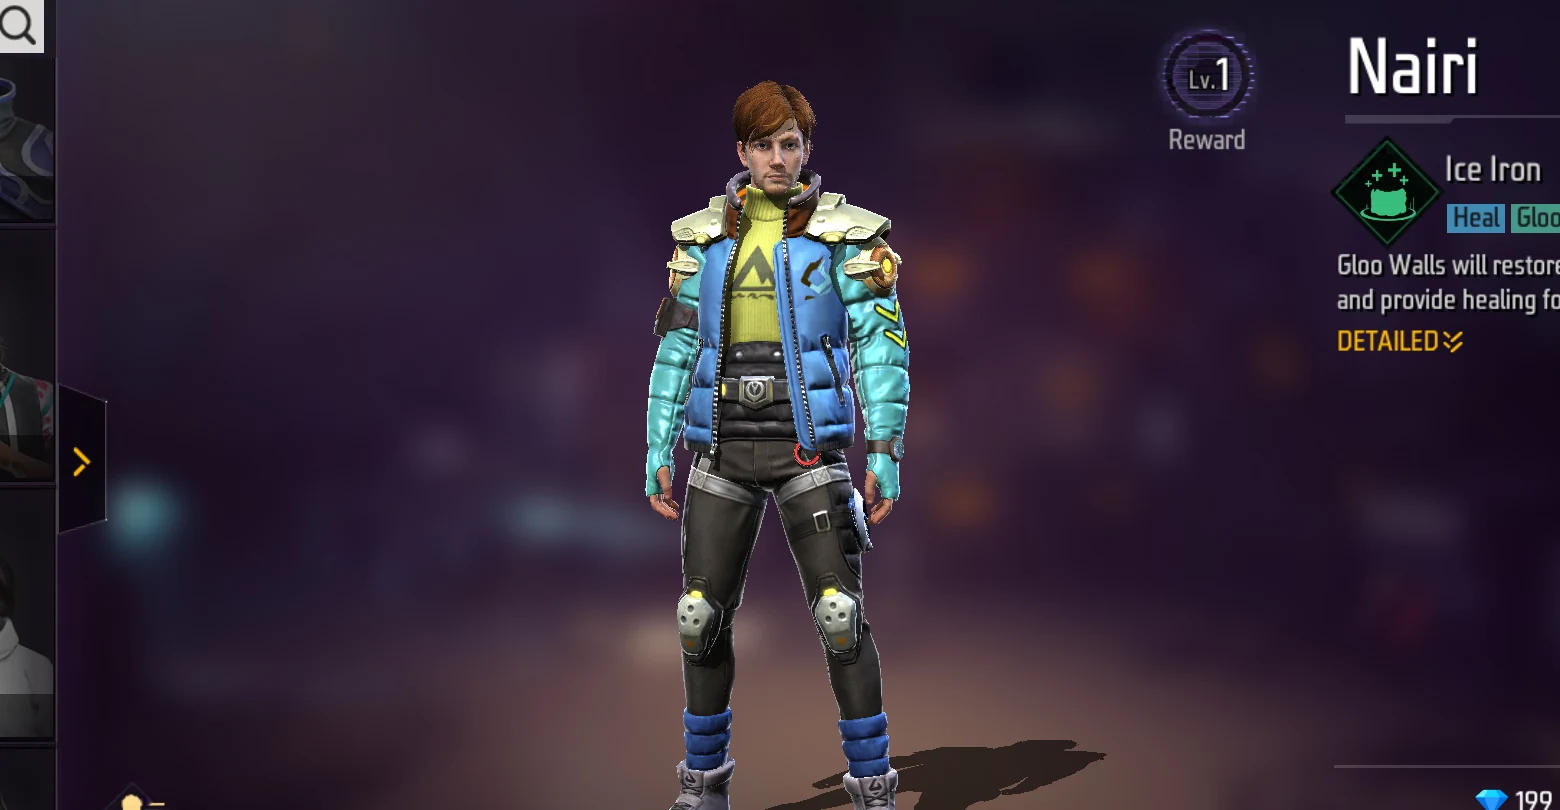
Free Fire now has several skills that directly affect Gloo Wall decisions. Skyler's Riptide Rhythm damages Gloo Walls and rewards smart wall deployment with recovery. Nairi's Ice Iron supports deployed Gloo Walls by restoring durability and giving nearby healing. Oscar, Rin and Nero create different pressure: dash destruction, auto-target wall damage and temporary anti-wall space.
| Character | Wall role | How to play around it |
|---|---|---|
| Skyler | Breaks Gloo Walls and rewards smart wall deployment. | Use him when your squad wants to rush campers or punish revive pockets. |
| Nairi | Improves wall durability and nearby sustain. | Use him when your team plays slower, trades behind cover or protects revives. |
| Oscar | Dashes through and detonates early walls in his path. | Respect his cooldown before relying on a single wall in close range. |
| Rin | Adds passive Gloo Wall pressure after shots connect. | Use harder cover or reposition if your wall keeps taking follow-up damage. |
| Nero | Creates a zone where Gloo Walls cannot be placed. | Leave the zone quickly instead of trying to wall inside it. |
Movement Loop: Peek, Wall, Shift, Re-Peek
The strongest movement pattern is simple: peek for information, fire a short burst, place a wall if the trade is bad, shift to a new edge, then re-peek from a position the opponent is not already aiming at. This matters more than flashy movement. A predictable jump after every wall is easier to pre-aim than a calm side step to a new angle.
For shotgun fights, keep the crosshair near head height before you leave cover. For SMG fights, strafe across the wall edge instead of wide-swinging into the open. For AR and marksman fights, use walls to break line of sight, then rotate to a real obstacle. Gloo Walls are strongest when they connect you to better cover, not when they become your only cover.
Ranked Mistakes To Stop Making
Do not wall after every tiny hit. Save walls for real danger, open crossings, revive windows and forced zone movement.
Do not stand in the same wall pocket. Enemies will pre-aim the edge, throw utility or break it with skills.
Do not push through your own wall without teammate cover. You give up the cover advantage you just created.
Do not ignore wall-break characters. Skyler, Oscar, Rin and Nero all make single-wall defense less reliable.
Advanced Gloo Wall Techniques To Add To Practice
The first draft covered the idea of walling early, but players searching this topic usually want named techniques they can copy in matches. Add these to practice one at a time. Do not try to master all of them in ranked on the same day.
| Technique | When to use it | Input focus | Failure sign |
|---|---|---|---|
| Fast front wall | You are tagged first in open space. | Pre-aim the ground slightly ahead, tap wall, then strafe to the edge. | The wall appears behind you or too far forward for cover. |
| Triangle defense | Final circle, revive, third-party pressure or looting in the open. | Place front, back and side walls fast enough to remove exposed gaps. | You build a box but stay long enough for grenades or wall-break skills. |
| Slide or jump wall | An enemy is chasing around a corner or ramp. | Place the wall while changing elevation or direction so the enemy loses tracking. | You jump predictably and get pre-aimed before the wall lands. |
| Wall bait | You want the enemy to swing into your crosshair. | Place a wall, show one edge briefly, then reposition to the opposite edge. | You repeat the same edge and get prefired. |
| Stair wall | You need height or a surprise peek in a custom/creative-style fight. | Stack walls carefully and climb only if the angle is worth the wall cost. | You spend too many walls for a position that has no exit. |
Five-Minute Gloo Wall Drill Routine
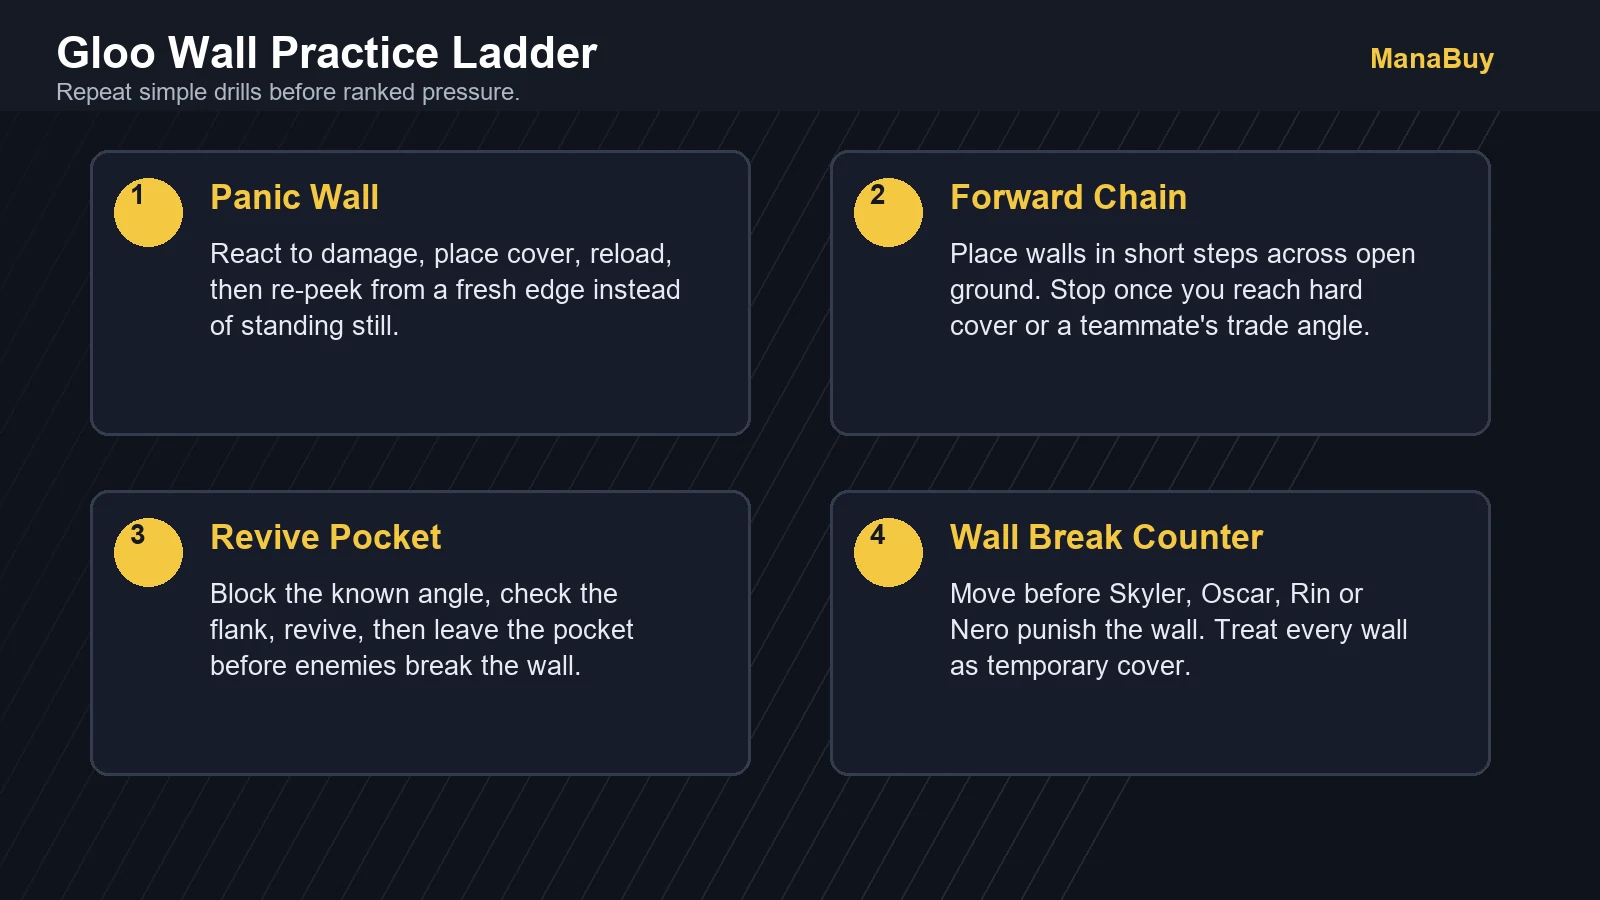
Use a short routine before ranked instead of warming up only with aim. Spend one minute on panic walls, one minute on forward chains, one minute on revive pockets, one minute on wall-edge shotgun peeks and one minute on anti-wall movement. If a drill feels unstable, repeat it in casual or custom rooms before bringing it to ranked.
Beginner goal
Place the wall in the correct direction without opening the backpack, emote wheel or wrong utility slot.
Intermediate goal
Place wall and re-peek from a new edge within one reload cycle.
Ranked goal
Use only the number of walls needed to win position, then save one for the next forced move.
Squad goal
Call whether the wall is for entry, revive, retreat or bait so teammates do not stack on the wrong side.
How OB54 Changes Wall Pressure
OB54 makes Gloo Wall play less static. Skill Boosts can enhance characters such as Skyler and Oscar, Nero's anti-wall zone remains a real positioning threat, and weapon changes give MP40, M590 and M82B clearer combat roles. That means a single wall is less reliable than it used to be. The safer habit is to place cover, move, and assume the wall may be damaged, bypassed or denied.
Top Up Free Fire Diamonds for Gloo Wall Skins
If you want Gloo Wall skins, event draws, or other cosmetic upgrades after choosing your gameplay setup, compare current Free Fire Diamond packages below. Keep the purchase decision separate from your ranked practice plan.


Related Free Fire Guides
Free Fire Gloo Wall FAQ
How do I place Gloo Walls faster in Free Fire?
Keep the Gloo Wall button reachable without moving your aim thumb too far. Practice one pattern at a time: panic wall, forward wall and revive wall. Speed comes from button comfort plus pre-deciding when the wall is needed.
Is Skyler still good for Gloo Wall fights?
Yes, Skyler remains useful when the fight revolves around enemy wall cover. His value is highest when you push after breaking the wall instead of using the skill and waiting.
Should I use all my Gloo Walls in a rush?
No. Spend enough to reach cover or force the enemy back, then keep at least one for the reload, revive or retreat. Running out of walls before the final trade is a common ranked mistake.
What weapon pairs best with Gloo Wall movement?
Shotguns and SMGs are strongest around wall edges. ARs and marksman rifles are better when you use walls to rotate between mid-range positions.
Final Takeaway
Gloo Wall skill is really match management. Place cover early, move after every wall and respect characters that punish static defense. Once that habit is stable, your rushes become cleaner and your ranked deaths become less random.




Copyright © FUTURE OUTLOOK TECHNOLOGY LIMITED.Company Registration No.: 77374965 All rights reserved.UNIT 135,1/F.,143 WAI YIP STREET,KWUN TONG HK