
Blood Strike Striker Tier List (November 2026): Best Picks for BR, Squads and Solo

The best Striker in Blood Strike depends on what you need to win the next fight. A coordinated squad values team-wide speed, recovery, information and safe resets. A solo player needs a kit that still works when nobody follows a call. Small-map modes reward immediate duel value more than long setup.
Patch boundary: this ranking uses the official October 20, 2026 balance update. It separates BR squad, solo/duo and small-map value because one universal tier list hides the most important trade-offs.
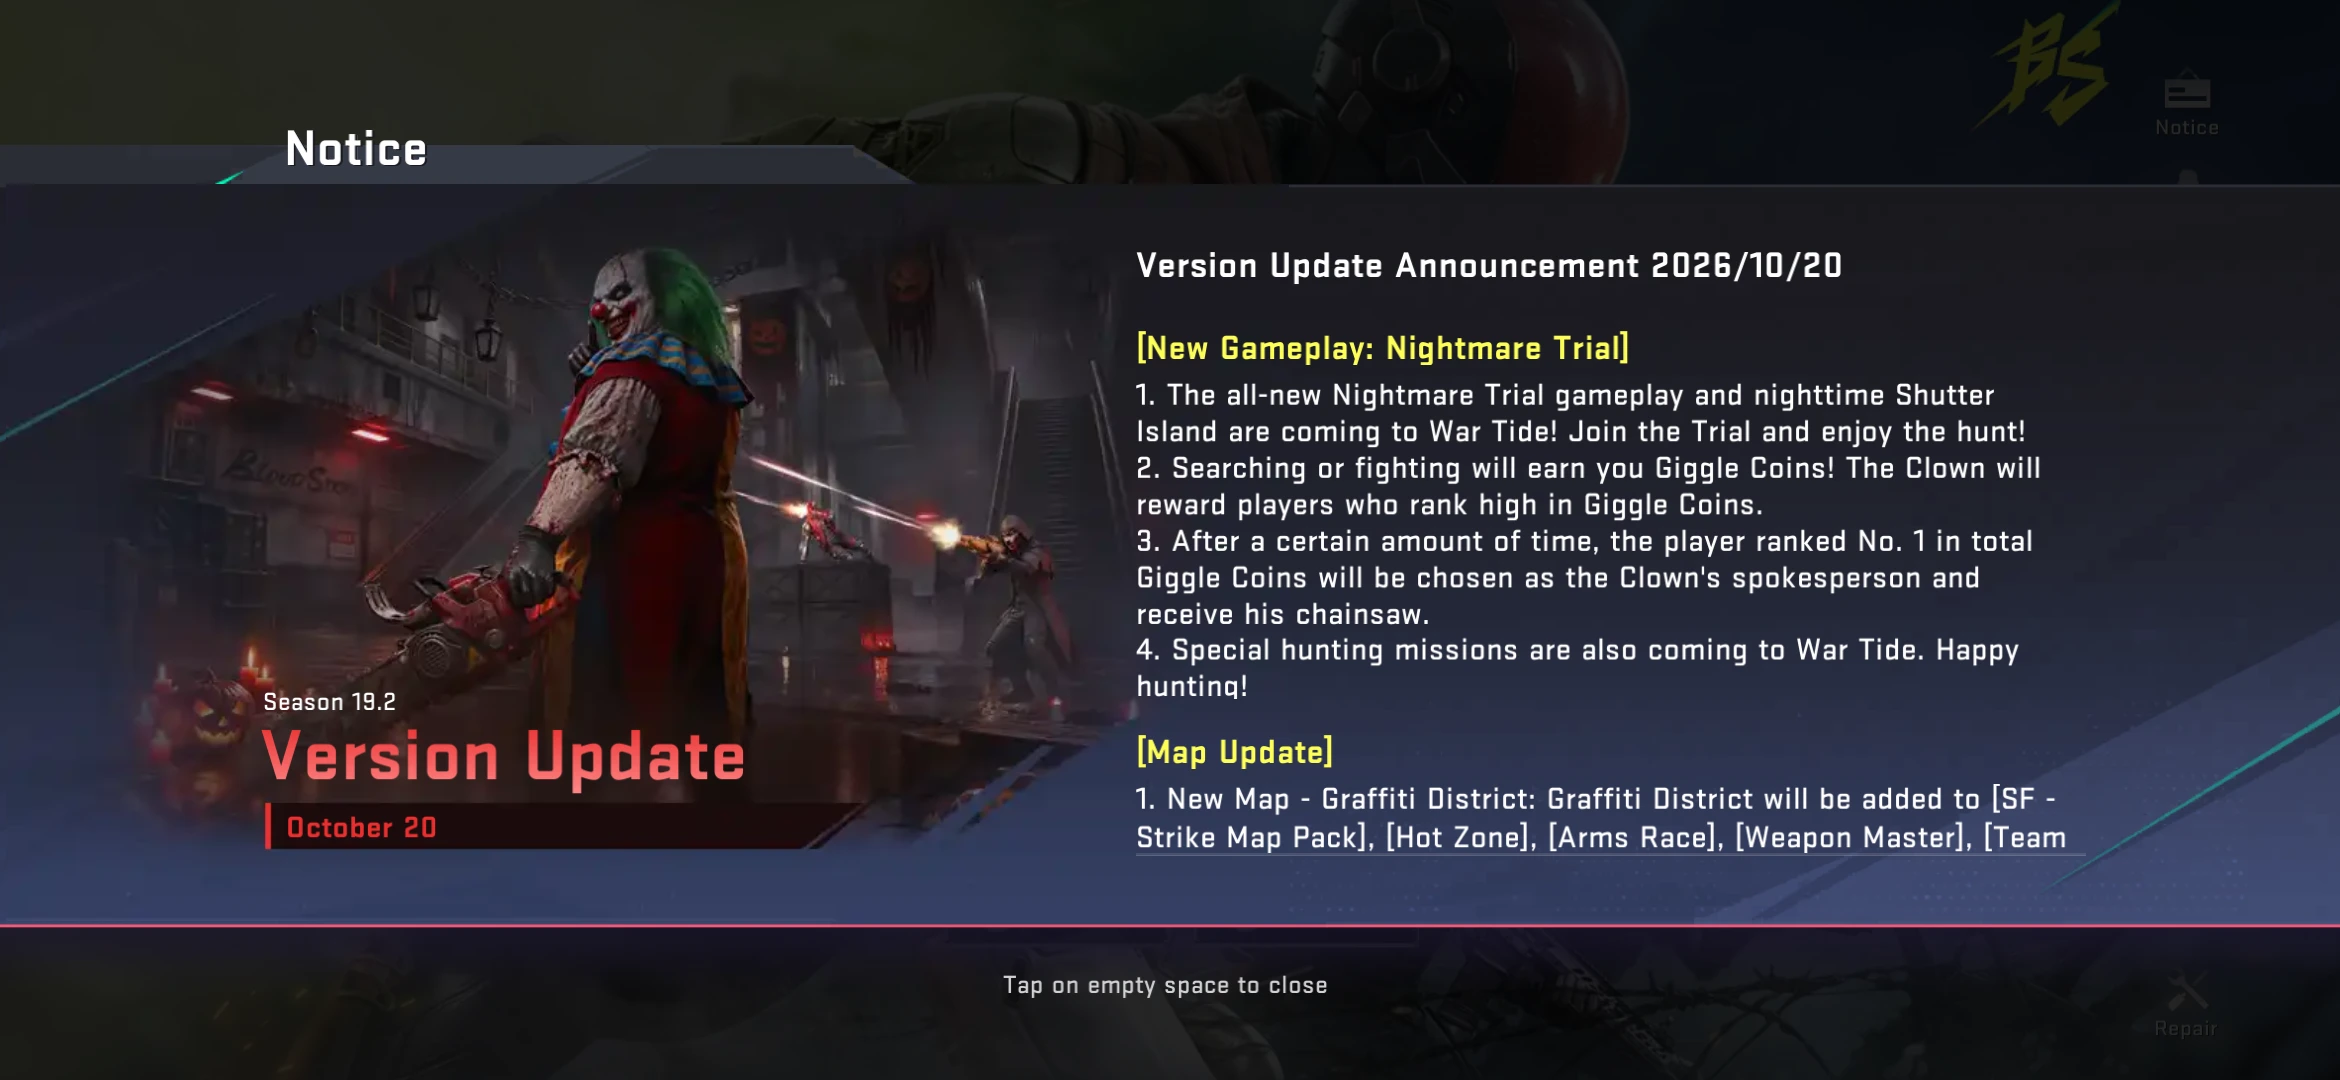
Source: Blood Strike in-game notice. The October 20 update is the balance reference for this ranking.

The role map turns the ranking into five repeatable jobs: entry, self-directed pressure, space control, squad tempo and sustain. Choose the job your team repeatedly lacks before choosing the highest tier letter.
Tier list at a glance
| Tier | Strikers | Why they are here |
|---|---|---|
| S — broadly reliable |  Alondra  Zero  Katya  VOX  Emma | These picks create their own opening or give a squad a repeatable advantage without needing a narrow map or gimmick. |
| A — strong with the right job | 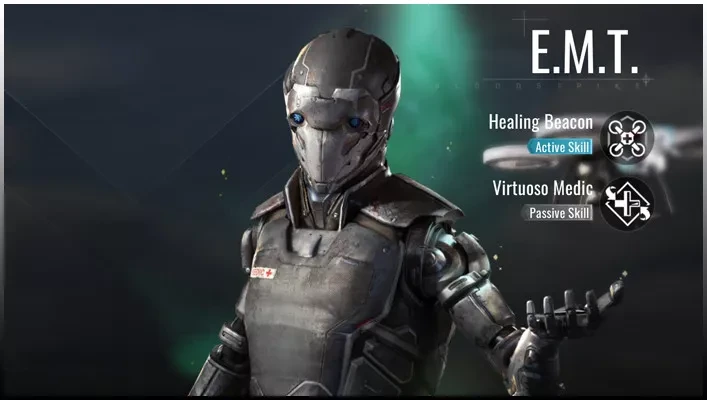 E.M.T. 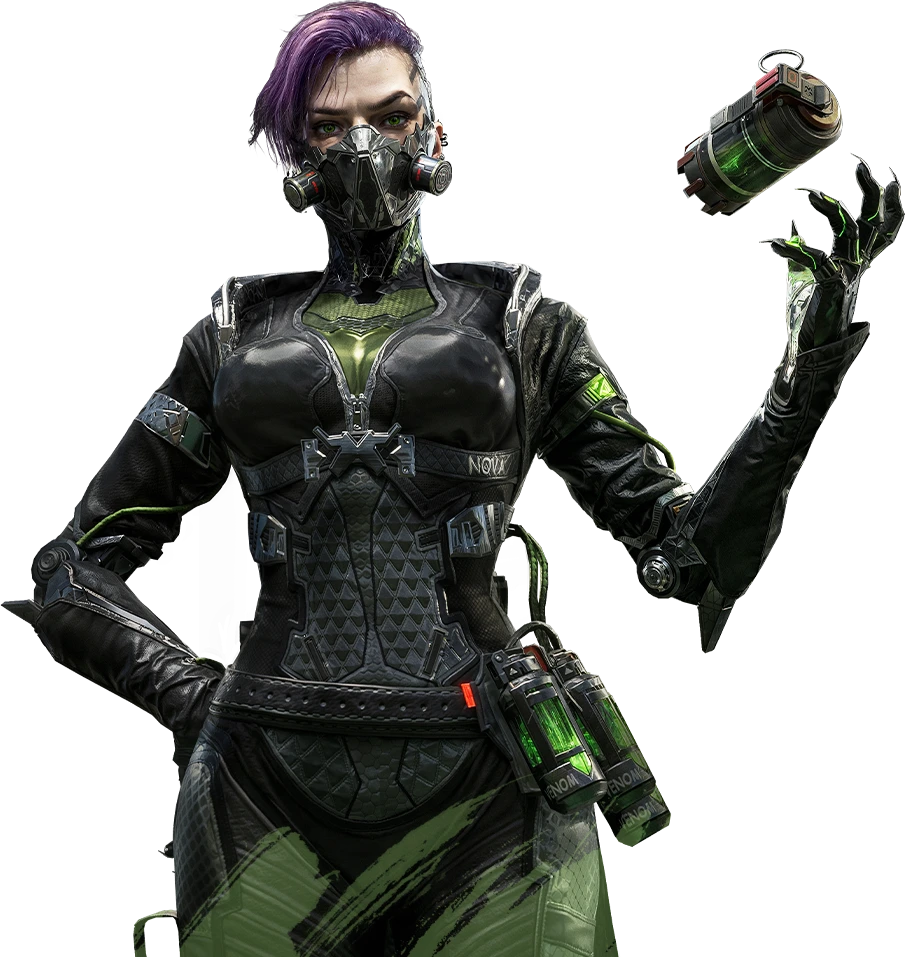 Nova  Val 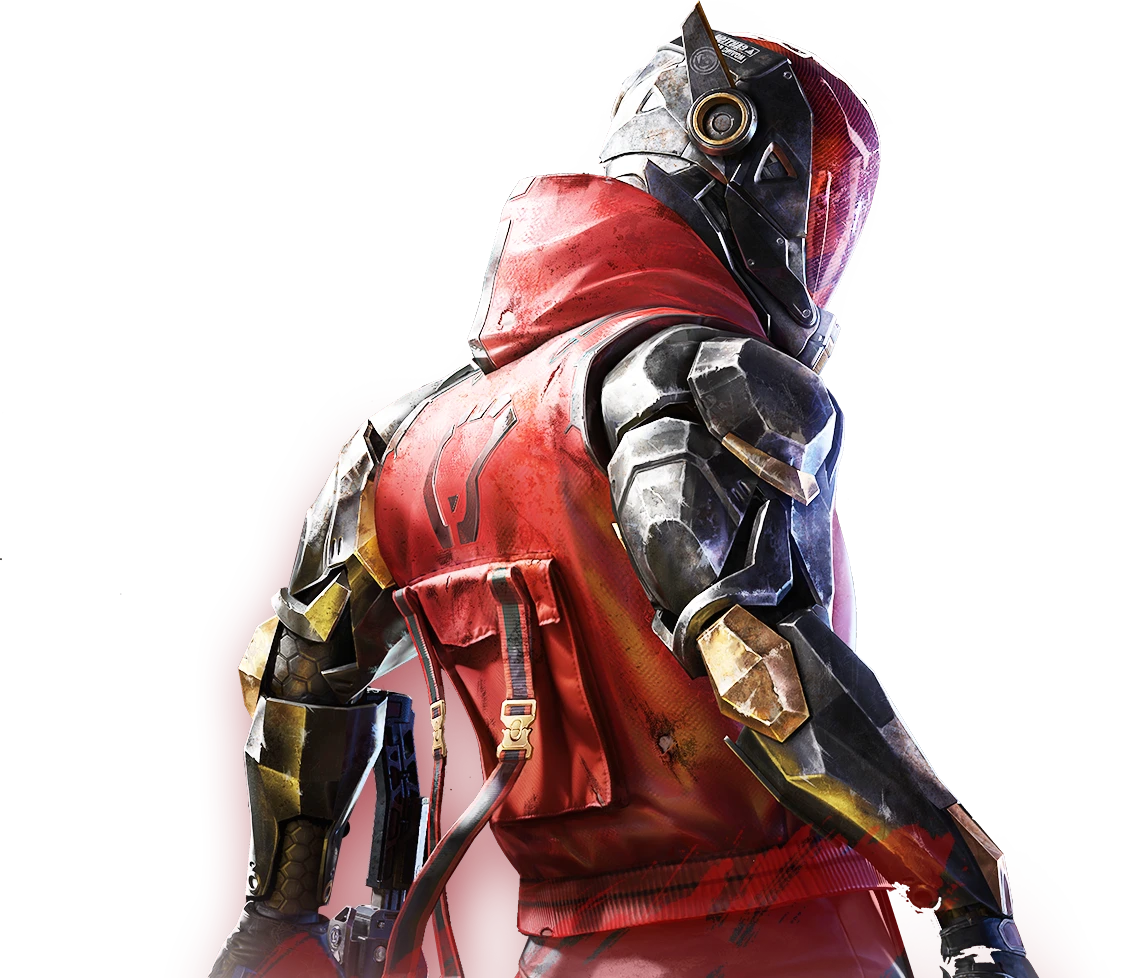 Ethan 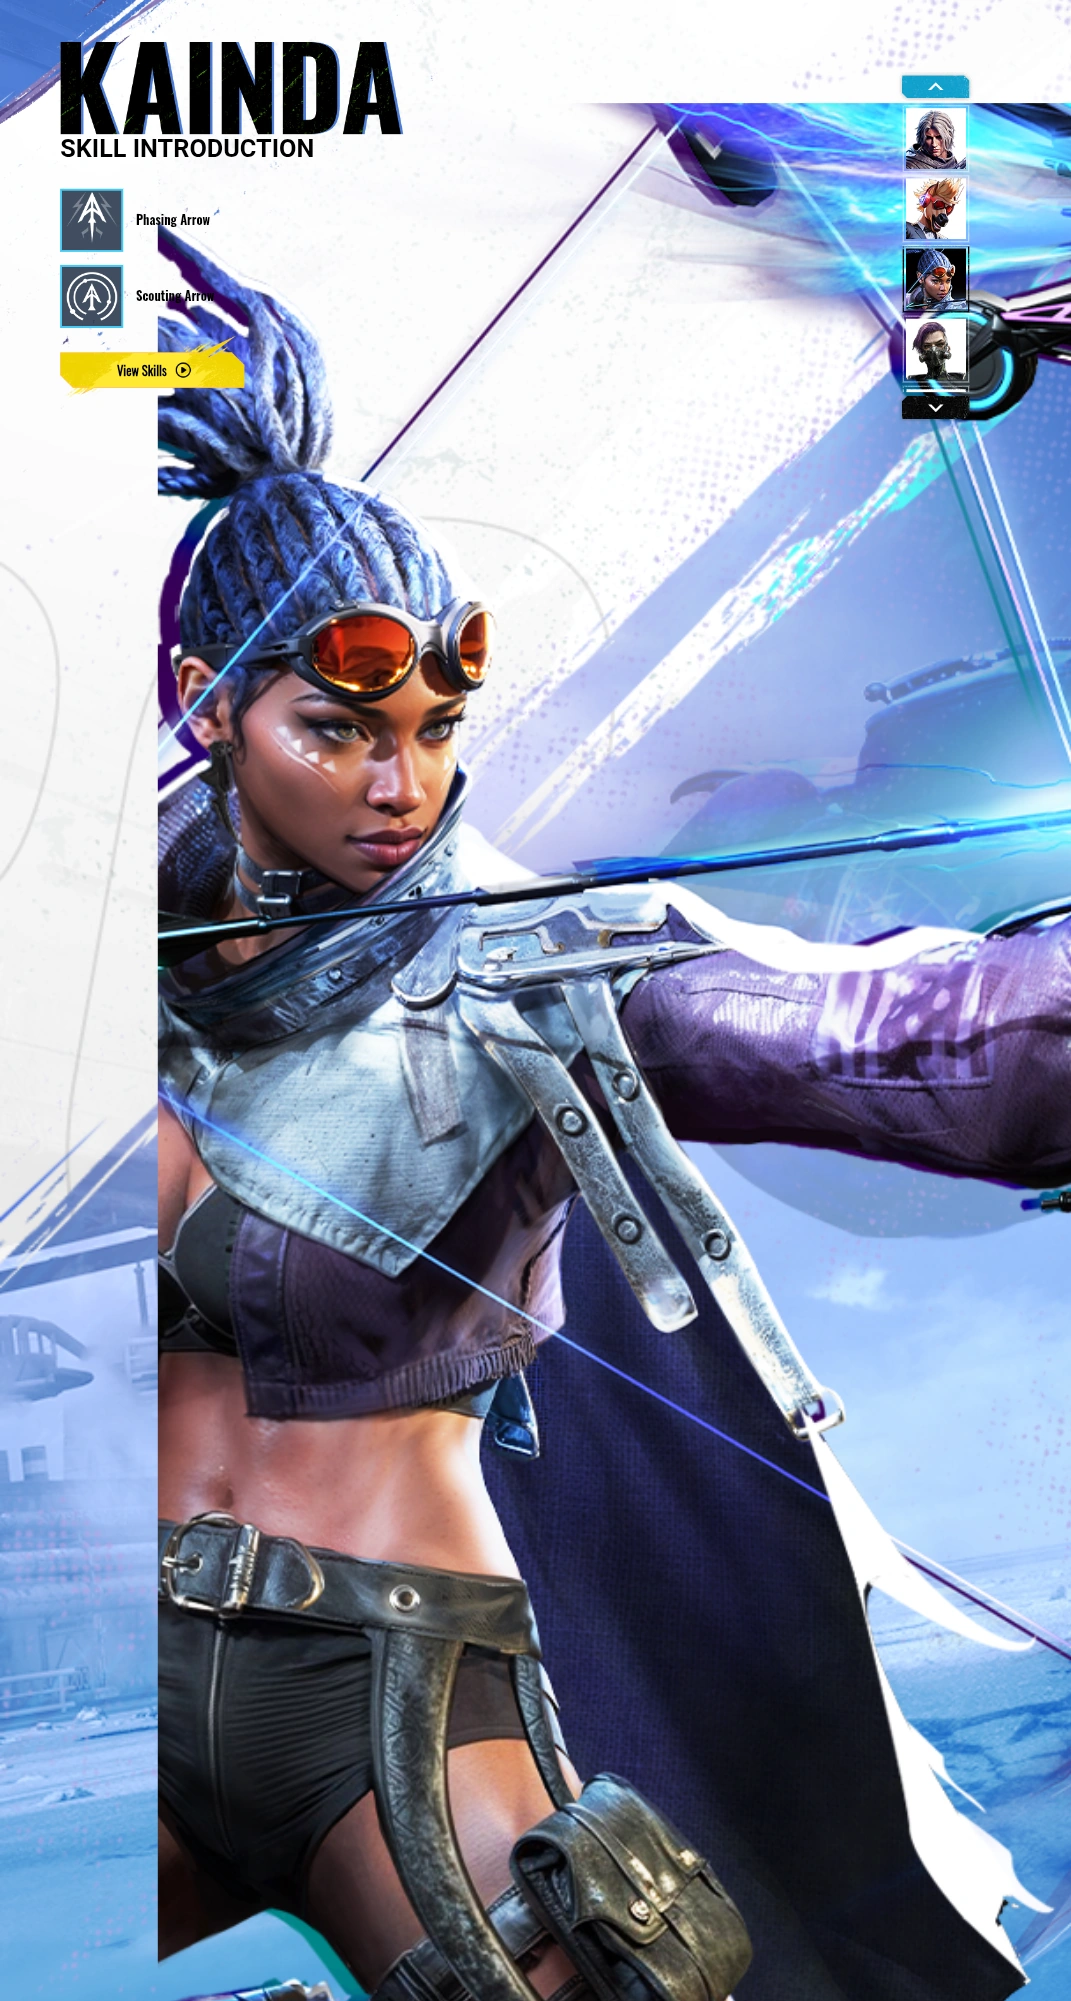 Kainda | Excellent when the squad needs their specific sustain, control, information or entry function. |
| B — usable specialists |  Lucian 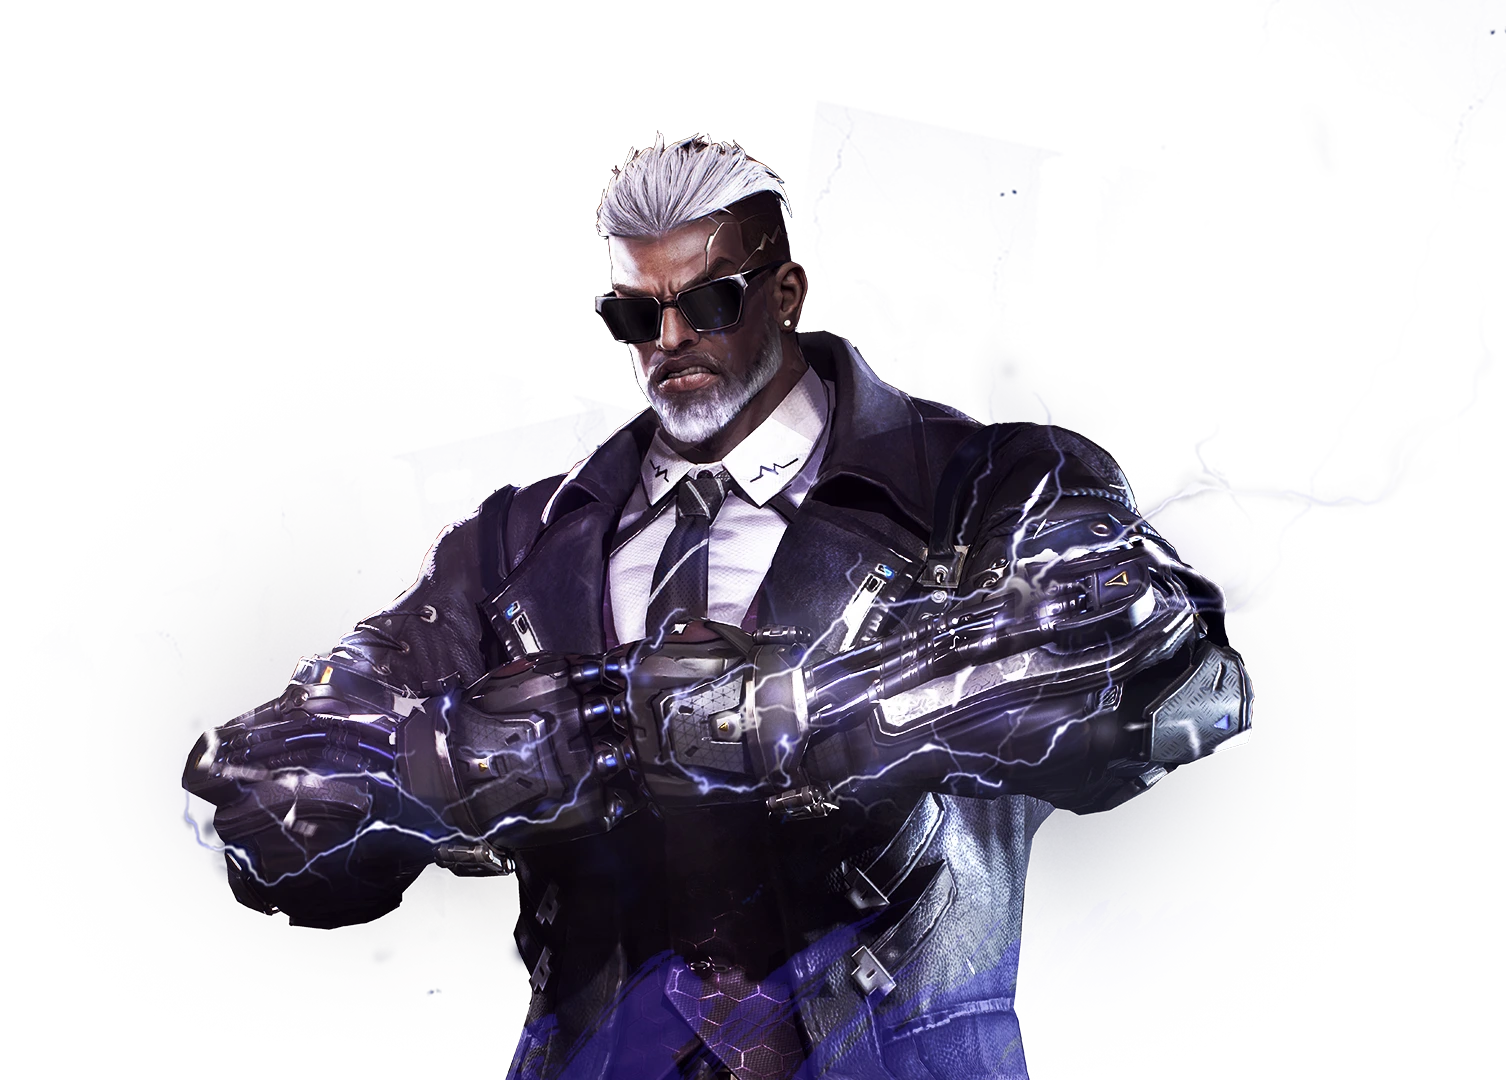 Volt 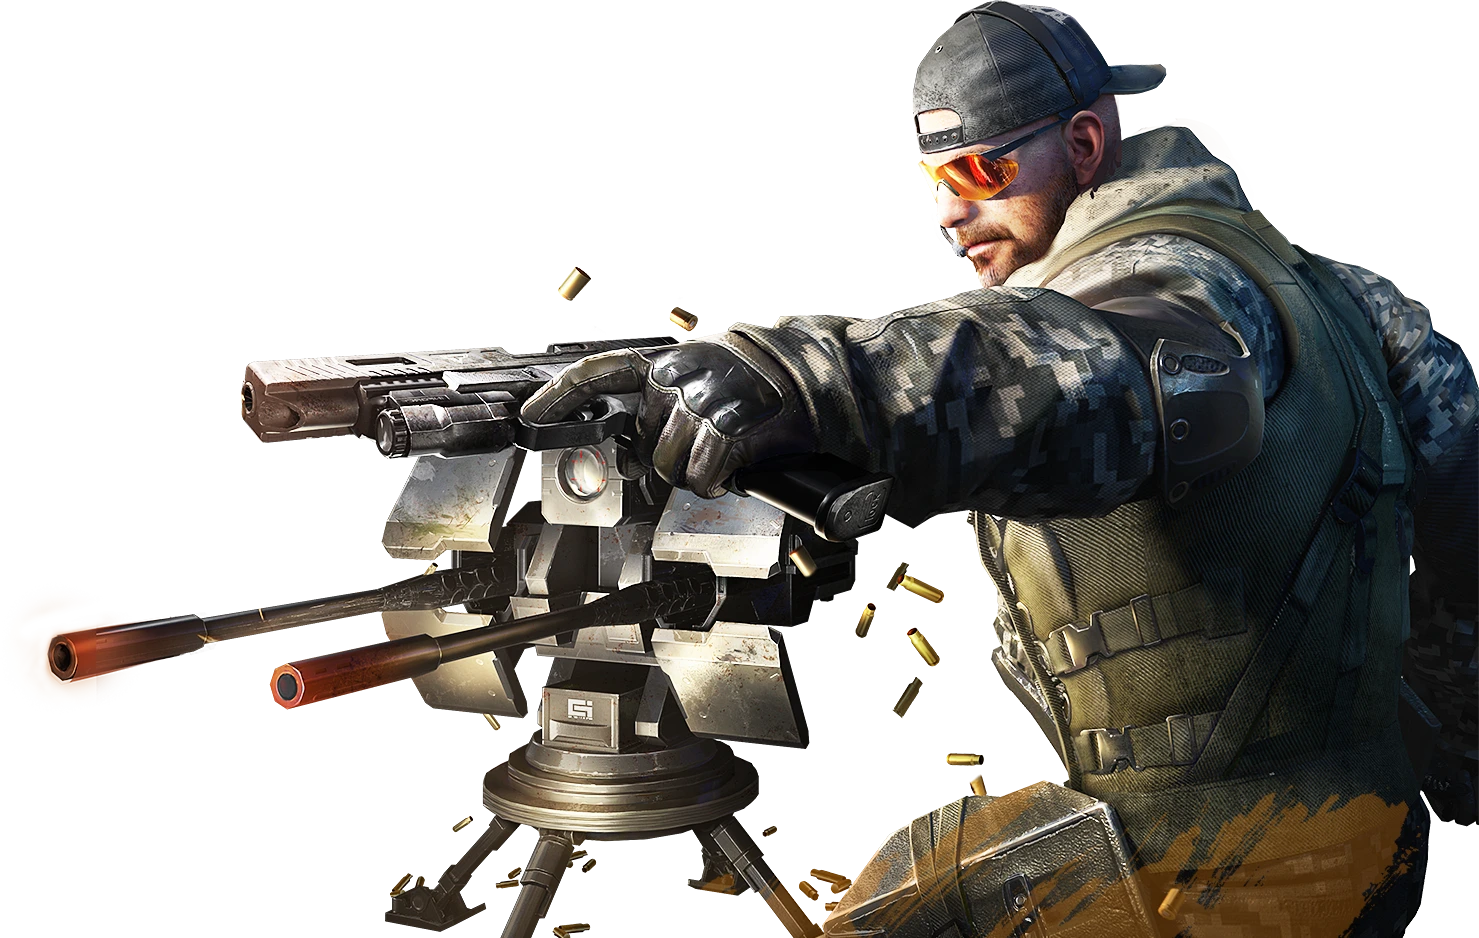 Blast  Kraken 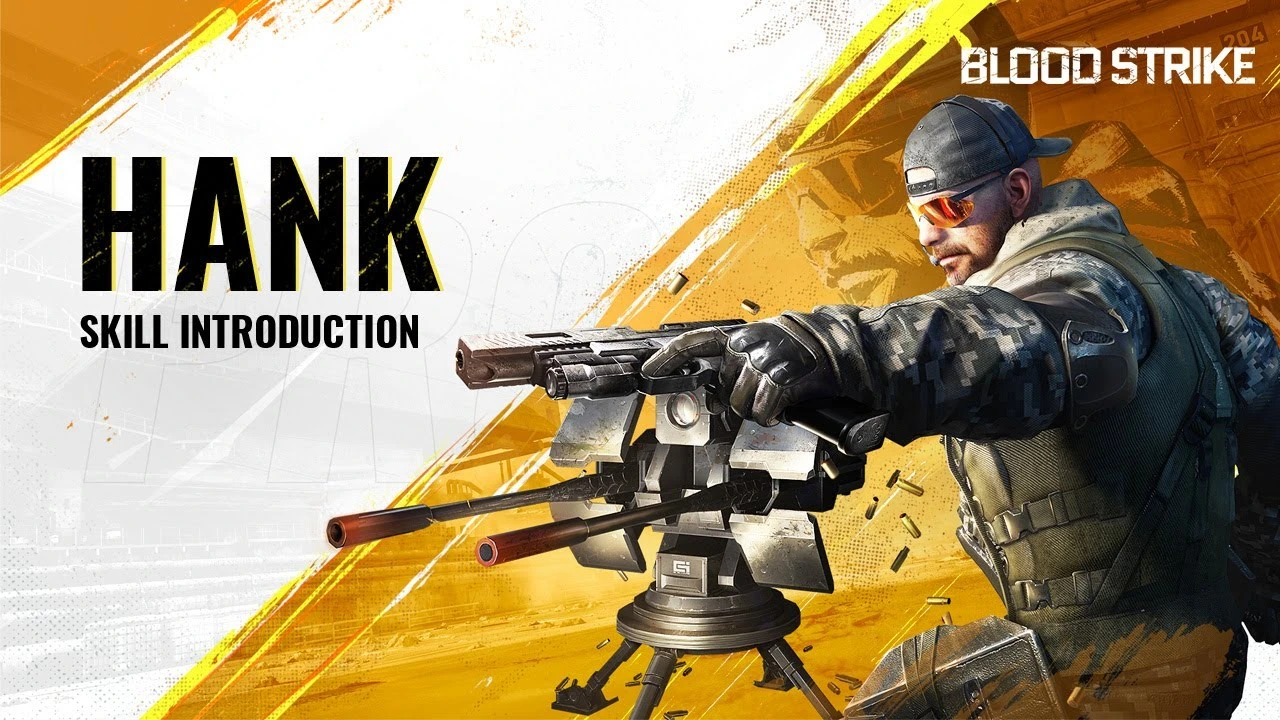 Hank 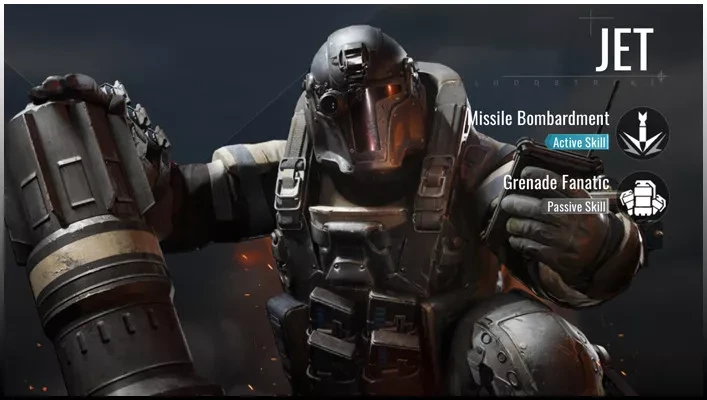 Jet  Ran 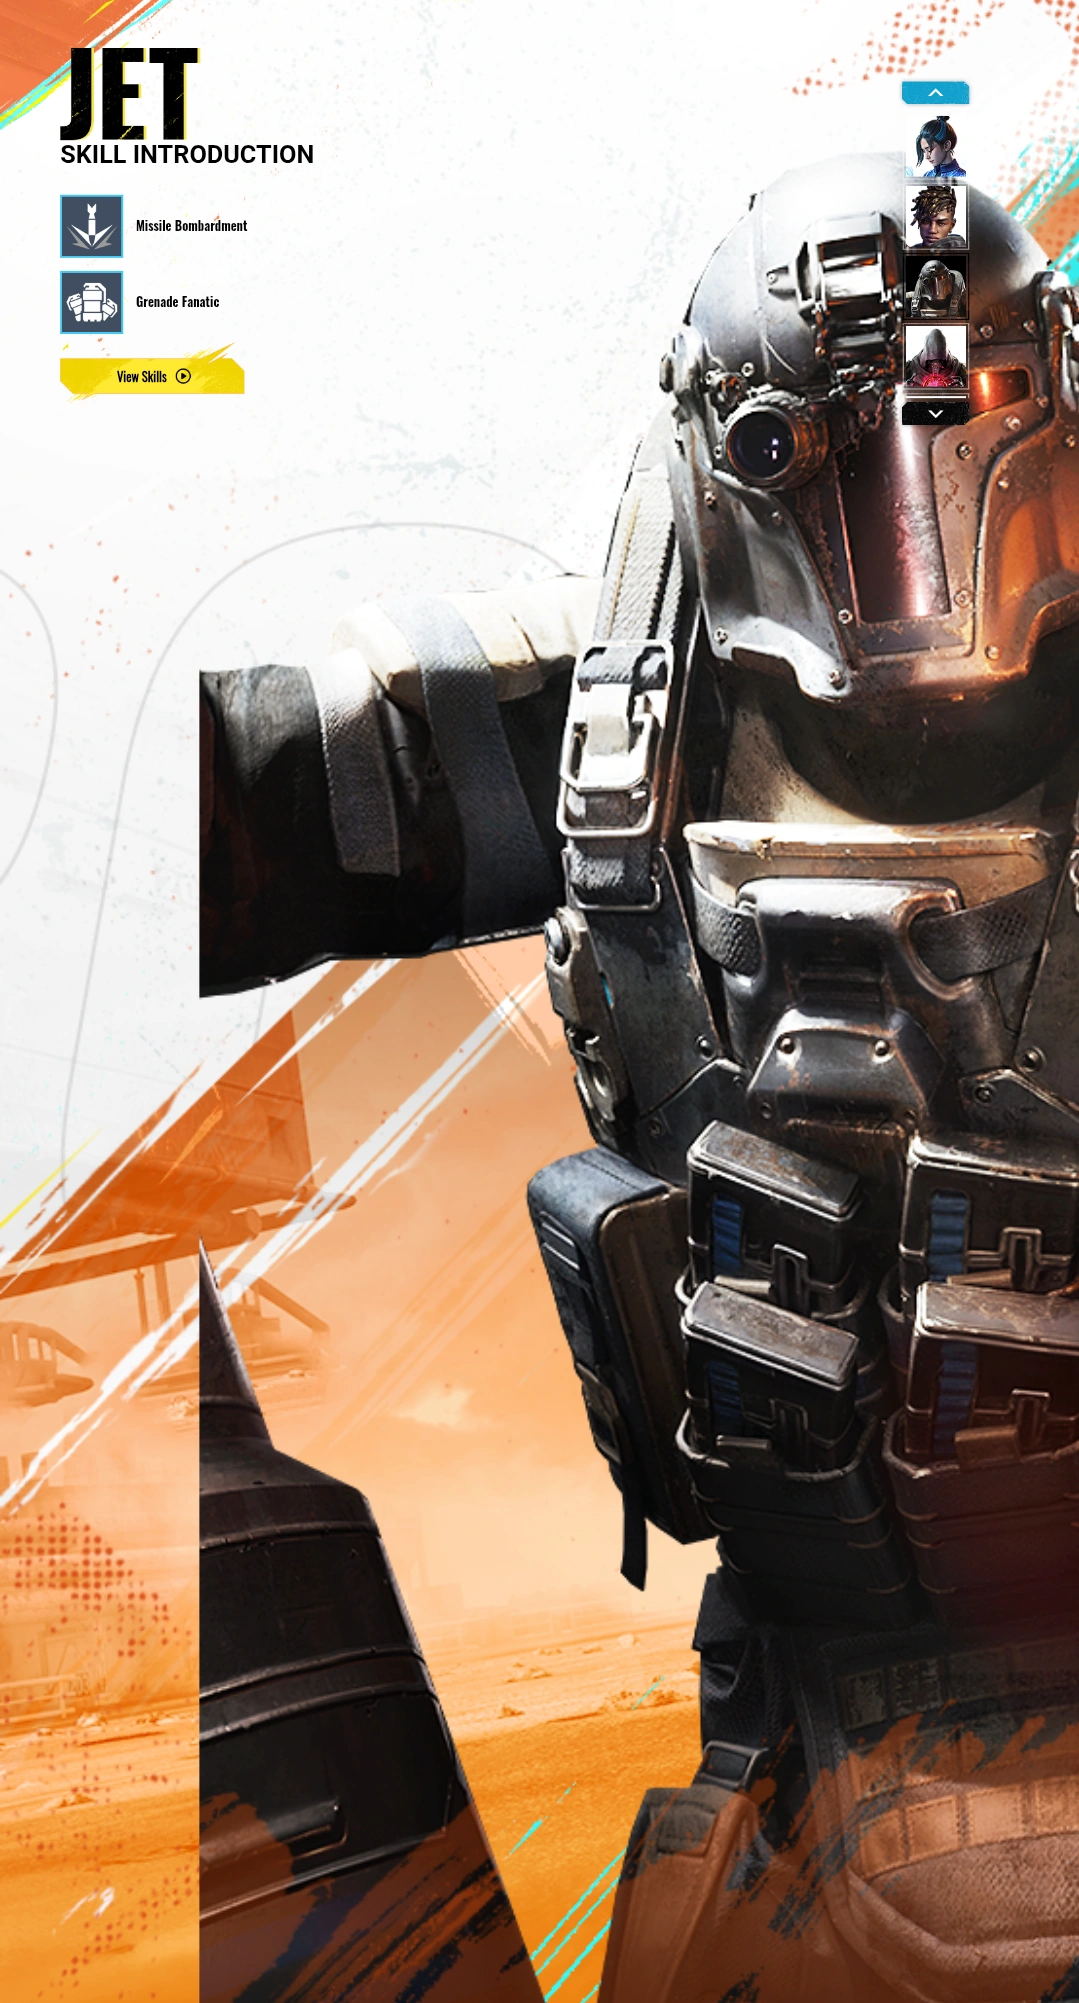 Spike | Can be effective, but the player must build the fight around their kit or accept a weaker neutral game. |
| C — difficult to justify first |  Jack  Nacho | Playable for comfort or a planned tactic, but they usually give up more consistent options in a serious ranked composition. |
This is a recommendation tier, not a claim that every S-tier Striker beats every B-tier Striker in a duel. Aim, weapon choice, Wildcards, map geometry and squad timing can reverse an individual matchup.
Best Strikers by mode
| Mode or role | Best starting picks | Decision rule |
|---|---|---|
| BR squad entry | Alondra, Zero, Ethan | Pick a kit that helps you cross space, force the first trade or escape after a failed push. |
| BR squad support | VOX, Emma, E.M.T. | Choose VOX for tempo, Emma for sustained recovery, or E.M.T. when your team needs a safer reset plan. |
| Solo or unreliable teammates | Alondra, Zero, Katya | Prefer value you can activate without waiting for allies to stand in range or coordinate timing. |
| Hold a building or revive area | Katya, Nova, E.M.T. | Create time and cover before interacting with a revive, shop or exposed angle. |
| Information and chase | Val, Kainda, VOX | Use information only when the squad can convert it into a push; scanning without movement rarely wins the fight. |
| Small-map modes | Zero, VOX, Katya, Ethan | Immediate gunfight and lane-control value normally matters more than long BR sustain. |
S tier: the safest ranked investments
Alondra — best vertical entry and disengage
Alondra's official kit combines Arc Snare with a passive Jetpack. Arc Snare creates a spherical control zone that damages and slows enemies when it catches them. Holding jump in the air lets Alondra spend jet fuel to rise, then the fuel replenishes after landing.
That combination solves three common problems at once: reaching high ground, changing the angle after being seen, and making a doorway or retreat path dangerous. She is strongest when the player treats height as a route rather than hovering in the open.
Pick Alondra when: the map has roofs, ledges or broken vertical sightlines; your team wants an aggressive first contact; you need a solo-capable escape.
Counter her by: holding landing zones instead of tracking the full flight, keeping cover between you and the elevated angle, and refusing to chase through Arc Snare.
Zero — best self-sufficient pressure pick
Zero belongs near the top because he fits fast players who want to create pressure without asking the squad to set the fight first. His value is highest when movement and timing turn an ordinary weapon duel into a short, unfair trade.
Do not select Zero only to run at the first sound cue. A strong Zero player keeps one route available for the second phase of the fight: armor break, reposition, then re-entry.
Pick Zero when: you win through pace and mechanical confidence; the team lacks a decisive entry; you need a pick that still functions in solo queue.
Katya — best space-control anchor
Katya is the most useful S-tier alternative for players who do not want to be the first body through every door. Her value comes from controlling which angle can be challenged and buying time for healing, reviving or rotating.
She becomes much weaker when a player drops protection after the enemy has already crossed the angle. Set the safe side first, then take the fight from it.
Pick Katya when: the squad regularly contests rooms, shops, revive points or exposed crossings; you prefer controlled fights over extended chases.
VOX — still top-tier squad tempo after the nerf
VOX's Sonic Overdrive increases movement and weapon-handling speed for VOX and nearby teammates, defers part of incoming damage, and can clear the remaining deferred damage after leaving combat. Sonic Grenade pulses through walls, slowing enemy movement and handling while preventing sprinting.
The October 20 update reduced the delayed-damage ratio from 30% to 25%, shortened each Sonic Grenade interference wave from 3 seconds to 2 seconds, reduced its slow from 30% to 25%, and lowered the Level 5 Distortion Pulse camera-speed reduction from 50% to 20%.
He is still excellent when four players move on the same beat. He is less dominant when the team scatters or the player throws Sonic Grenade without a follow-up.
Pick VOX when: your squad can push together and finish a fight before the tempo window closes.
Counter him by: breaking line and distance until the team buff expires, avoiding clustered door pushes, and re-engaging after the grenade pulses rather than during them.
Emma — best forgiving sustain pick
Emma is a dependable choice for squads that take repeated trades instead of winning every fight instantly. Sustain is especially valuable when a team has strong aim but poor reset discipline.
Her trap is passivity: healing cannot replace cover, armor, or the decision to leave a losing angle. Use sustain to create the next action, not to remain in the same crossfire.
A tier: strong when the role is clear
- E.M.T. is a strong reset specialist. Move her upward when the squad plays for safe revives and survives long enough to use the utility; move her downward in scattered solo queue.
- Nova adds control and can punish predictable routes. She needs the team to respect the zone instead of walking past it.
- Val is useful when information immediately changes the squad's route or target. A scan that produces no push, rotation or disengage is wasted value.
- Ethan suits direct entries and compact fights. He is easier to justify on small maps than in slow, open BR rotations.
- Kainda rewards teams that can act on recon and disruption. She is not a substitute for checking angles manually.
B and C tiers: specialists, not unusable picks
The lower tiers contain Strikers that can still win. Their problem is opportunity cost. Lucian, Volt, Blast, Kraken, Hank, Jet, Ran and Spike may solve one planned situation, but a higher-tier pick normally contributes more often across an entire match. Jack and Nacho need either strong personal mastery or a composition built around their narrow advantage.
If one of these is your comfort pick, use a three-match test:
- Record how many fights included a useful skill activation.
- Record whether the skill created damage, a revive, a clean escape or usable information.
- Compare the result with the higher-tier Striker who would fill the same role.
Comfort matters, but the test prevents comfort from hiding a kit that rarely changes the outcome.
Three practical squad templates

These templates preserve the job structure while leaving one comfort slot flexible. Swap within the same job instead of replacing a needed entry, control or reset tool with a second copy of another role.
| Squad plan | Core | Fourth-slot choice | How to play it |
|---|---|---|---|
| Fast collapse | Alondra + Zero + VOX | Emma or Katya | VOX starts the tempo, Alondra changes height, Zero attacks the split target. The fourth slot protects the reset. |
| Controlled ranked | Katya + Emma + Val | Alondra or Zero | Use information before crossing, set the safe angle, then send one mobile entry to finish. |
| Recovery-first | E.M.T. + Katya + VOX | Your best duelist | Do not stack every defensive skill at once. Alternate protection, tempo and reset tools. |
How to choose your main Striker
- Choose the mode first. A BR main and a Squad Fight main do not need the same utility.
- Choose your repeated job. Entry, anchor, sustain, information and chase are clearer than “best character.”
- Match the weapon range. A close-range entry kit loses value if you always hold a long-range rifle and never cross space.
- Test the counterplay. Learn what makes your skill fail before spending time mastering ideal clips.
- Keep one alternative. Balance changes and team composition can remove the reason your main was selected.
For weapon choices that fit these roles, use the Blood Strike best weapons guide. New players should first learn the full match loop in the Blood Strike beginner guide.

Blood Strike Striker Tier List FAQ
Who is the best Striker in Blood Strike right now?
Alondra is the safest recommendation for self-sufficient BR mobility, while VOX is one of the strongest coordinated-squad tempo picks. Zero and Katya are better answers for players who want direct pressure or controlled space.
Is VOX still worth using after the October nerf?
Yes. The official update reduced his delayed-damage and disruption values, but it did not remove the team movement, handling and fight-tempo identity of the kit.
Which Striker is best for solo queue?
Start with Alondra, Zero or Katya. Each can create value without requiring the entire team to stand in the correct place at the correct second.
Which Striker is best for beginners?
Katya or Emma can teach positioning and reset discipline with a lower execution burden. Alondra is powerful, but poor flight timing can expose a new player.
Does the best Striker change between BR and Squad Fight?
Yes. BR gives more value to rotation, recovery and information across a long match. Small-map modes reward immediate duel and lane-control value.
How often should this tier list change?
Recheck it after every new Striker release, Striker balance update, major mode change or map rotation. A weapon-only patch does not automatically require a full reorder.
Related Blood Strike guides
Summary
Use Alondra and Zero for self-directed aggression, VOX and Emma for coordinated tempo and sustain, and Katya for controlled space. Treat the tiers as a role-and-mode guide, not a permanent power score. The strongest pick is the one whose skill changes a fight your team repeatedly takes.




Copyright © FUTURE OUTLOOK TECHNOLOGY LIMITED.Company Registration No.: 77374965 All rights reserved.UNIT 135,1/F.,143 WAI YIP STREET,KWUN TONG HK