
Genshin Impact Varka Build Guide: Anemo Carry Teams, Weapons, And Rotation

Varka is a 5-star Anemo Claymore on-field carry. Varka wants field time, reaction support, and clean element planning. His Anemo damage rises when the team keeps Swirl moving, and his Burst checks Pyro, Hydro, Electro, and Cryo teammates for conversion value. For official profile, skill, constellation, material, artwork, and combat preview details, see Varka on HoYoLAB Wiki. The artifact and weapon sections are practical build advice and should be refreshed if release testing changes the ranking.
Quick answer: Build Varka as an on-field Anemo Claymore carry with CRIT, ATK, Anemo DMG, and enough Energy Recharge. His kit rewards Swirl reactions, Sturm und Drang uptime, and party elements that can be converted through his Burst, so do not treat him as a pure physical Claymore unit.

Anemo Claymore - 5-star Anemo Claymore on-field carry. Check these basics before choosing artifacts, weapons, and teams.

Varka character artwork from the HoYoLAB Wiki profile.
Varka Character Profile
Use this profile check before choosing artifacts or weapons. The build changes sharply if the character is acting as a field carry, off-field support, healer, or reaction enabler.

Anemo

Claymore
5-Star
5-star Anemo Claymore on-field carry
Mondstadt
CRIT DMG
Varka Best Build Snapshot
The snapshot below is the current recommended build path. Use it as a starting point, then adjust around Energy needs, team role, and artifact substats.
| Slot | Recommended Build | Why It Matters |
|---|---|---|
| Artifact set | 4-piece A Day Carved From Rising Winds | The safest starting direction before exact release-week substat comparisons. |
| Main stats | ATK% Sands / PHEC DMG, ATK%, or Anemo DMG Goblet / CRIT Circlet | Matches the role and scaling shown by the kit. |
| Substats | CRIT, ATK%, situational EM, then Flat ATK | Solve uptime first, then push damage or support value. |
| Weapons | Gest of the Mighty Wolf, A Thousand Blazing Suns, Beacon of the Reed Sea, Serpent Spine | Use premium weapons only when the team shell is already solved. |
| Talent priority | Elemental Skill > Normal Attack > Elemental Burst | Follow the part of the kit that actually drives the rotation. |
| Team core | Varka + off-field elemental applier + Anemo or ATK support + sustain | The build only works when the team feeds the character's intended window. |
How Varka's Kit Works
Varka wants field time, reaction support, and clean element planning. His Anemo damage rises when the team keeps Swirl moving, and his Burst checks Pyro, Hydro, Electro, and Cryo teammates for conversion value. The most important habit is to make the team support that pattern instead of forcing a generic stat build onto the character.
- Favonius Bladework: Dancing Radiance: Normal Attack Imitating an ancient knightly war-dance, Varka wields dual claymores to perform up to 5 consecutive strikes. Charged Attack Consumes a certain amount of Stamina to charge forward and perform an especially powerful dual blade slash toward the front. Plunging Attack Plunges from mid-air to strike the ground below, damaging opponents along the path and dealing AoE DMG upon impact.
- Windbound Execution: Manifest the true essence of Favonius Bladework with absolute power. Produces different effects depending on whether the skill is Tapped or Held. Tap Leap forward and slash in one fluid motion, dealing AoE Anemo DMG and switching to Sturm und Drang mode. While in Sturm und Drang , Varka's Normal Attack and Charged Attack DMG is increased, and he cannot perform Plunging Attacks. Also, when performing Normal or Charged
- Northwind Avatar: In the name of the mightiest Knight of Boreas, unleash a powerful double slash attack toward the front, dealing 2 instances of Anemo DMG . If there are Pyro , Hydro , Electro or Cryo characters in the party, the first slash will be converted to deal corresponding Elemental DMG according to the aforementioned priority order of Elemental Types. "Hey, Seamus, have you ever thought it weird that I, the Knight of Boreas,
- Dawn Wind's March: When there are Pyro , Hydro , Electro or Cryo characters in the party, according to the aforementioned priority order of Elemental Types, every 1,000 points of Varka's ATK will grant Varka a 10% Anemo DMG Bonus and corresponding Elemental DMG Bonus (among the aforementioned Elemental Types, only one element can gain bonus DMG this way). Up to 25% bonus DMG can be gained this way. Additionally, if there are at least 2
- Wind's Vanguard: When nearby party members trigger Swirl reaction(s), Varka gains one stack of Azure Fang's Oath , increasing the DMG dealt by his Normal Attacks, Charged Attacks, special Charged Attack Azure Devour and special Elemental Skill Four Winds' Ascension by 7.5% for 8s. Max 4 stacks. Each character can grant Varka with 1 stack of Azure Fang's Oath every second this way.
- Witch's Eve Rite: Dawn's Return: After completing Witch's Homework: The Untitled Question , Varka will become a Hexerei character. When the party includes at least 2 Hexerei characters, you will gain the Hexerei: Secret Rite effect, which enhances Hexerei characters. Hexerei: Secret Rite Enhances the special Elemental Skill Four Winds' Ascension : When Varka hits an opponent with Normal Attack(s) in Sturm und Drang , the CD of Four Winds' Ascension
Varka Skill Animation Preview
Use these previews to check timing, field movement, and the kind of window the rotation has to protect.
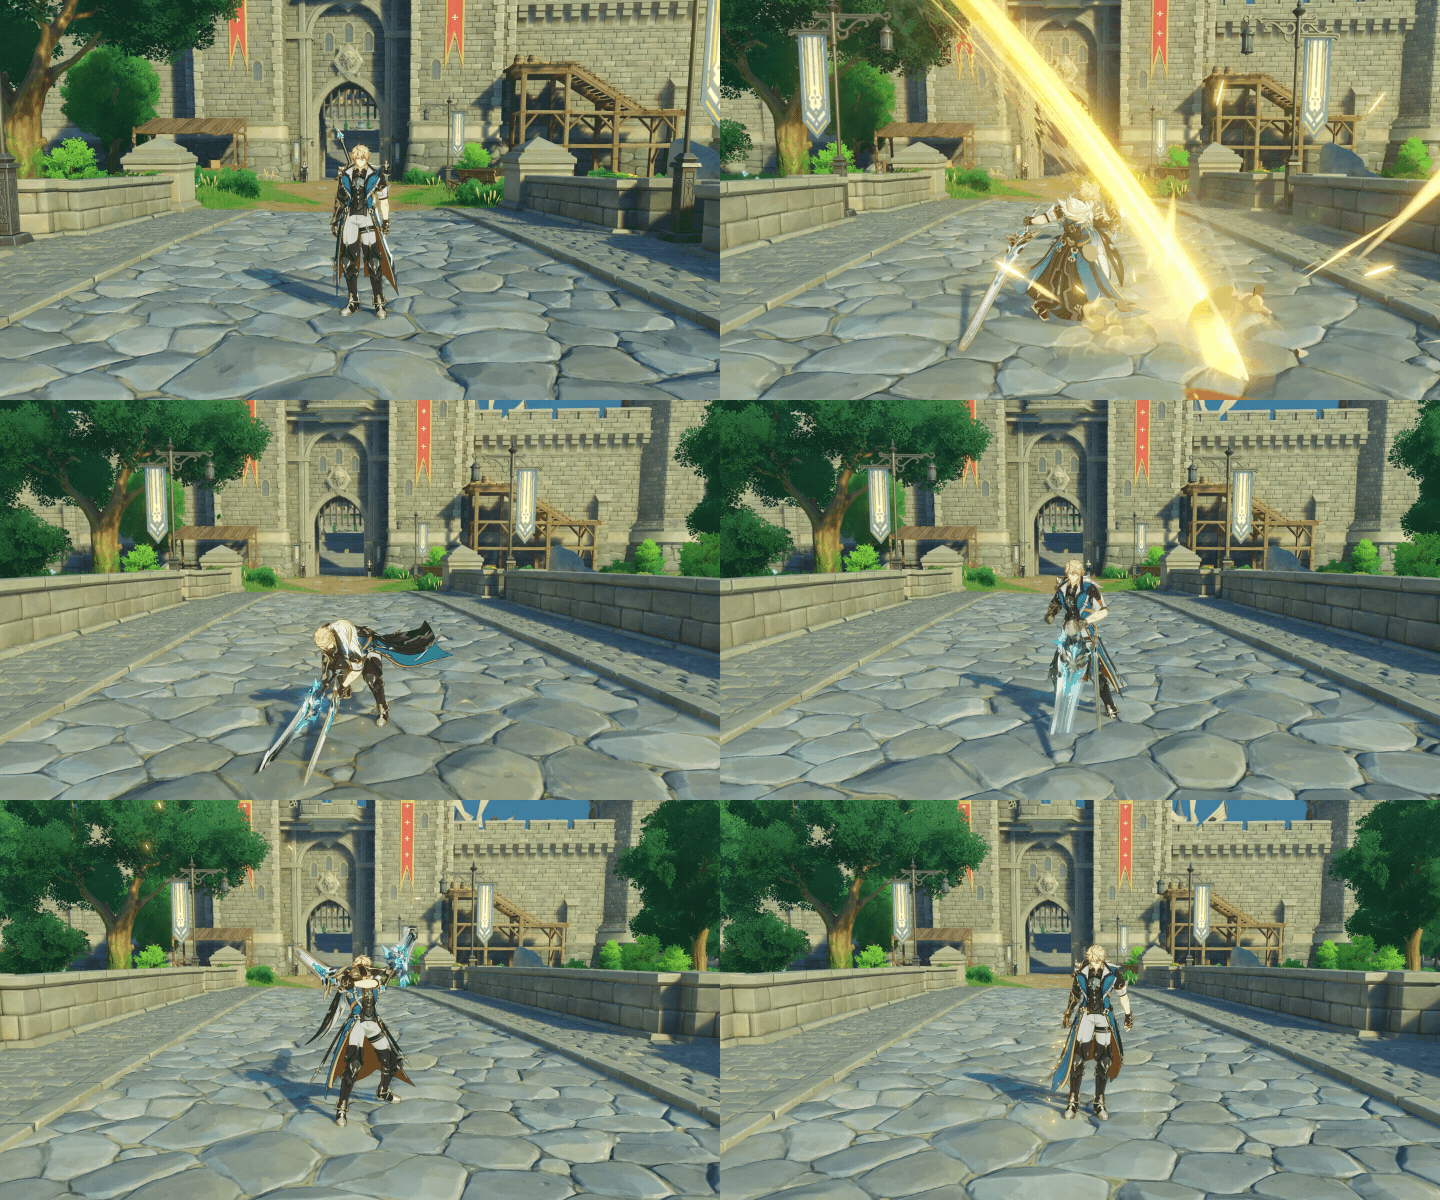
Favonius Bladework: Dancing Radiance combat preview shown on Varka HoYoLAB Wiki profile.
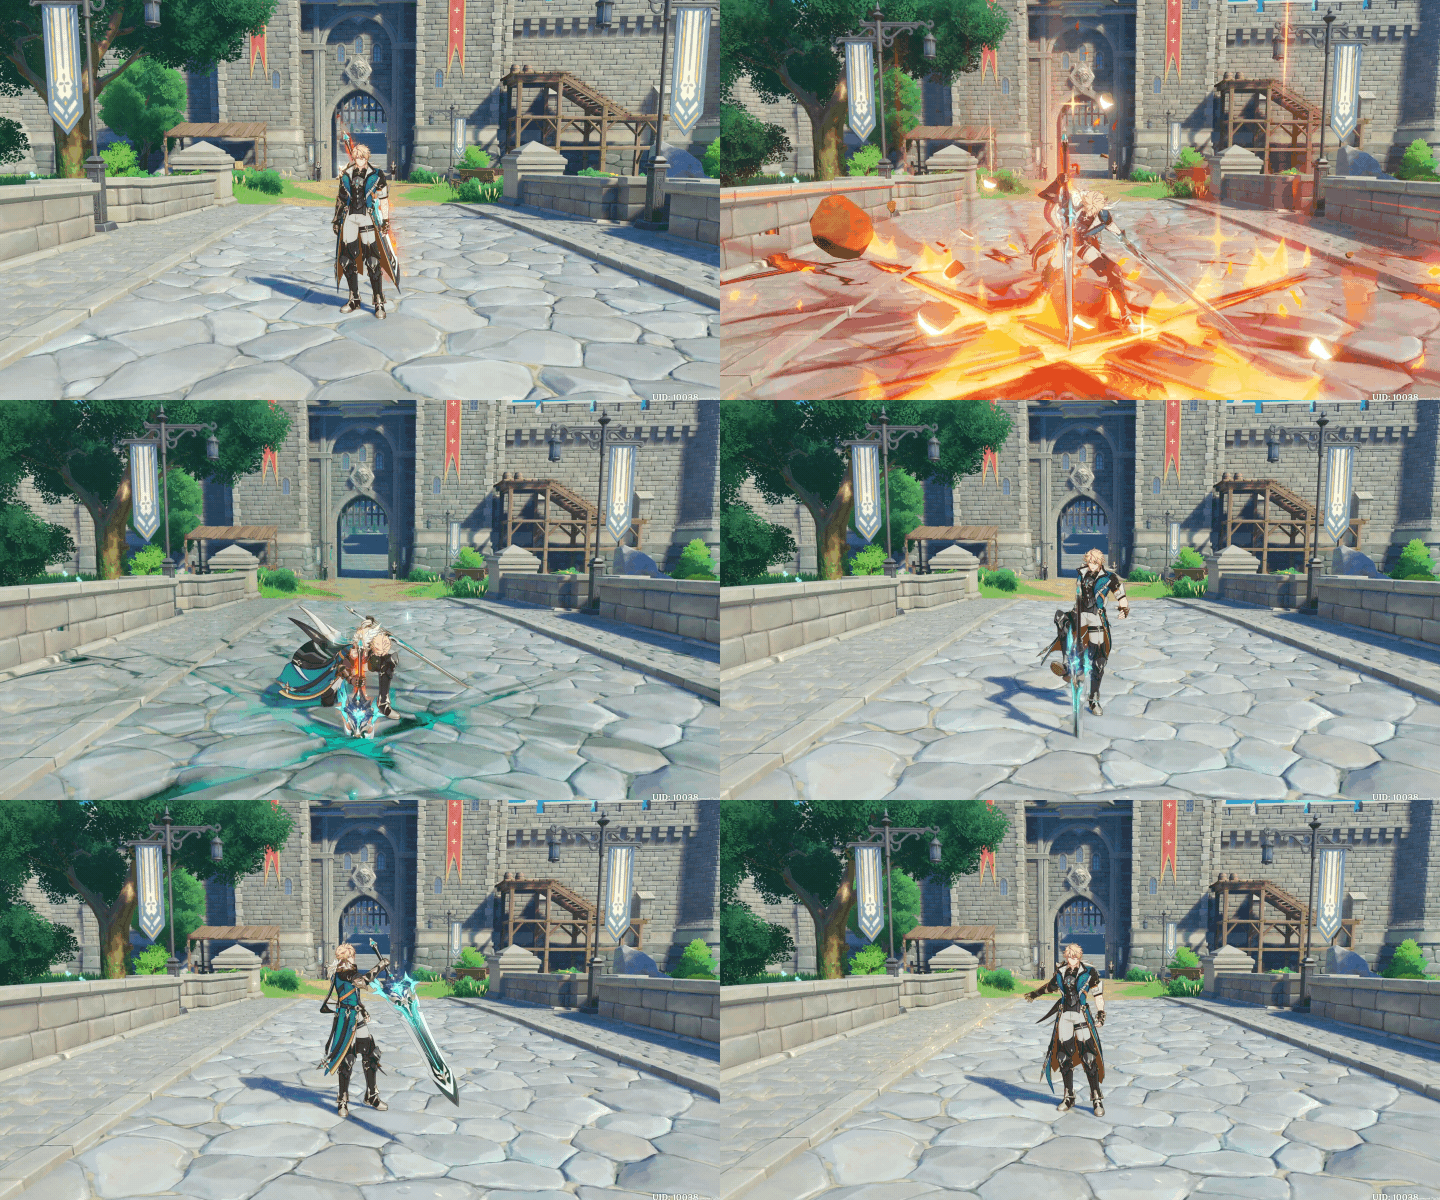
Windbound Execution combat preview shown on Varka HoYoLAB Wiki profile.
Varka Talent Priority
Talent investment should follow the role. If your account is still testing teams, level the main combat or support talent first and delay expensive crowns until the rotation feels stable.
| Icon | Talent | Build Note |
|---|---|---|
 | Favonius Bladework: Dancing Radiance | Core combat talent for the build. |
 | Windbound Execution | Usually the most important talent when the build revolves around Skill state or support setup. |
 | Northwind Avatar | Burst investment matters when the rotation uses it every cycle. |
Best Artifacts For Varka
Start with the set that matches Varka's actual scaling and team role. Do not force a weak 4-piece set just because it appears first; a transition set with stronger substats can be better while you farm.
| Artifact Set | Use Case |
|---|---|
 A Day Carved From Rising Winds A Day Carved From Rising Winds | Best-in-slot for Varka's Hexerei carry build and special attack windows. |
 Marechaussee Hunter Marechaussee Hunter | Second-best when Furina or another HP-changing teammate reliably activates it. |
 Shimenawa's Reminiscence Shimenawa's Reminiscence | General runner-up for Normal and Charged Attack damage when Energy drain is acceptable. |
 Desert Pavilion Chronicle Desert Pavilion Chronicle | Transitional set if you already own strong pieces; it is not the first set to farm. |
 Gladiator's Finale Gladiator's Finale | Easy fallback while farming Rising Winds. |
Varka Main Stats And Substats
| Slot | Best Stat | Notes |
|---|---|---|
| Sands | ATK% Sands | Choose the stat that supports the main rotation before chasing sheet damage. |
| Goblet | PHEC DMG, ATK%, or Anemo DMG Goblet | Elemental damage, DEF, or utility depends on the character's role. |
| Circlet | CRIT Circlet | CRIT is for damage roles; support builds may prefer utility or Favonius consistency. |
| Substats | CRIT, ATK%, situational EM, then Flat ATK | Uptime and team value are more important than a prettier stat page. |
Best Weapons For Varka
The first premium weapon listed is the character's signature or closest verified build anchor when current guide data supports one. Weapon icons are placed beside the names for quick recognition.
| Weapon | Priority | Best Use Case |
|---|---|---|
 Gest of the Mighty Wolf Gest of the Mighty Wolf | Signature / best-in-slot | Varka's signature Claymore; it supplies Attack SPD, CRIT, stacking DMG Bonus, and Hexerei value. |
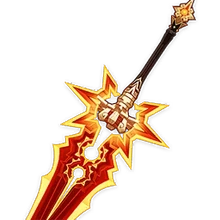 A Thousand Blazing Suns A Thousand Blazing Suns | Runner-up 5-star | Strong CRIT and ATK profile if you already own it. |
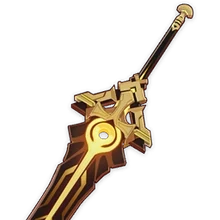 Beacon of the Reed Sea Beacon of the Reed Sea | Runner-up 5-star | Good CRIT Claymore, especially when its condition is practical in your team. |
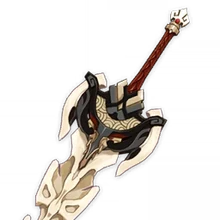 Serpent Spine Serpent Spine | Best 4-star | High-refinement Battle Pass option if you can protect stacks. |
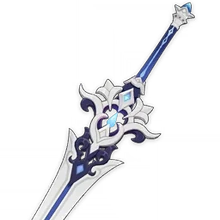 Tidal Shadow Tidal Shadow | F2P option | Best craftable direction when the team can trigger its healing-based passive. |
Varka Rotation And Gameplay Loop
- Apply the element you want Varka to Swirl or convert before he enters.
- Use support buffs, then cast Varka's Skill to enter Sturm und Drang.
- Spend his field window on special attacks and Skill follow-ups while reactions are active.
- Use Burst when elemental conversion and buffs are aligned.
- Swap out before support buffs expire, refresh application, and repeat.
Best Varka Teams
The team examples below focus on roles and support logic. Swap units within the same job when your account has better builds, constellations, or weapons.
Swirl Carry




Varka + Furina + Bennett + Jean + Xiangling Off-field Hydro or Pyro lets Varka trigger Swirl while Bennett or Jean keeps the field safe.
Freeze-Anemo Control


Varka + Furina + Rosaria + Charlotte + Kazuha Freeze gives comfort and lets Varka's Anemo field time stay organized.
Electro-Charged Driver




Varka + Fischl + Yelan + Kuki Shinobu + Beidou A reaction-heavy shell where Varka drives Swirl and off-field damage together.
Hexerei Core




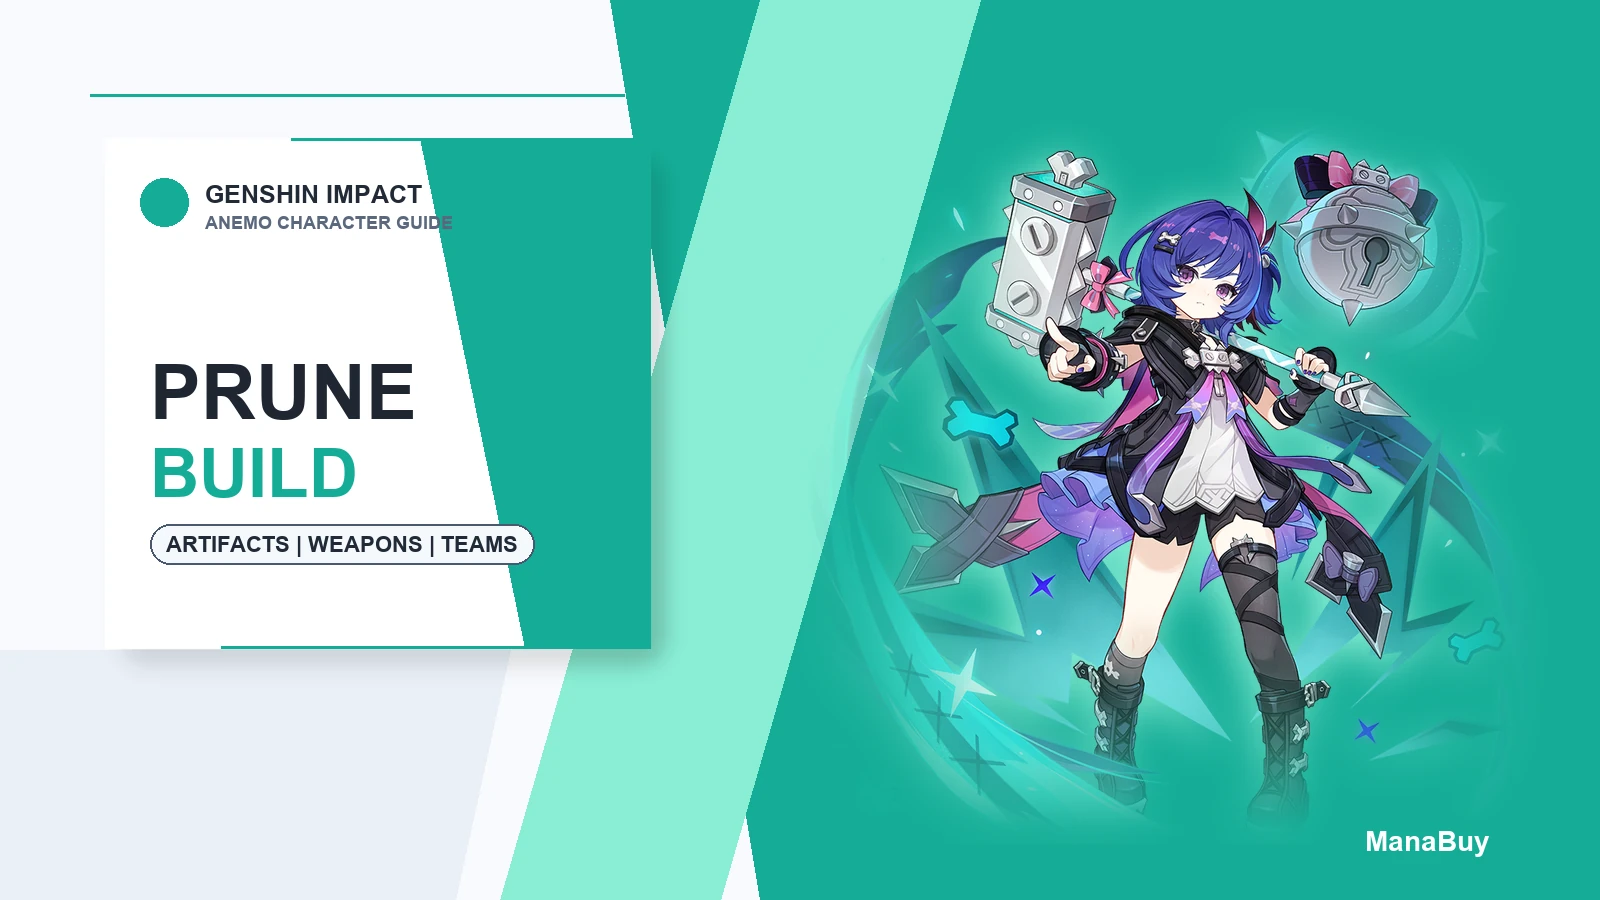
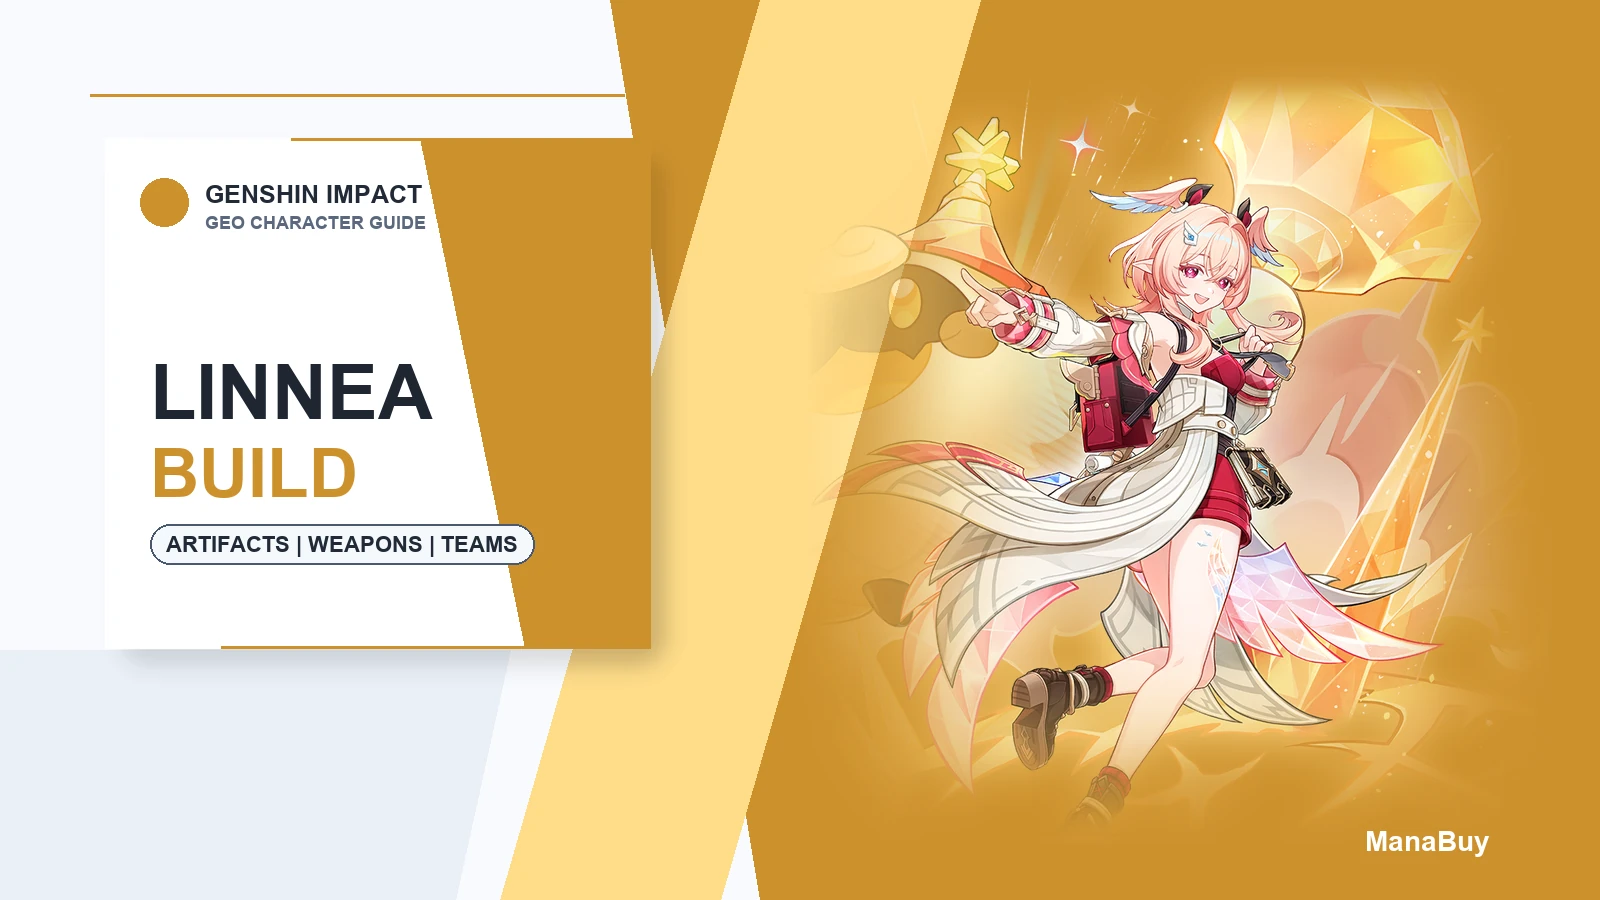
Varka + Prune + Nicole + Lohen + Linnea Use this direction only if your account is investing into Hexerei characters and wants their shared passive effects online.
Varka Material Planning Notes
Farm ascension and talent gates before chasing perfect artifacts. A level-gated character with a perfect feather still feels unfinished.
| Icon | Material | Planning Note |
|---|---|---|
 | Mora | Plan this before heavy artifact farming if it gates ascension or talents. |
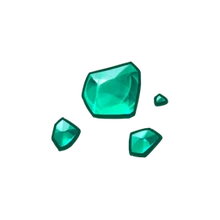 | Vayuda Turquoise Sliver | Plan this before heavy artifact farming if it gates ascension or talents. |
 | Wolfhook | Plan this before heavy artifact farming if it gates ascension or talents. |
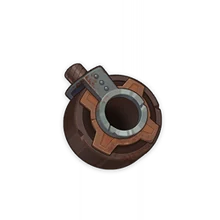 | Broken Drive Shaft | Plan this before heavy artifact farming if it gates ascension or talents. |
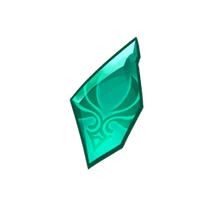 | Vayuda Turquoise Fragment | Plan this before heavy artifact farming if it gates ascension or talents. |
Is Varka Worth Building Or Pulling?
Varka is worth pulling if you want an Anemo carry who can drive reactions and still feel like a front-line DPS. Skip or wait if your account needs a universal Anemo support more than another on-field character.
If you are spending wishes for this character, decide the team first, then the weapon or constellation plan. A strong signature weapon cannot fix a team that is missing reaction uptime, Energy, healing, shielding, or the right support slot.

Plan Genesis Crystals safely
Before pulling for Varka, check pity, guarantee, UID, server, and package budget so the top-up step matches the account you actually play.
Varka Constellation Value
Constellations should be treated as luxury upgrades until C0, the main weapon choice, and the team shell are settled. Early constellations are usually easier to justify for dedicated mains; C6 should not define the standard build.
| Constellation | Value | Recommendation |
|---|---|---|
| C0 | Complete baseline | Build the character here first and test the team before spending further. |
| C1-C2 | Early premium upgrades | Consider only if you already like the playstyle and the account has the right supports. |
| C3-C5 | Talent scaling | Useful for mains, but usually less important than fixing artifacts, Energy, and team uptime. |
| C6 | Whale investment | Powerful but unnecessary for the guide's baseline recommendations. |
Common Varka Build Mistakes
- Building Varka like a physical Claymore carry and ignoring Anemo damage.
- Leaving the team without a Swirlable element.
- Using Viridescent Venerer but never actually Swirling the damage element your team cares about.
- Overcommitting to field time after teammate buffs have expired.
- Choosing a CRIT weapon while Burst uptime is still broken.
Related ManaBuy Genshin Guides
- Genshin Impact Characters List And Build Guide
- Genshin Impact Furina Build Guide
- Genshin Impact Bennett Build Guide
- Genshin Impact Xianyun Plunge Support Guide
Varka Build Guide FAQ
Is Varka a DPS or support?
Varka is best approached as an on-field Anemo DPS. He can carry Viridescent Venerer, but his field window matters.
Does Varka need Viridescent Venerer?
Use it when he is responsible for resistance shred. If another Anemo unit holds VV or Varka is your main damage source, a carry set can be better.
Which teammates does Varka want?
He wants off-field Pyro, Hydro, Electro, or Cryo application, plus buffs or healing that do not interrupt his field window.
Is Serpent Spine good for Varka?
Yes, if you can keep stacks. Varka spends enough time on field for stack loss to matter, so shields or clean dodging help.
Should beginners pull Varka?
Pull him if you love his playstyle. For pure account efficiency, make sure you already have flexible supports before investing in another carry.
Varka Build Conclusion
Varka's best build starts with the question of role. If he is your carry, prioritize CRIT, ATK, Anemo damage, and a weapon that supports long field windows. If he also supplies team shred, make Viridescent Venerer part of the plan and build the rotation around consistent Swirls.


Copyright © FUTURE OUTLOOK TECHNOLOGY LIMITED.Company Registration No.: 77374965 All rights reserved.UNIT 135,1/F.,143 WAI YIP STREET,KWUN TONG HK